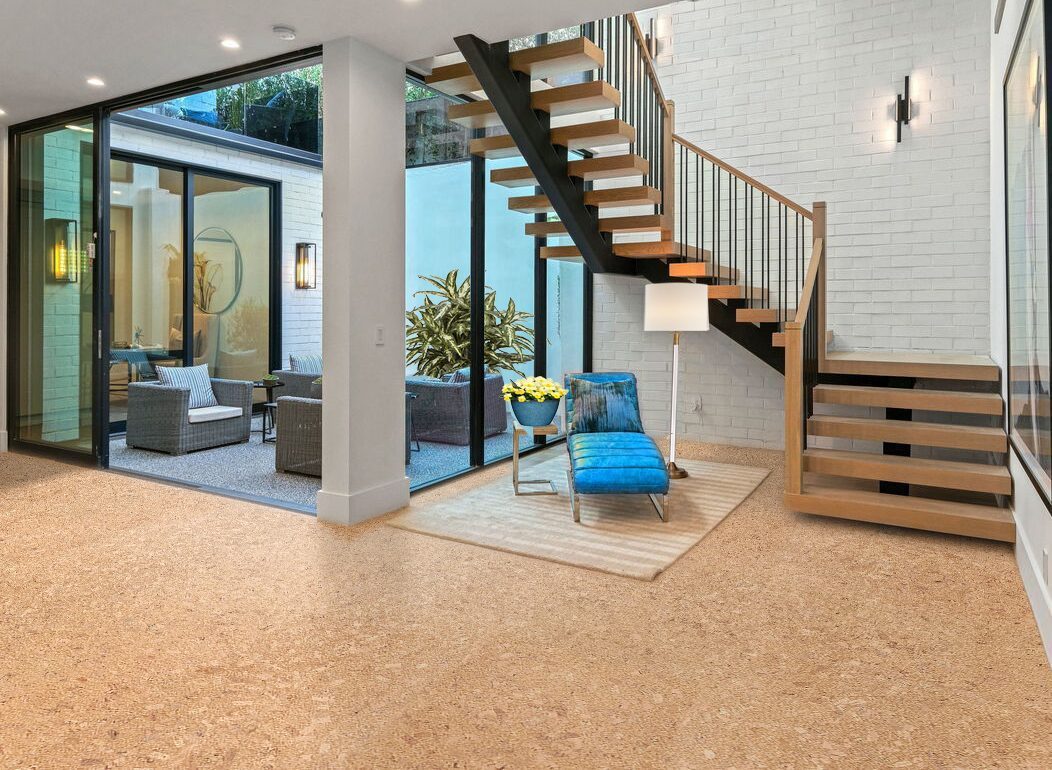


Cork Kitchen Flooring – Installation Guide
A floating cork floor in the kitchen should always be installed last.
Because many customers ask about kitchen installations, here is a dedicated guide.
Important: A cork kitchen installation requires two coats of water-based polyurethane. The polyurethane does not “seal” the cork itself, but rather the seams—protecting the HDF (High Density Fibreboard) core and your subfloor from water damage.
For general floating floor instructions, please first review our [Floating Flooring Installation Guide].
Materials You’ll Need
-
Cork floating flooring (acclimatize 48–72 hours before installation)
-
Loba 2K Supra AT Polyurethane or RigoStep water-based polyurethane
-
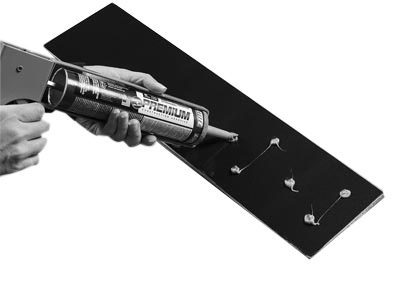
Kitchen/bath caulking (silicone or equivalent)
-
Tape measure & pencil
-
Saw
-
Hammer or mallet
-
Tapping block (off-cut or flooring sample works well)
-
½” spacers (off-cuts or shims are fine)
-
Fine-nap paint roller + extension handle
-
Medium container for mixing Loba Supra (2-part)
-
Paint tray (mixed polyurethane)
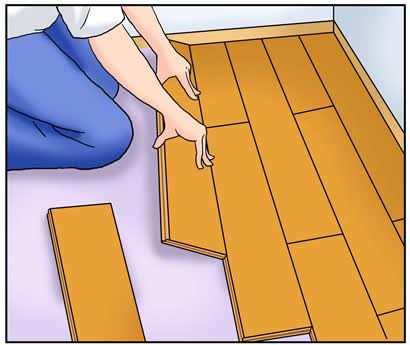
Step 1 – Install the Flooring
-
Install the floating cork floor as per the standard guide.
-
Allow the caulking to dry completely before moving on.
Step 2 – Polyurethane Application
-
Mixing Loba Supra (2-part only):
-
Measure out the correct ratio of varnish and hardener.
-
Mix only what you can apply in one coat (never pre-mix the full container).
-
Once combined, the mixture turns milky white—that’s the correct look.
-
Do not recap the container after 4 hours. Pressure can build and cause it to burst.
-
Working time is roughly 3 hours. Discard any unused mixture safely.
-
-
Application:
-
Apply the first coat with a fine-nap roller.
-
Allow 4–6 hours of dry time. The floor may feel dry but is not cured. Avoid shoes or heavy foot traffic—stocking feet only.
-
-
Second Coat:
-
After 4–6 hours, apply the second coat.
-
Again, allow 4–6 hours of dry time.
-
Full cure takes up to 3-5 days. During this time:
-
Use stocking feet and light traffic only.
-
Do not place mats, rugs, or heavy furniture until curing is complete.
-
-
Step 3 – Best Practice for Kitchens
-
Apply the first coat in the evening to maximize overnight drying time.
-
Place a chair or sign as a reminder to avoid walking on the floor overnight.
-
Use the kitchen lightly the next day (socks only).
-
Apply the second coat the following evening, again allowing overnight curing.
-
This method gives you nearly 24 hours of curing between coats while keeping the kitchen usable.
Final Note
Congratulations—you’ve installed a floating cork floor in a kitchen, something once thought impossible! With polyurethane seam protection and proper care, your cork floor will serve beautifully in this demanding space.