


Installation answer
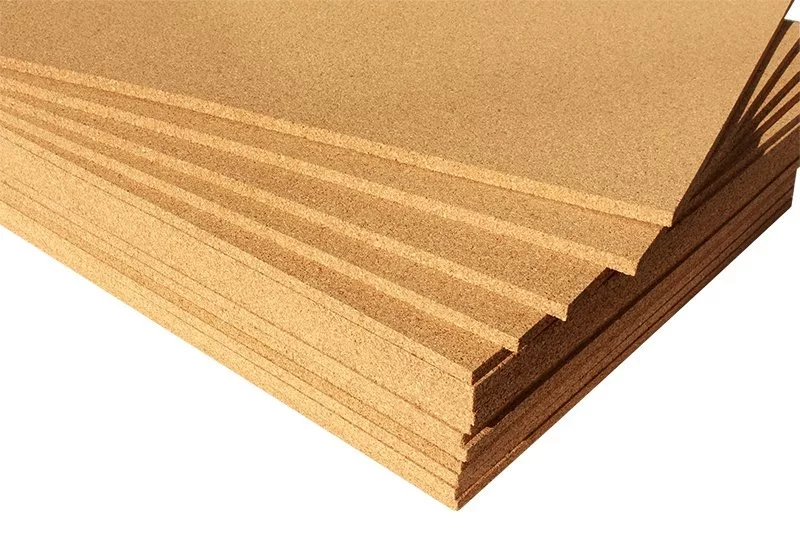
Glue-down cork tile installation
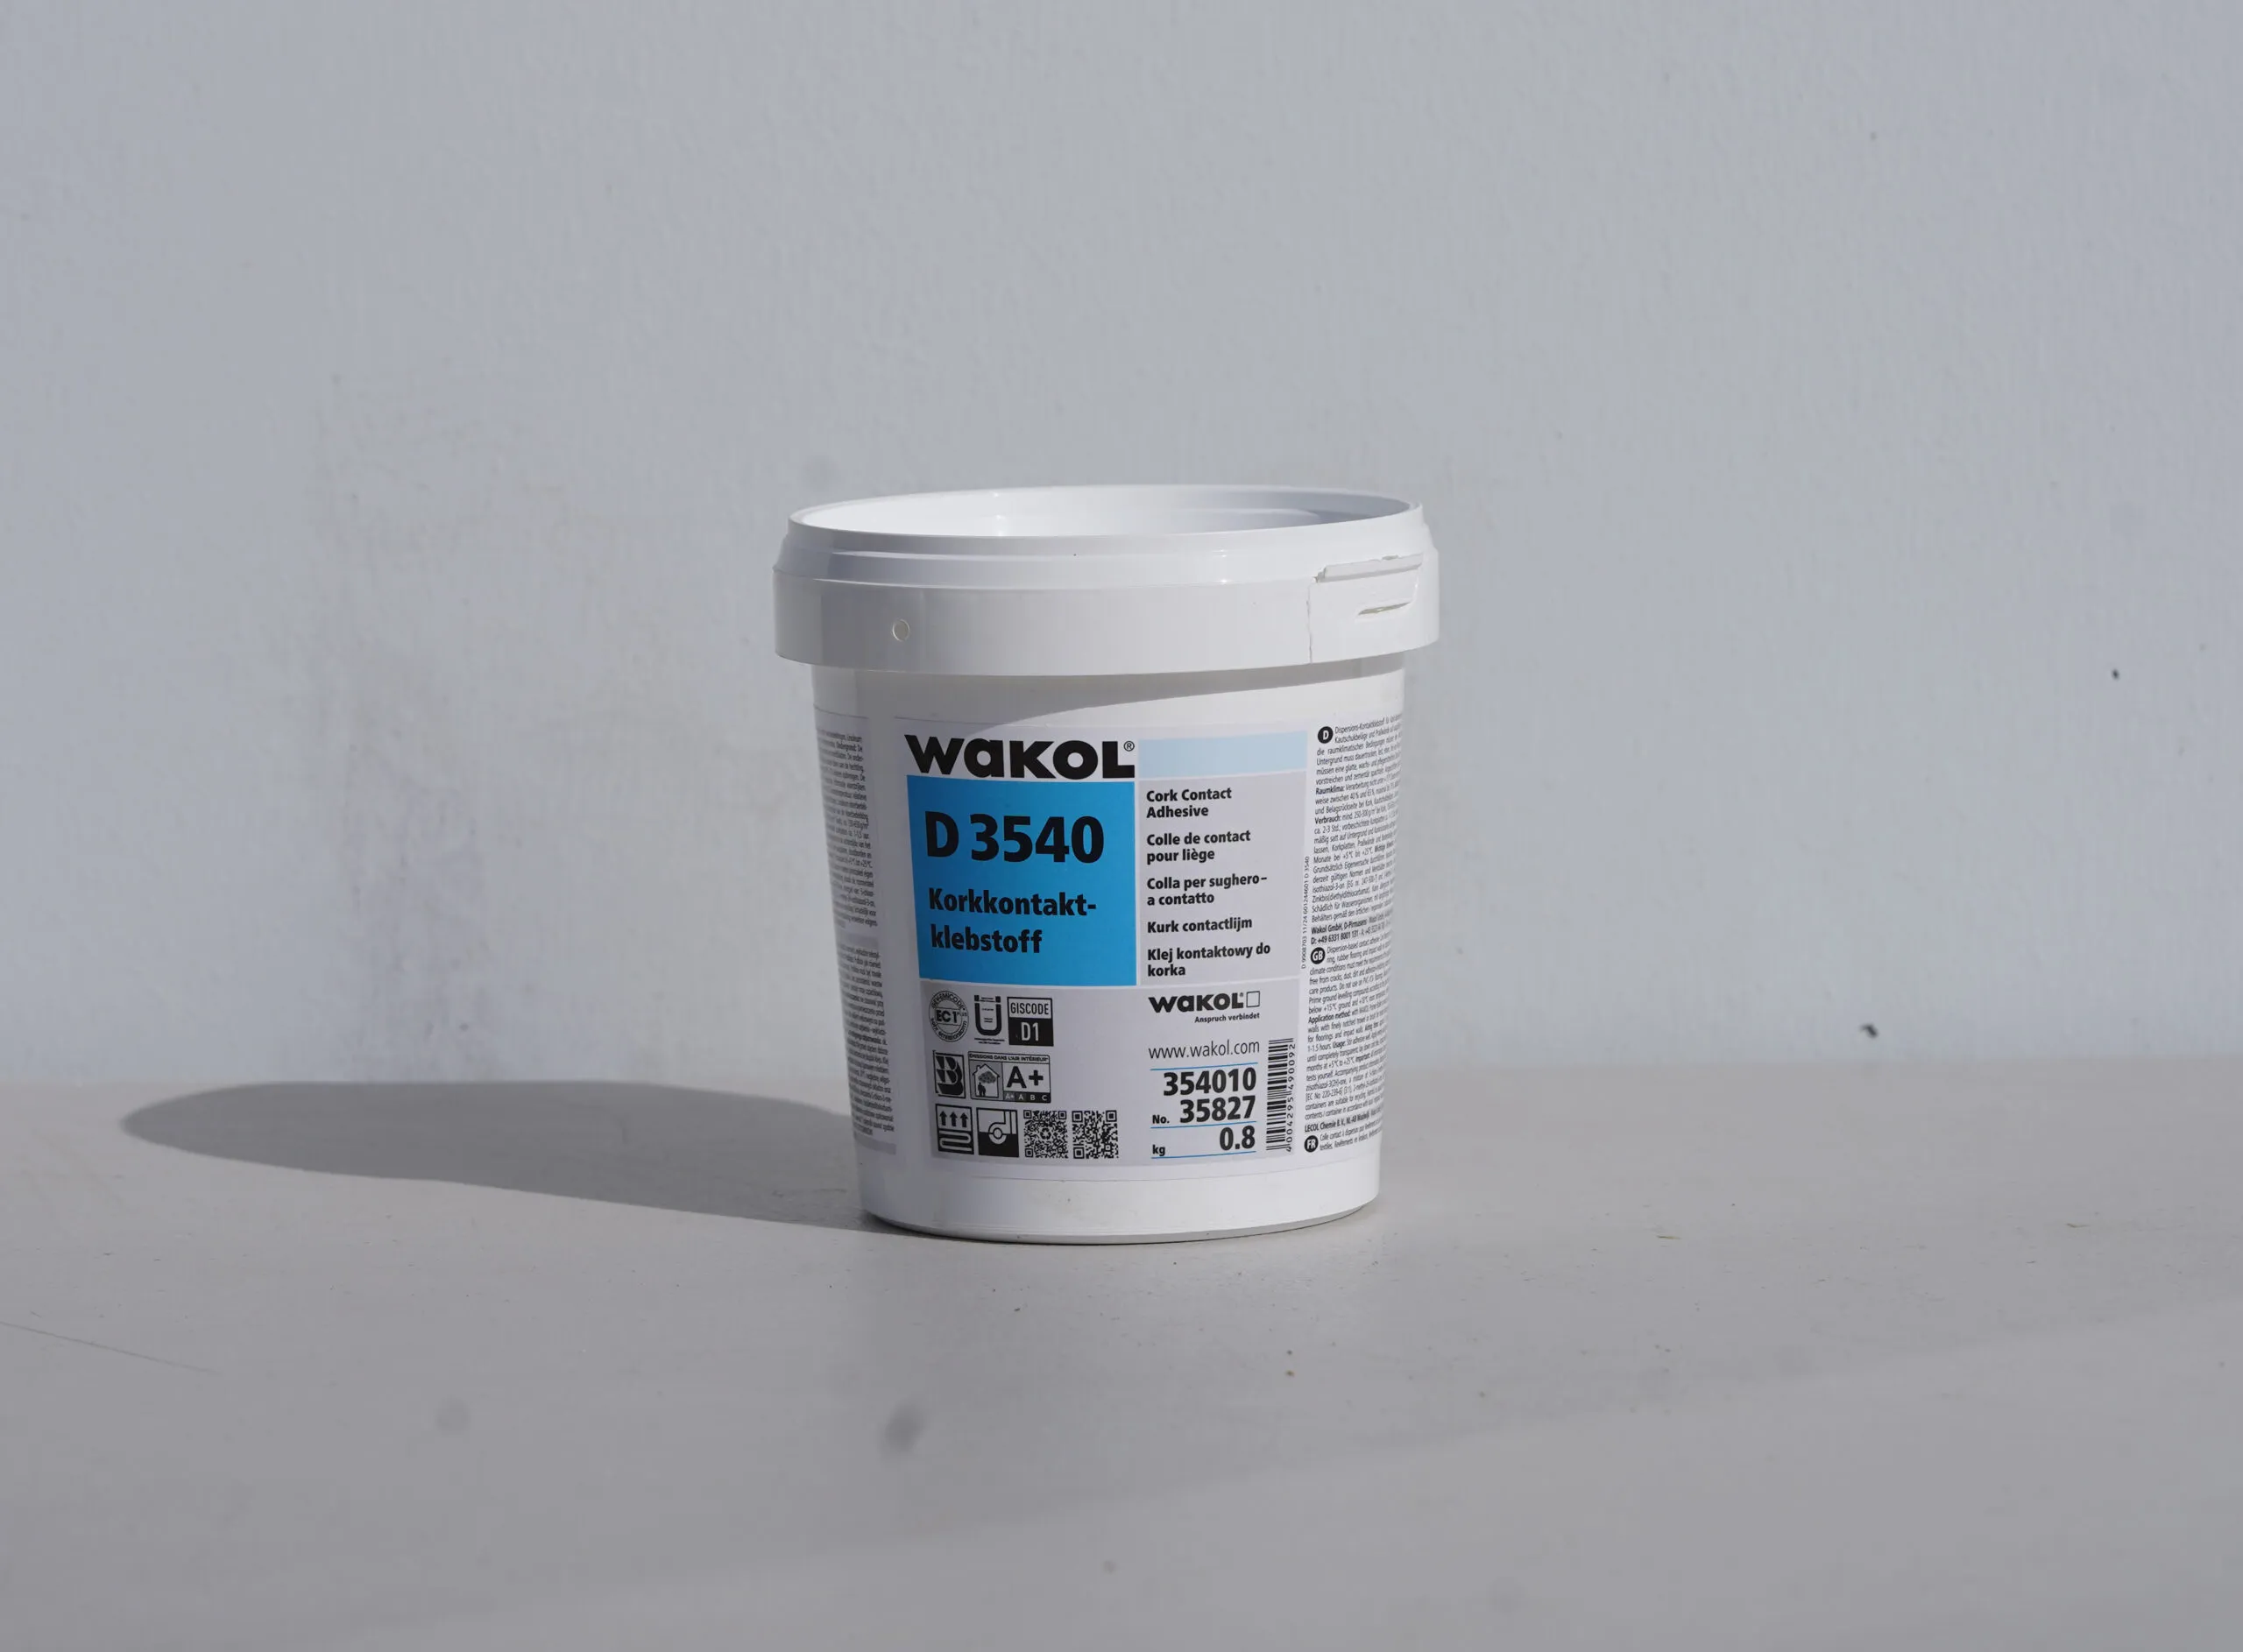
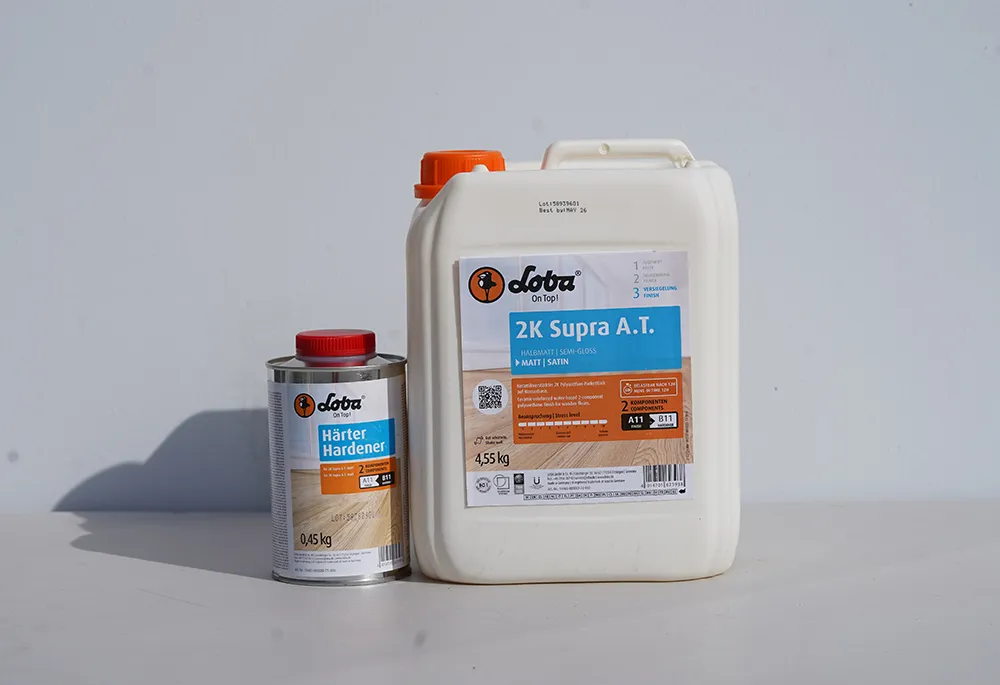
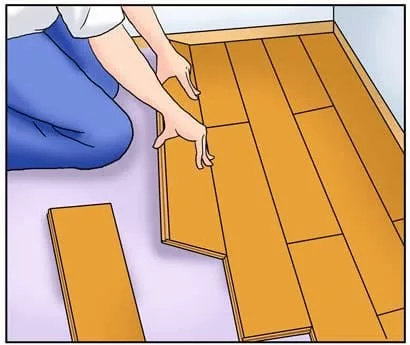
Glue-down cork tile installation needs flat subfloor prep, compatible cork adhesive, careful layout, rolling pressure, and the specified finish protection before the room goes back into service.
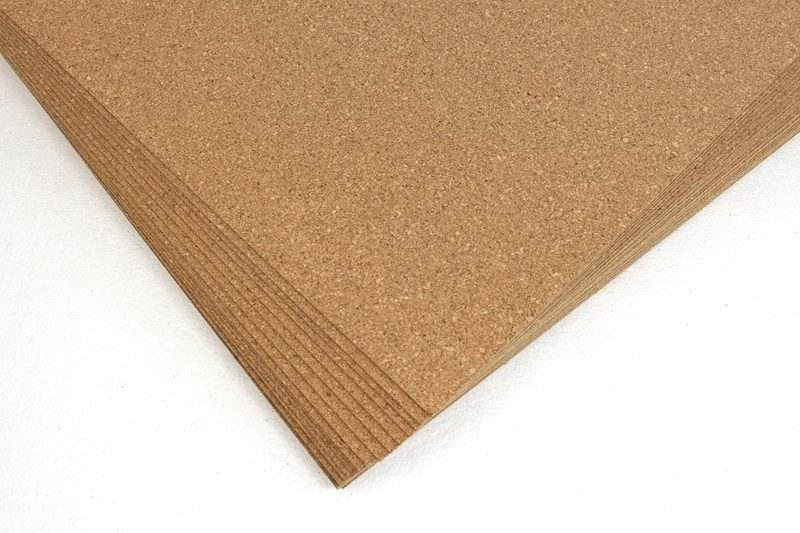
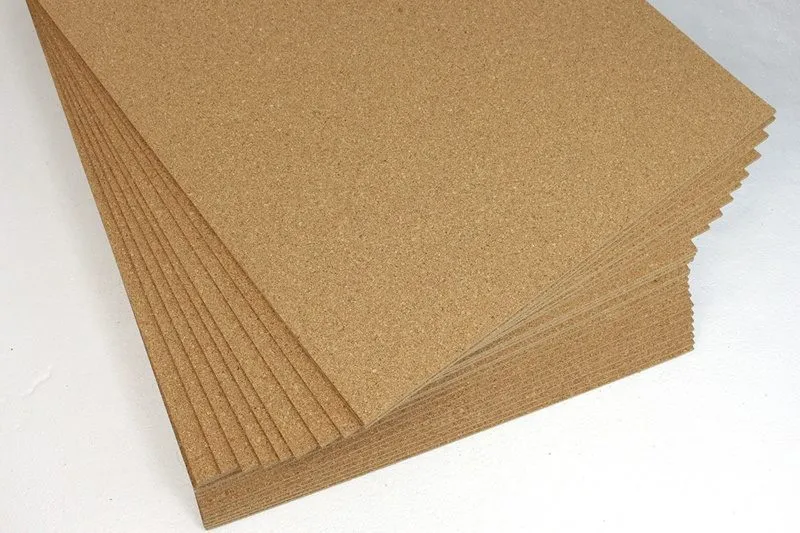
- Order samples first so color, texture, thickness, and finish expectations are clear.
- Confirm adhesive, substrate, moisture, rolling, and finish steps before buying full boxes.
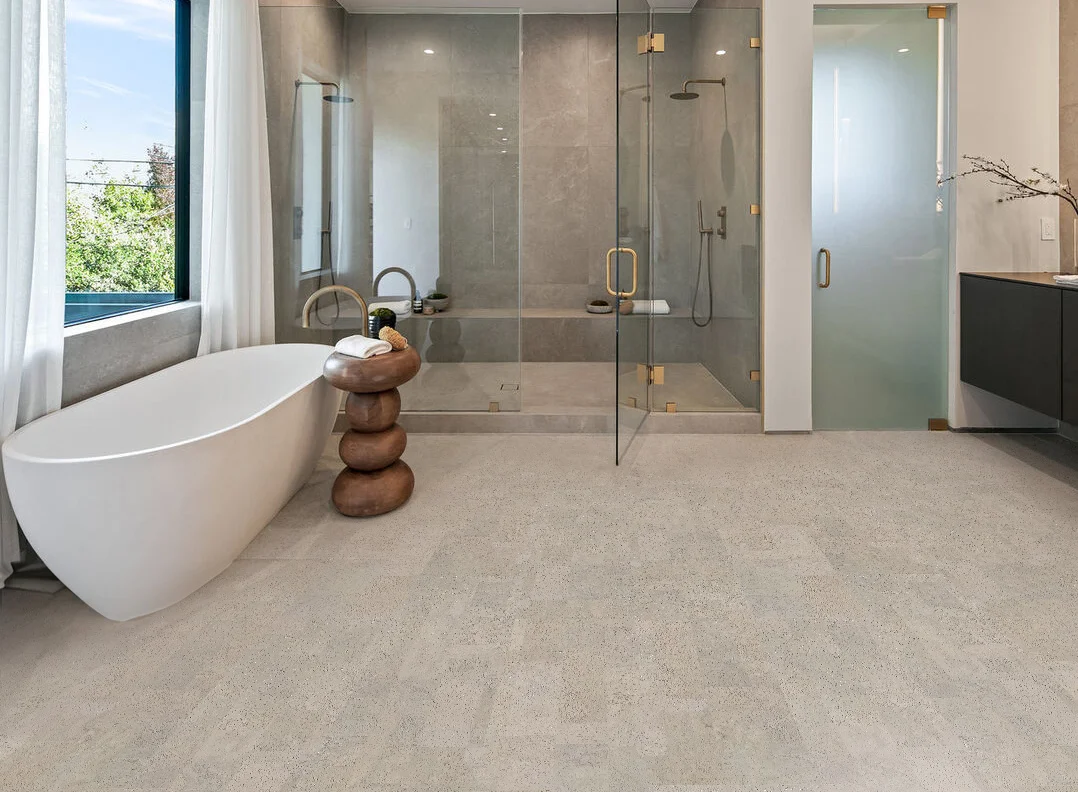
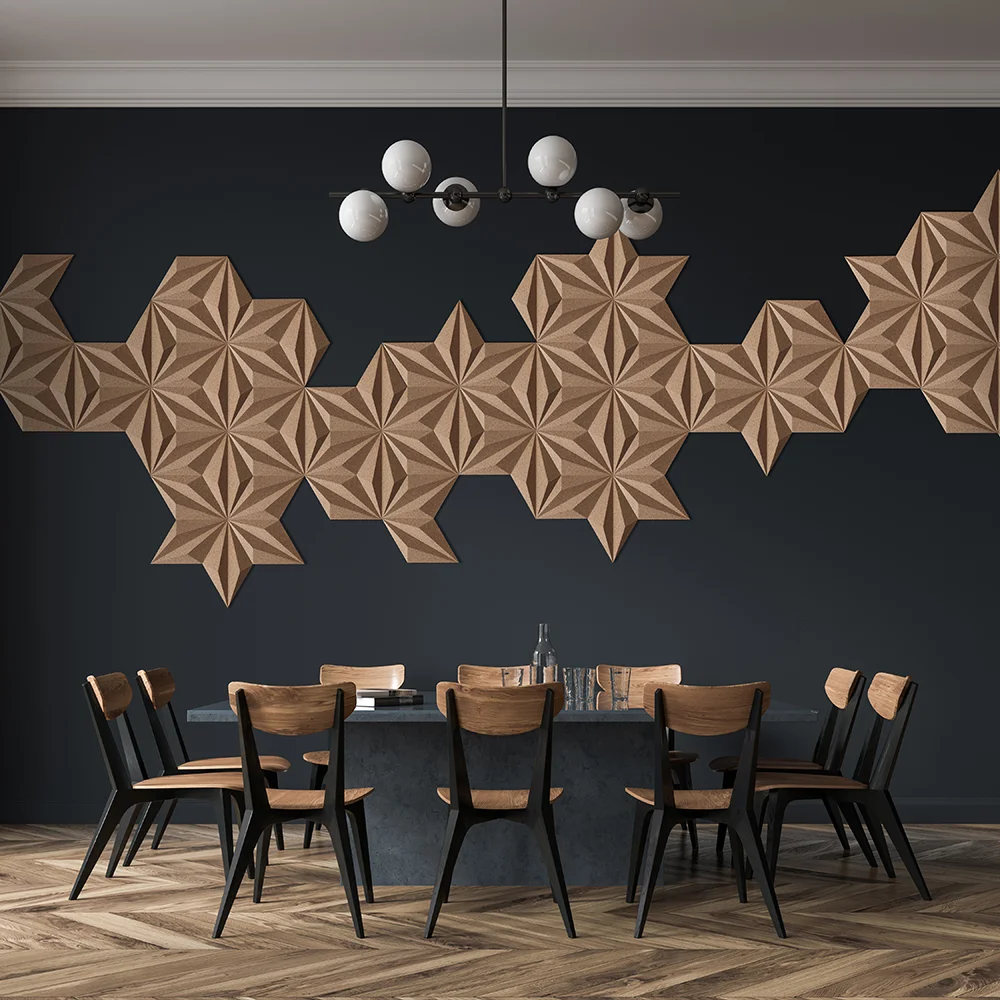
- Use glue-down cork tiles when a bonded installation is better than click-lock floating planks.
Cork Tile Installation Guide
Installation Essentials: Avoid Cork Tile Gapping, and Lifting – Must-Read Guide
Techslate Glue Down – Installation
Linoleum Floating Flooring – Glue Down Installation
Plan glue-down cork tile installation
Move from installation research to the right cork tile, adhesive, finish, samples, and specialist help before ordering full boxes.
Match installation conditions before cork tile samples
Glue-down installation visitors should confirm the room, substrate, adhesive, finish, layout, and sample match before buying cork tile cartons.
Frequently asked questions
How do you install glue-down cork tiles?
Glue-down cork tiles need a flat, clean, dry substrate, correct cork adhesive, layout planning, rolling pressure, and finish protection according to the product instructions.
Do cork tiles need adhesive?
Yes. Glue-down cork floor tiles require compatible adhesive and substrate preparation. Floating cork planks are the better path when a click-lock installation is preferred.
Should cork tiles be finished after installation?
Many glue-down cork installations need the specified finish or top coat after installation. Confirm the product instructions, room use, and maintenance plan before starting.
Should I order cork tile samples before installing?
Cancork recommends samples so buyers can compare color, thickness, texture, finish, and room lighting before ordering glue-down cork tiles.