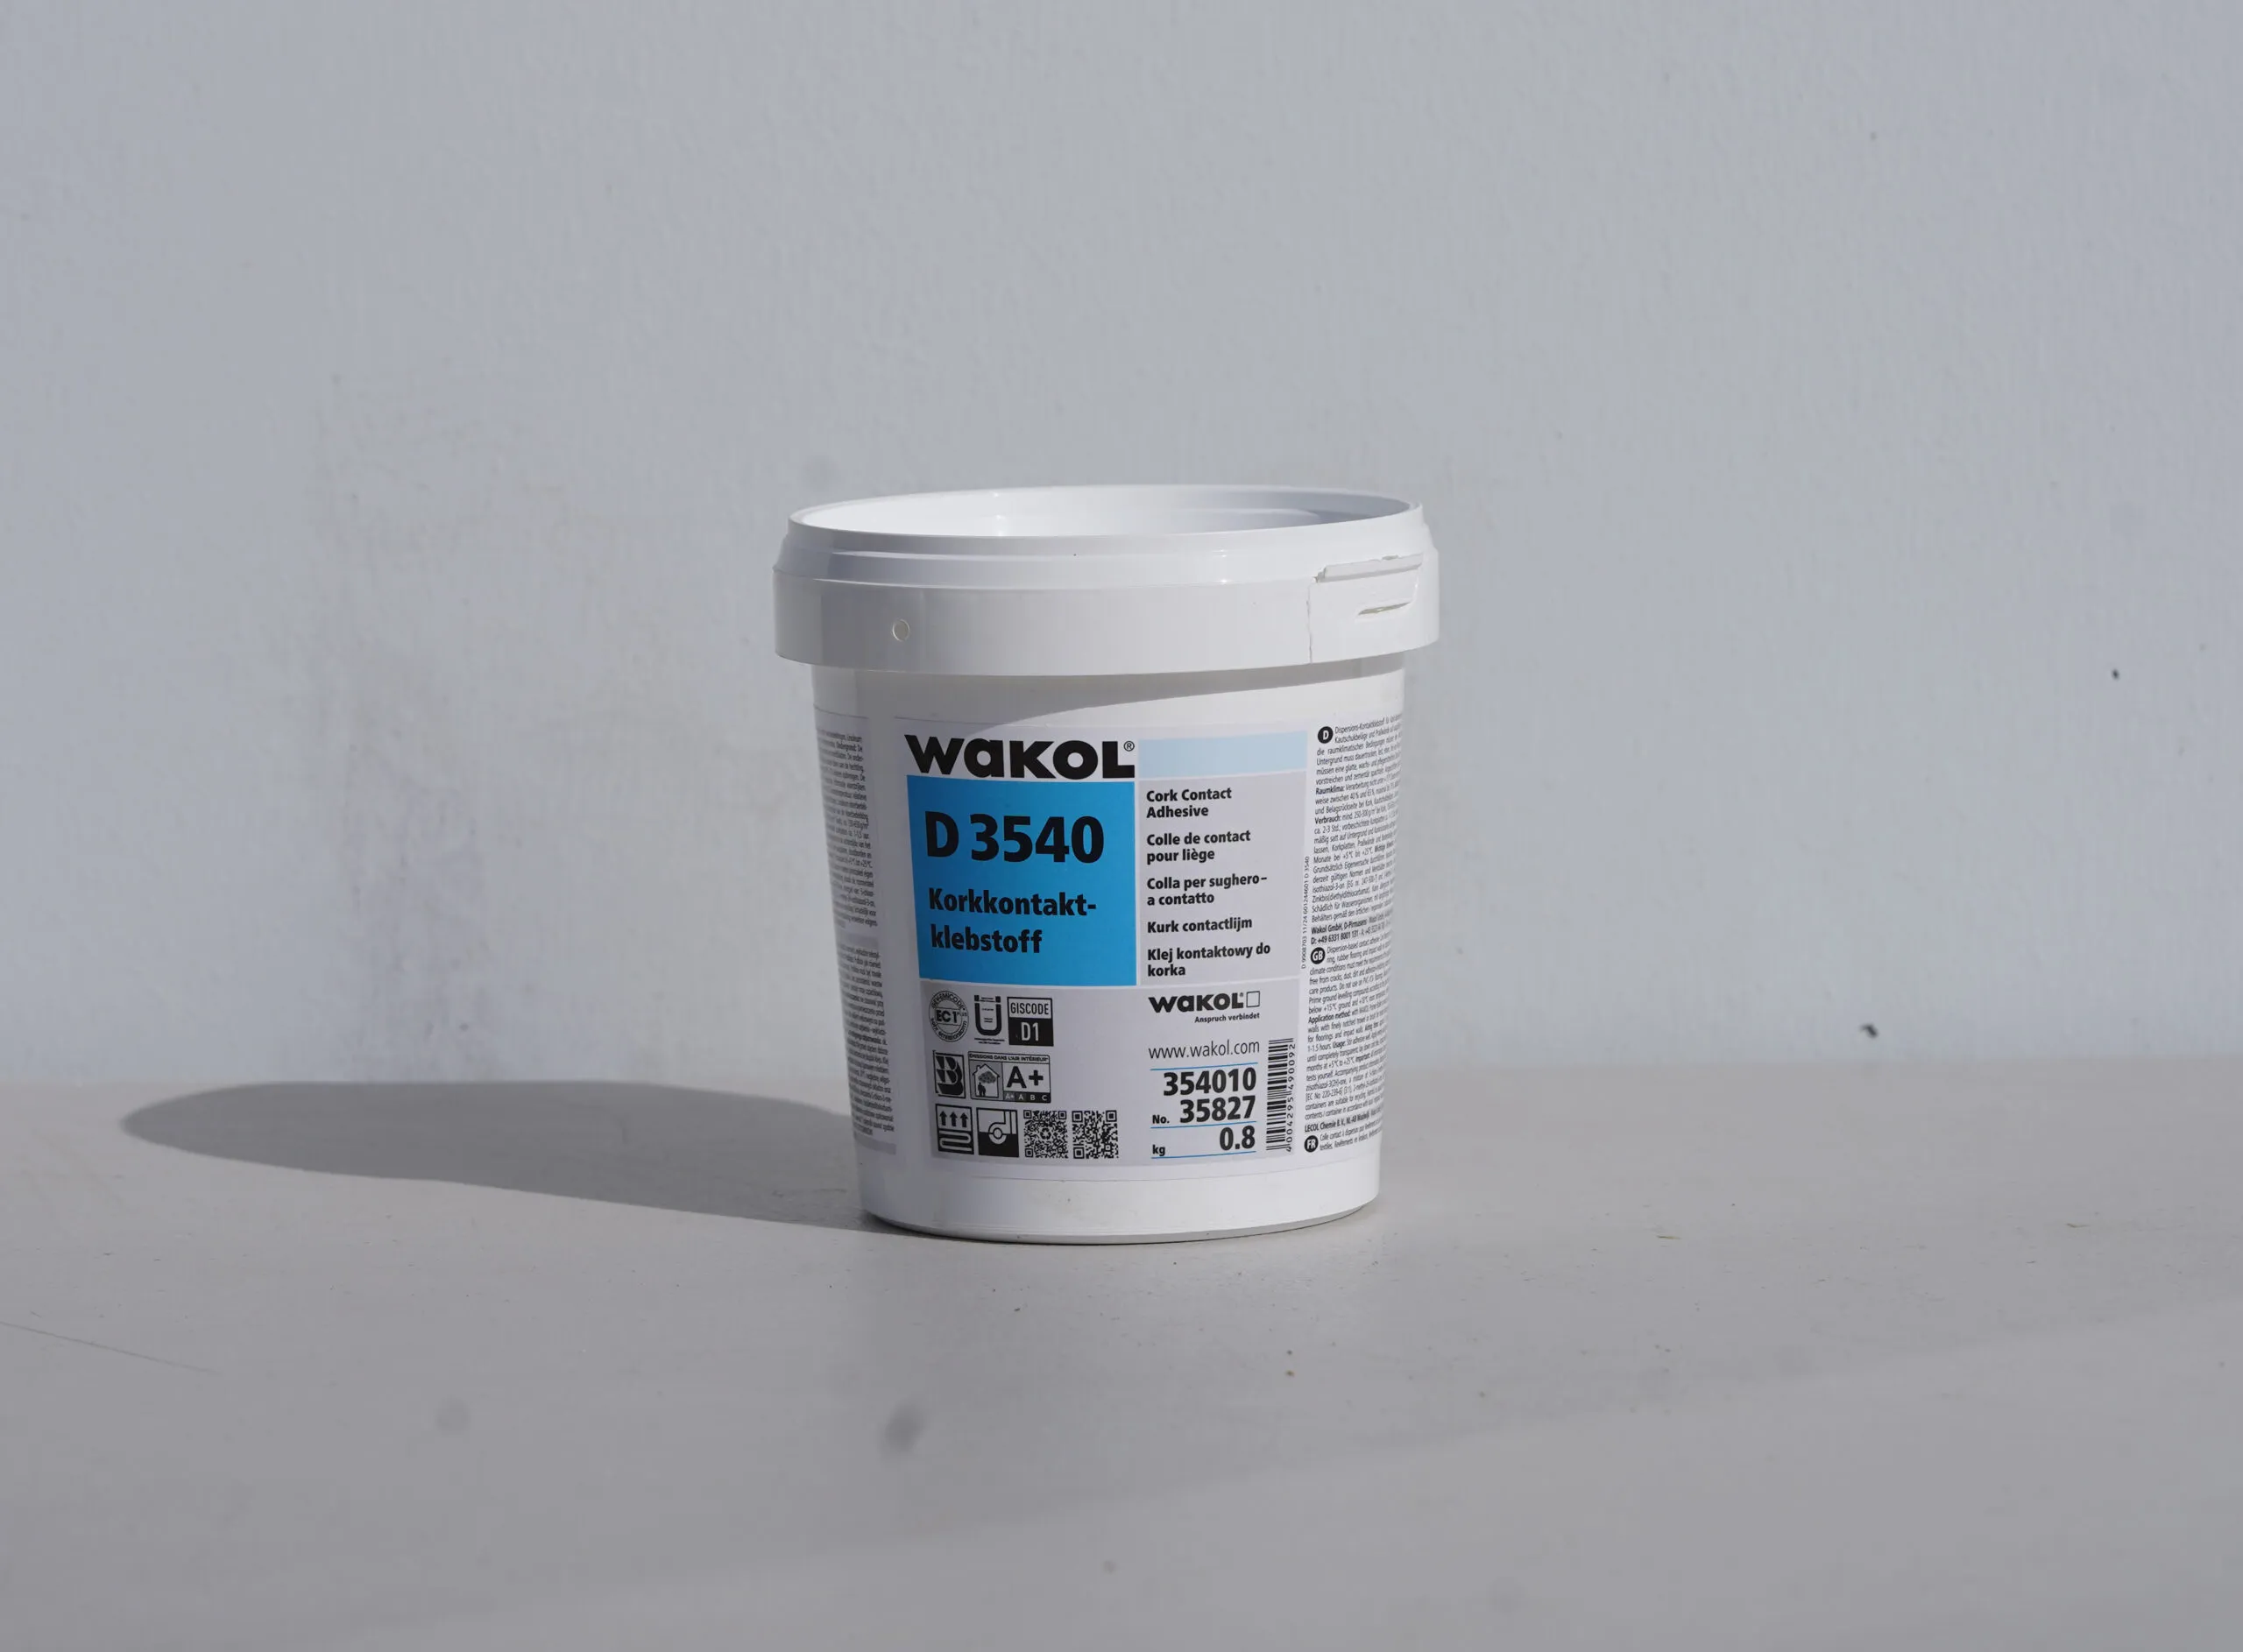
Shop cork adhesive
Match adhesive to the substrate and flooring product.
Installation guide
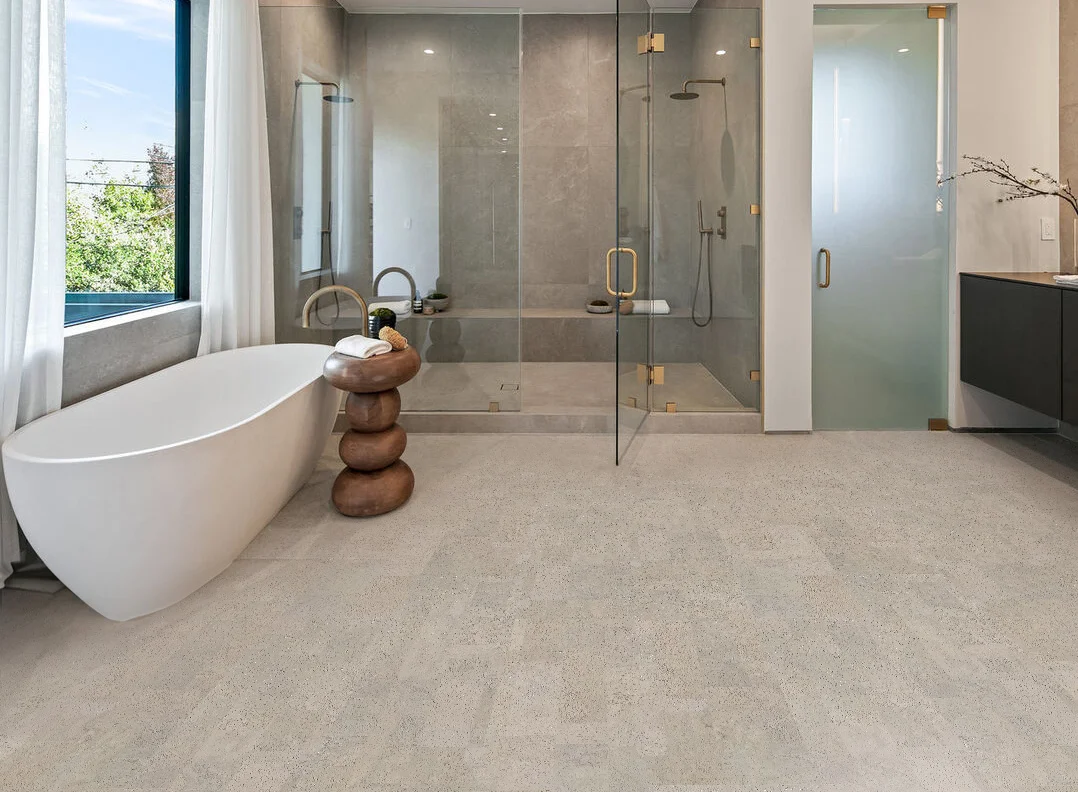
Use this guide when Swiss LinoDesign flooring is installed as a full-spread glue-down floor in flood-prone or moisture-conscious areas.
Match adhesive to the substrate and flooring product.
Ask for help before installing in flood-prone rooms.
Compare floating and glue-down specialty floor guides.
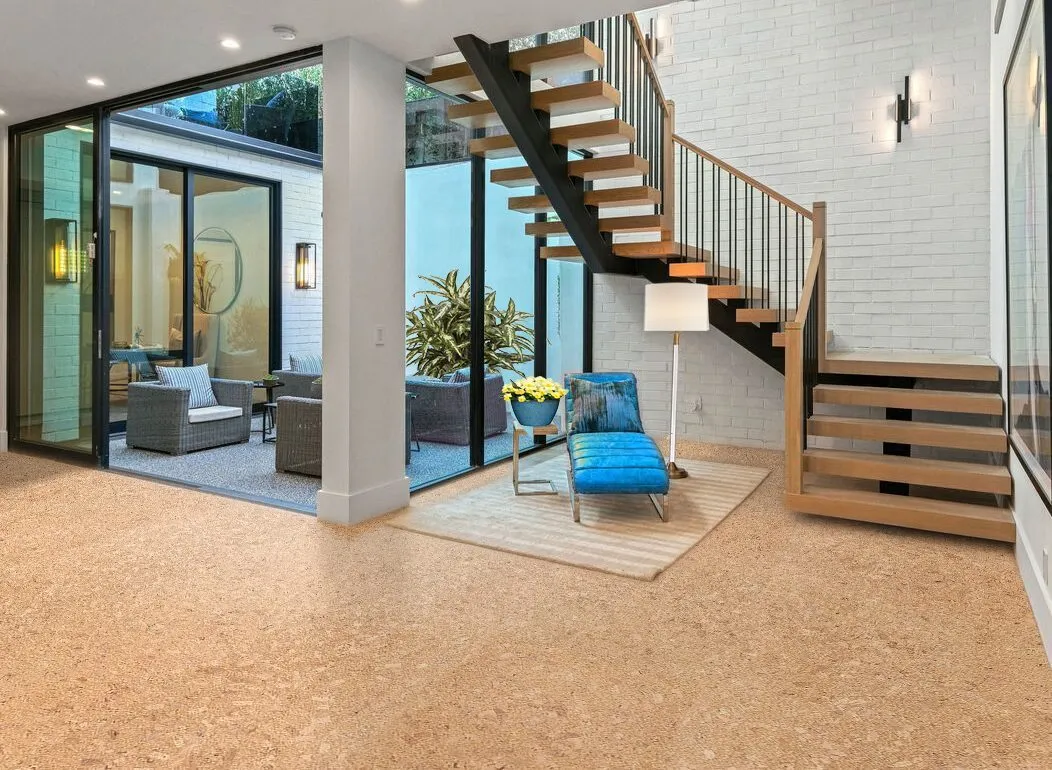
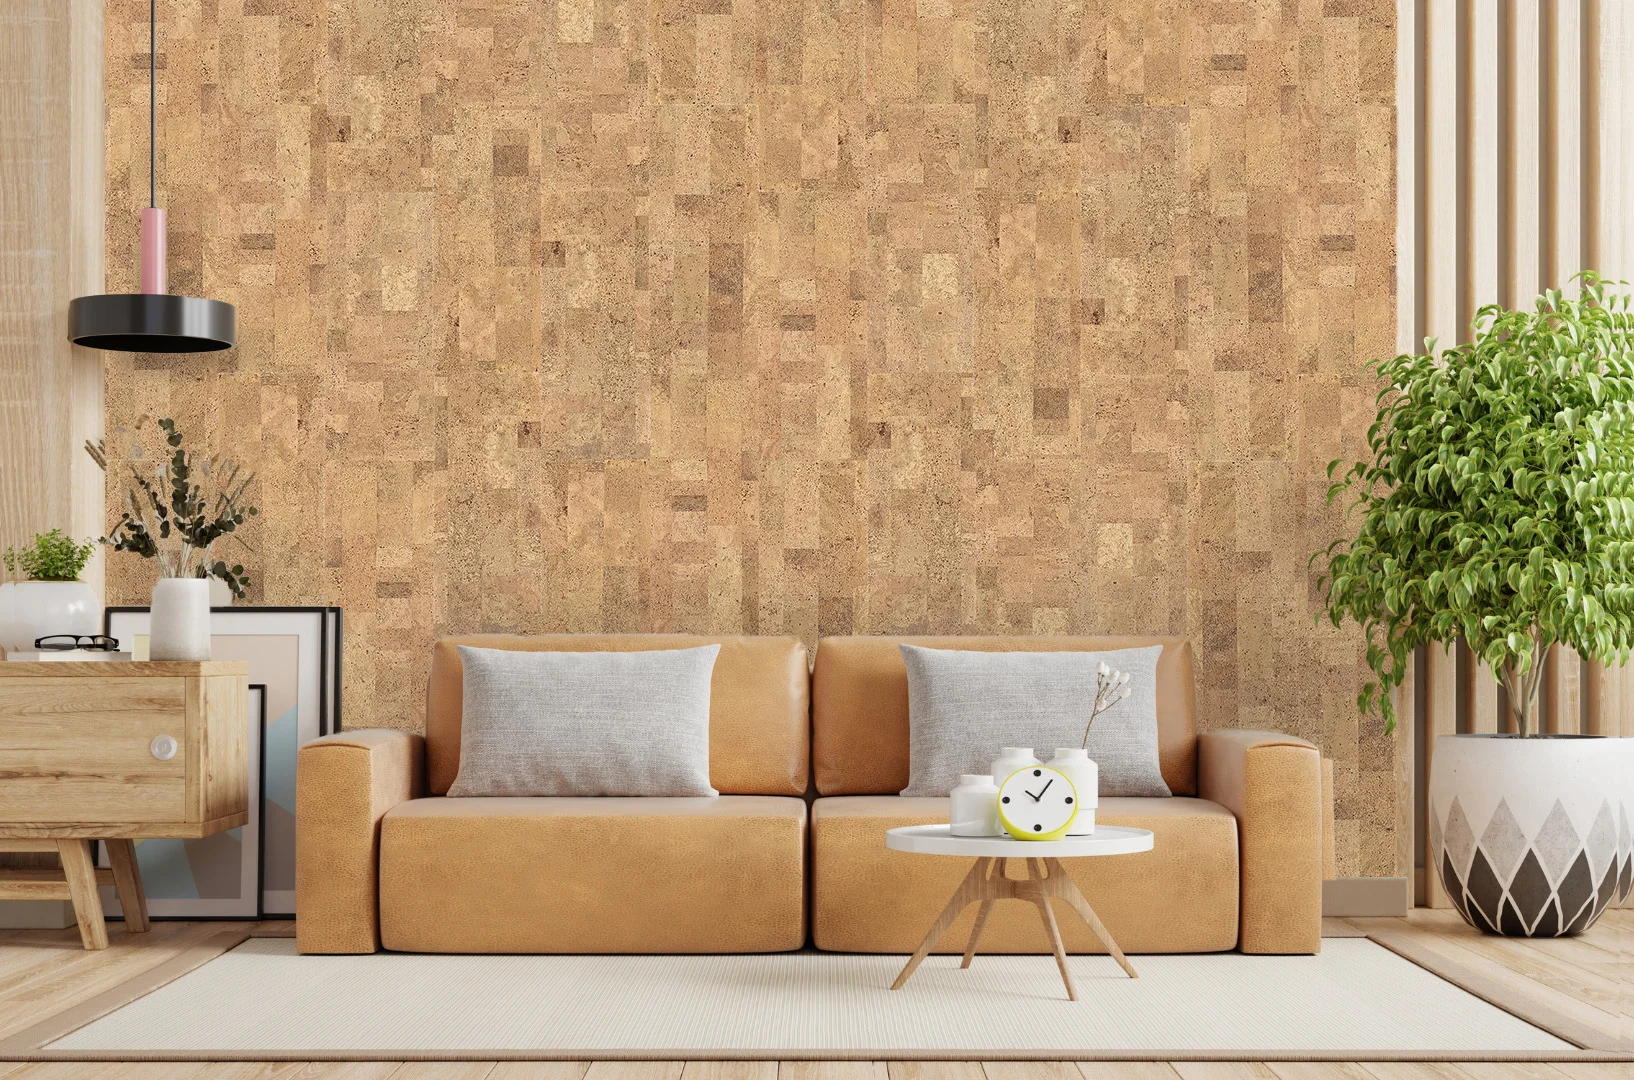
Swiss Linoleum Design is a premium floating floor system with Uniclic® click installation and a 100% waterproof HydroWood core. Unlike most floating floors, this product can also be installed using a full-spread glue-down method, making it an excellent choice for bathrooms, laundry rooms, basements, or any space where flooding or prolonged moisture exposure may occur.
By gluing the floor, you eliminate the risk of water seeping beneath the planks, reducing the chance of mold or mildew forming under the floor.
Use a low- or no-water-content parquet adhesive designed for wood and hybrid-core flooring. Suitable adhesives include:
Wakol MS 260 (1-component MS polymer adhesive)
MAPEI Ultrabond ECO 995 (1-component urethane adhesive with moisture barrier)
SikaBond T55 or Bona R851 as alternative options
Swiss Linoleum Design flooring planks
Approved wood parquet adhesive (see above)
1/4″ or 1/8″ V-notched trowel (follow adhesive manufacturer’s spec)
Rubber mallet and tapping block
Spacers (for wall expansion gaps)
Utility knife or saw for cutting planks
Chalk line, tape measure, straightedge
Heavy roller (at least 75–100 lbs)
Ensure the subfloor is clean, dry, and level (±3 mm over 10 ft).
Remove dust, oils, or contaminants that may interfere with adhesive bond.
For concrete subfloors: check moisture content. Follow adhesive manufacturer’s requirements for allowable moisture limits.
Measure the room and establish your starting line with a chalk line.
Plan plank placement to avoid having narrow cuts (less than 2” wide) at wall edges.
Spread adhesive evenly using the correct V-notched trowel size recommended by the adhesive manufacturer.
Work in small, manageable sections that can be laid within the adhesive’s open time.
Because Swiss Linoleum Design uses the Uniclic® system, you may need to trim off the bottom tongue of the planks along the first row and any row that requires direct adhesive placement. This ensures full adhesive contact and avoids creating hollow spots.
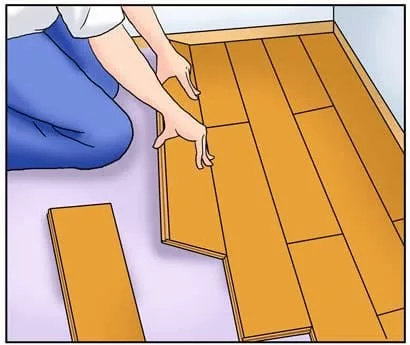
Set the first plank into the adhesive bed, pressing firmly into place.
Continue laying planks row by row, locking them together with Uniclic.
Use spacers to maintain a 1/4″ (6 mm) expansion gap along walls and fixed objects.
Tap gently with a mallet and tapping block to ensure tight seams.
Once a section is installed, roll with a 100-lb roller in both directions to embed planks fully into adhesive and eliminate voids.
Avoid heavy foot traffic for at least 12 hours after installation.
Do not wet mop or expose the floor to water until adhesive has fully cured (24–48 hours depending on product).
Do not mix adhesives—always use one system consistently.
Trim tongues where necessary to allow adhesive bond across full plank underside.
Always follow adhesive manufacturer’s instructions for spread rate, open time, and curing.
For bathrooms, seal expansion gaps with a flexible waterproof sealant to prevent water intrusion.