Compare the thickest option with your project’s specified assembly, acoustic requirements and available finished height.
Thickness
12mm
Pack coverage
102 sq. ft.
Role
Specified floor assemblies
Check
Height, acoustic report & approval
Before you chooseMore thickness alone does not guarantee a required acoustic rating. Condo and strata approval depends on the tested complete assembly.
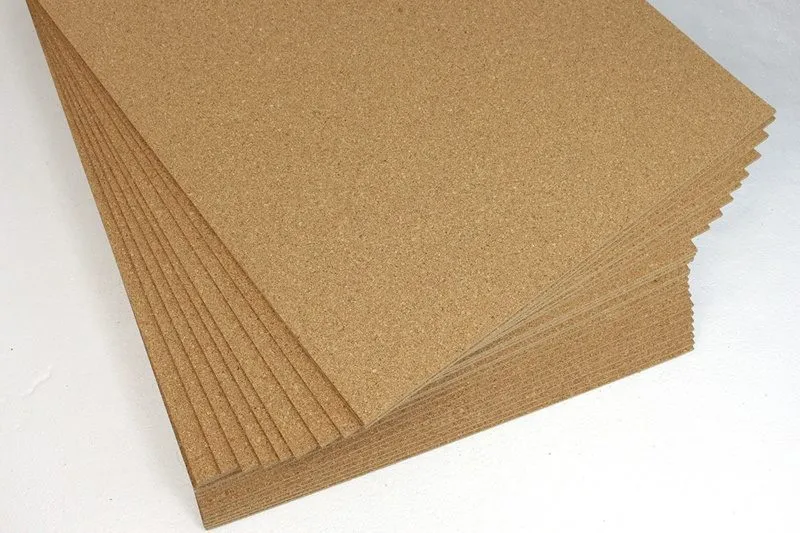
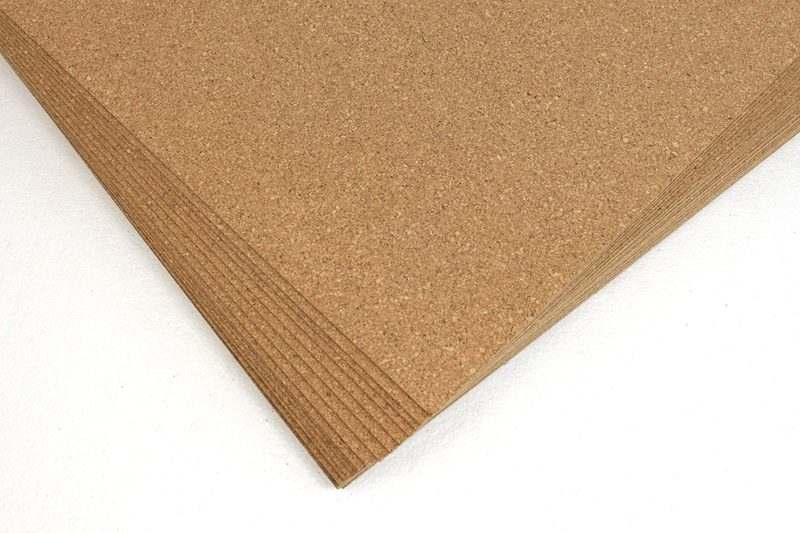
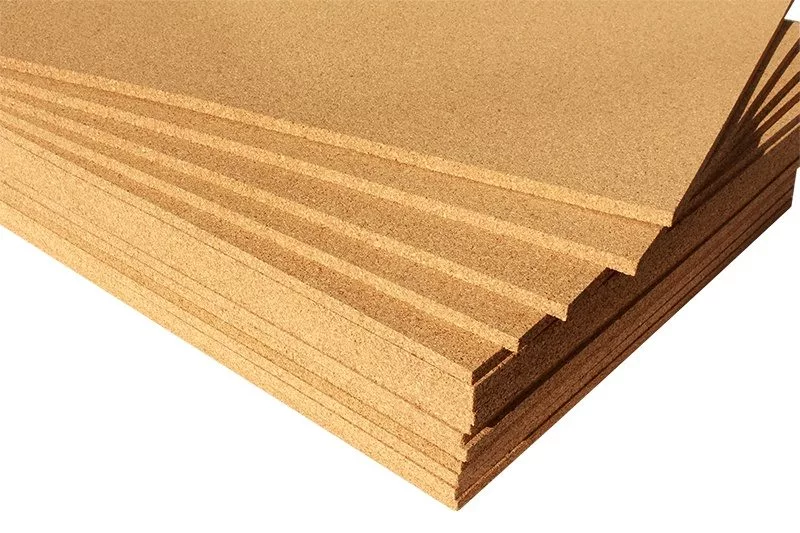
Forna cork underlay is easy to install. You will treat your underlay like you would treat the floor above it. If you are floating the floor, then you float the underlay. Choose the flooring direction before laying the underlay. Forna cork underlay sheets should be laid perpendicular to the flooring above it. The cork sheets should be staggered as in a bricked pattern. This is known as a running bond pattern.
Never pierce cork underlay with nails, screws, or staples. Cork underlay is either loose laid or glued in place.
Forna cork underlay accepts any water based construction or wood underlay adhesive. It works well if you allow the troweled adhesive to set-up a little before laying the cork underlayment. This allows the liquid in the adhesive time to evaporate without allowing the cork to get too wet.
Cork underlay is not water proof nor is it water resistant. Moisture mitigation must be in place when laying cork over cement.
Estimate underlayment packs
Start with coverage. Confirm the final quantity before you order.
Enter your area to estimate packs.
An estimate, not an installation specification. Confirm actual pack coverage, layout and waste. Without JavaScript, divide your area plus cut allowance by the pack coverage above and round up.
Acoustic performance depends on the finished floor, substrate, underlayment, ceiling and other assembly details. Use the report for the assembly relevant to your project.
Is cork underlayment a moisture barrier?
No. Check the floor manufacturer’s moisture-protection requirements and the condition of the substrate. Use the specified barrier where required.
Can I put it beneath any floating floor?
Confirm the manufacturer permits the extra layer and the chosen thickness. Some floors already have a backing or specific support requirements.
How many packs should I buy?
Use the pack estimate above, then confirm pack coverage, cut allowance, layout and your installer’s requirements on the product page.
Will it satisfy my condo or strata requirements?
Get the building’s requirements first. Compare the tested assembly and submit the relevant documents for approval before ordering.
What does delivery cost?
Delivery depends on products and destination. Free shipping may be available on $1,500+ eligible orders; items and delivery location are confirmed at checkout.
Choose whether we may use analytics and advertising data to improve the store and measure campaigns. Necessary store functions always remain available.
 Ships Canada-wide
 Flooring
 Cork Underlayment
 Supplies & Guides