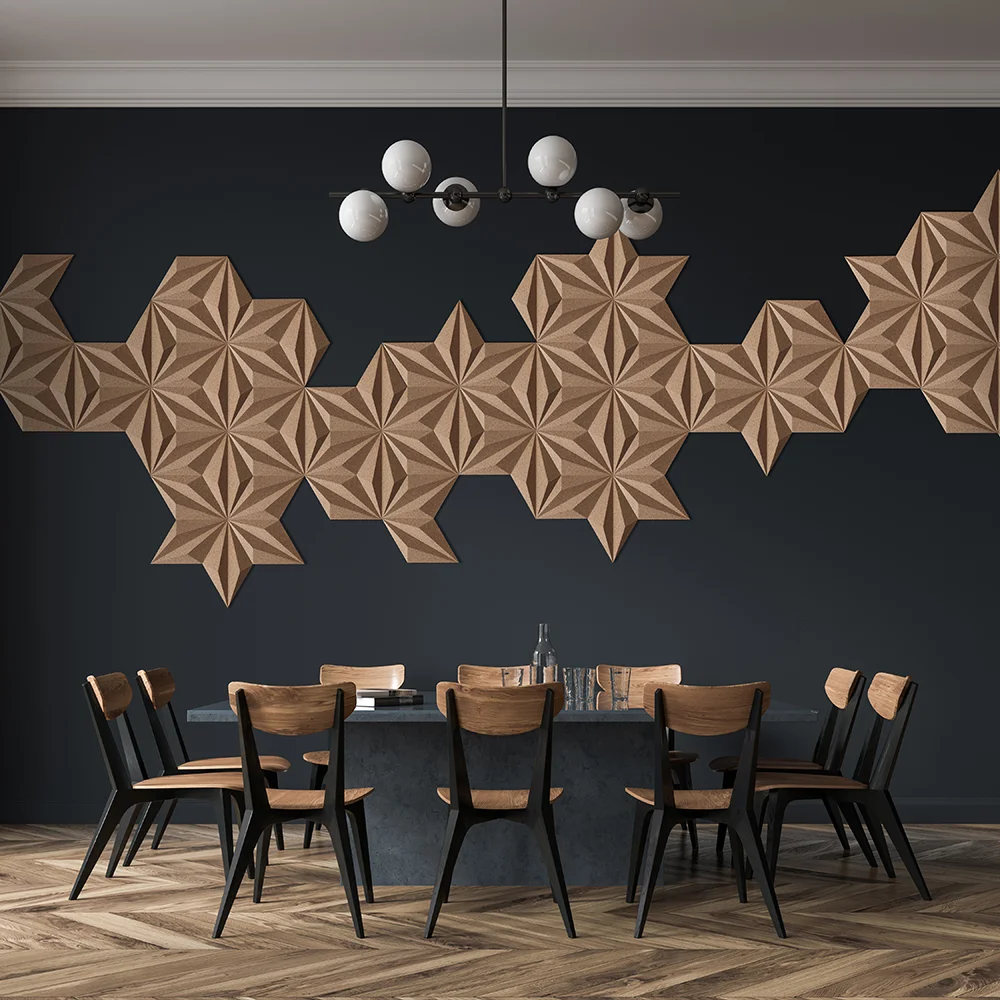
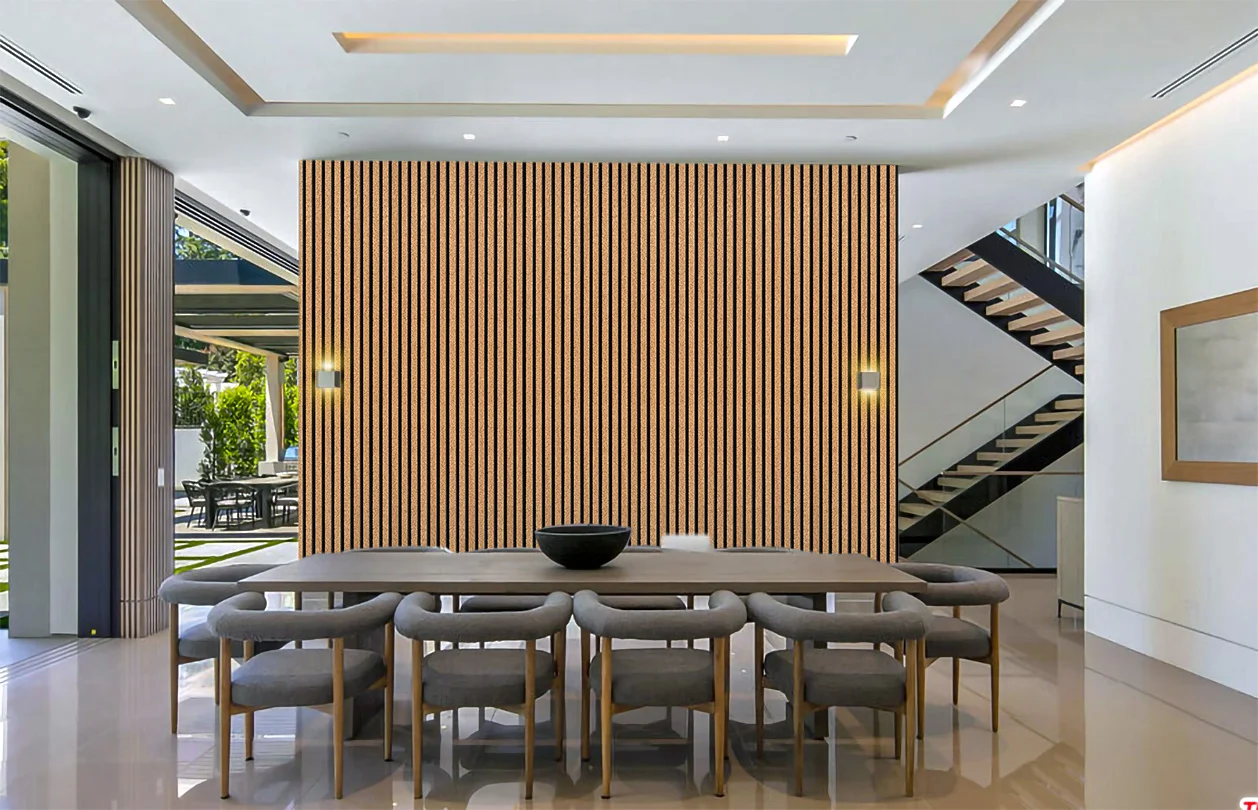
View wall and ceiling products
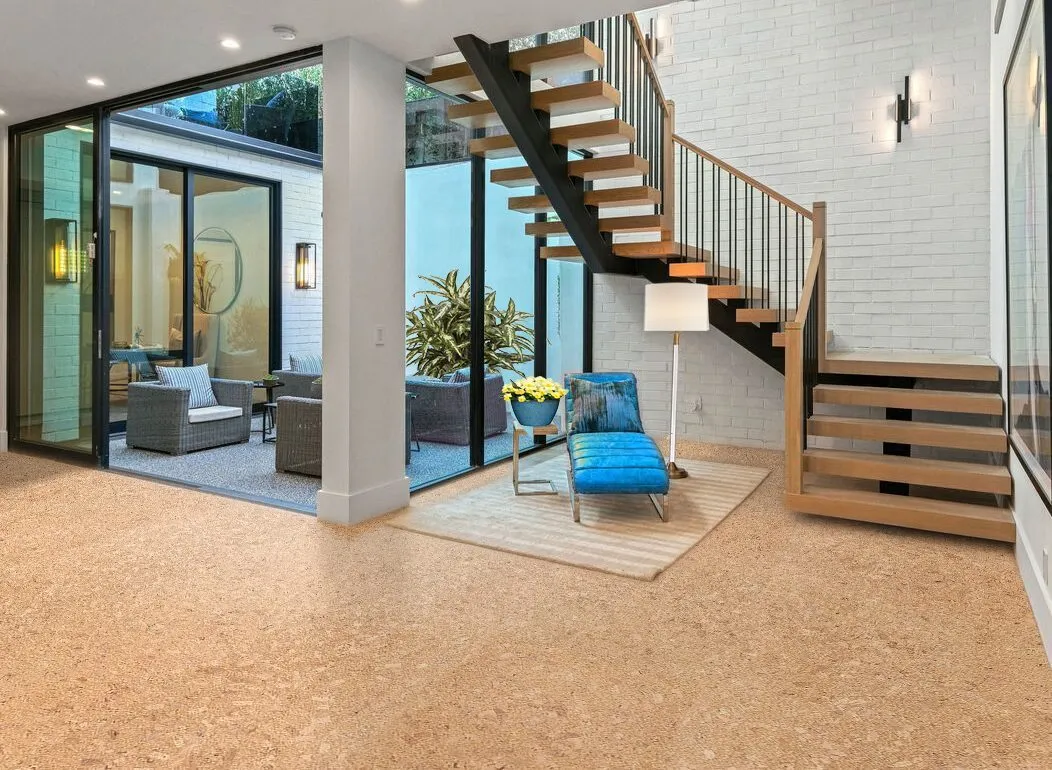
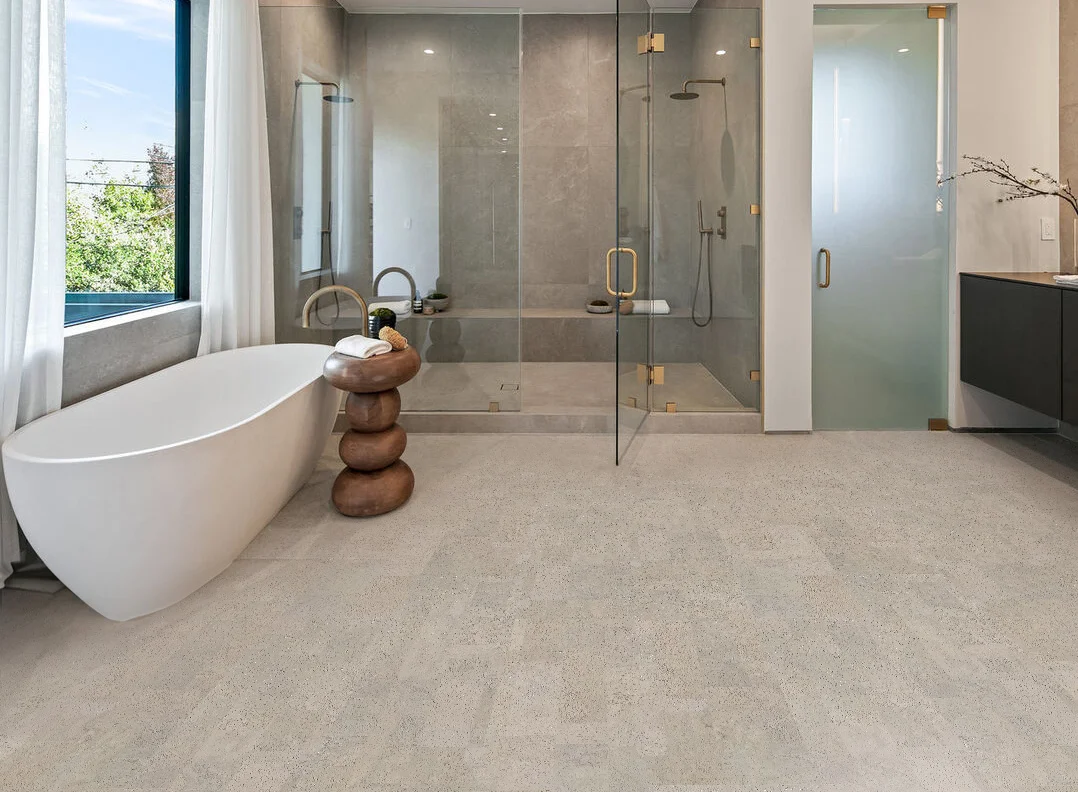
Compare cork wall styles and panel formats.
Installation guide
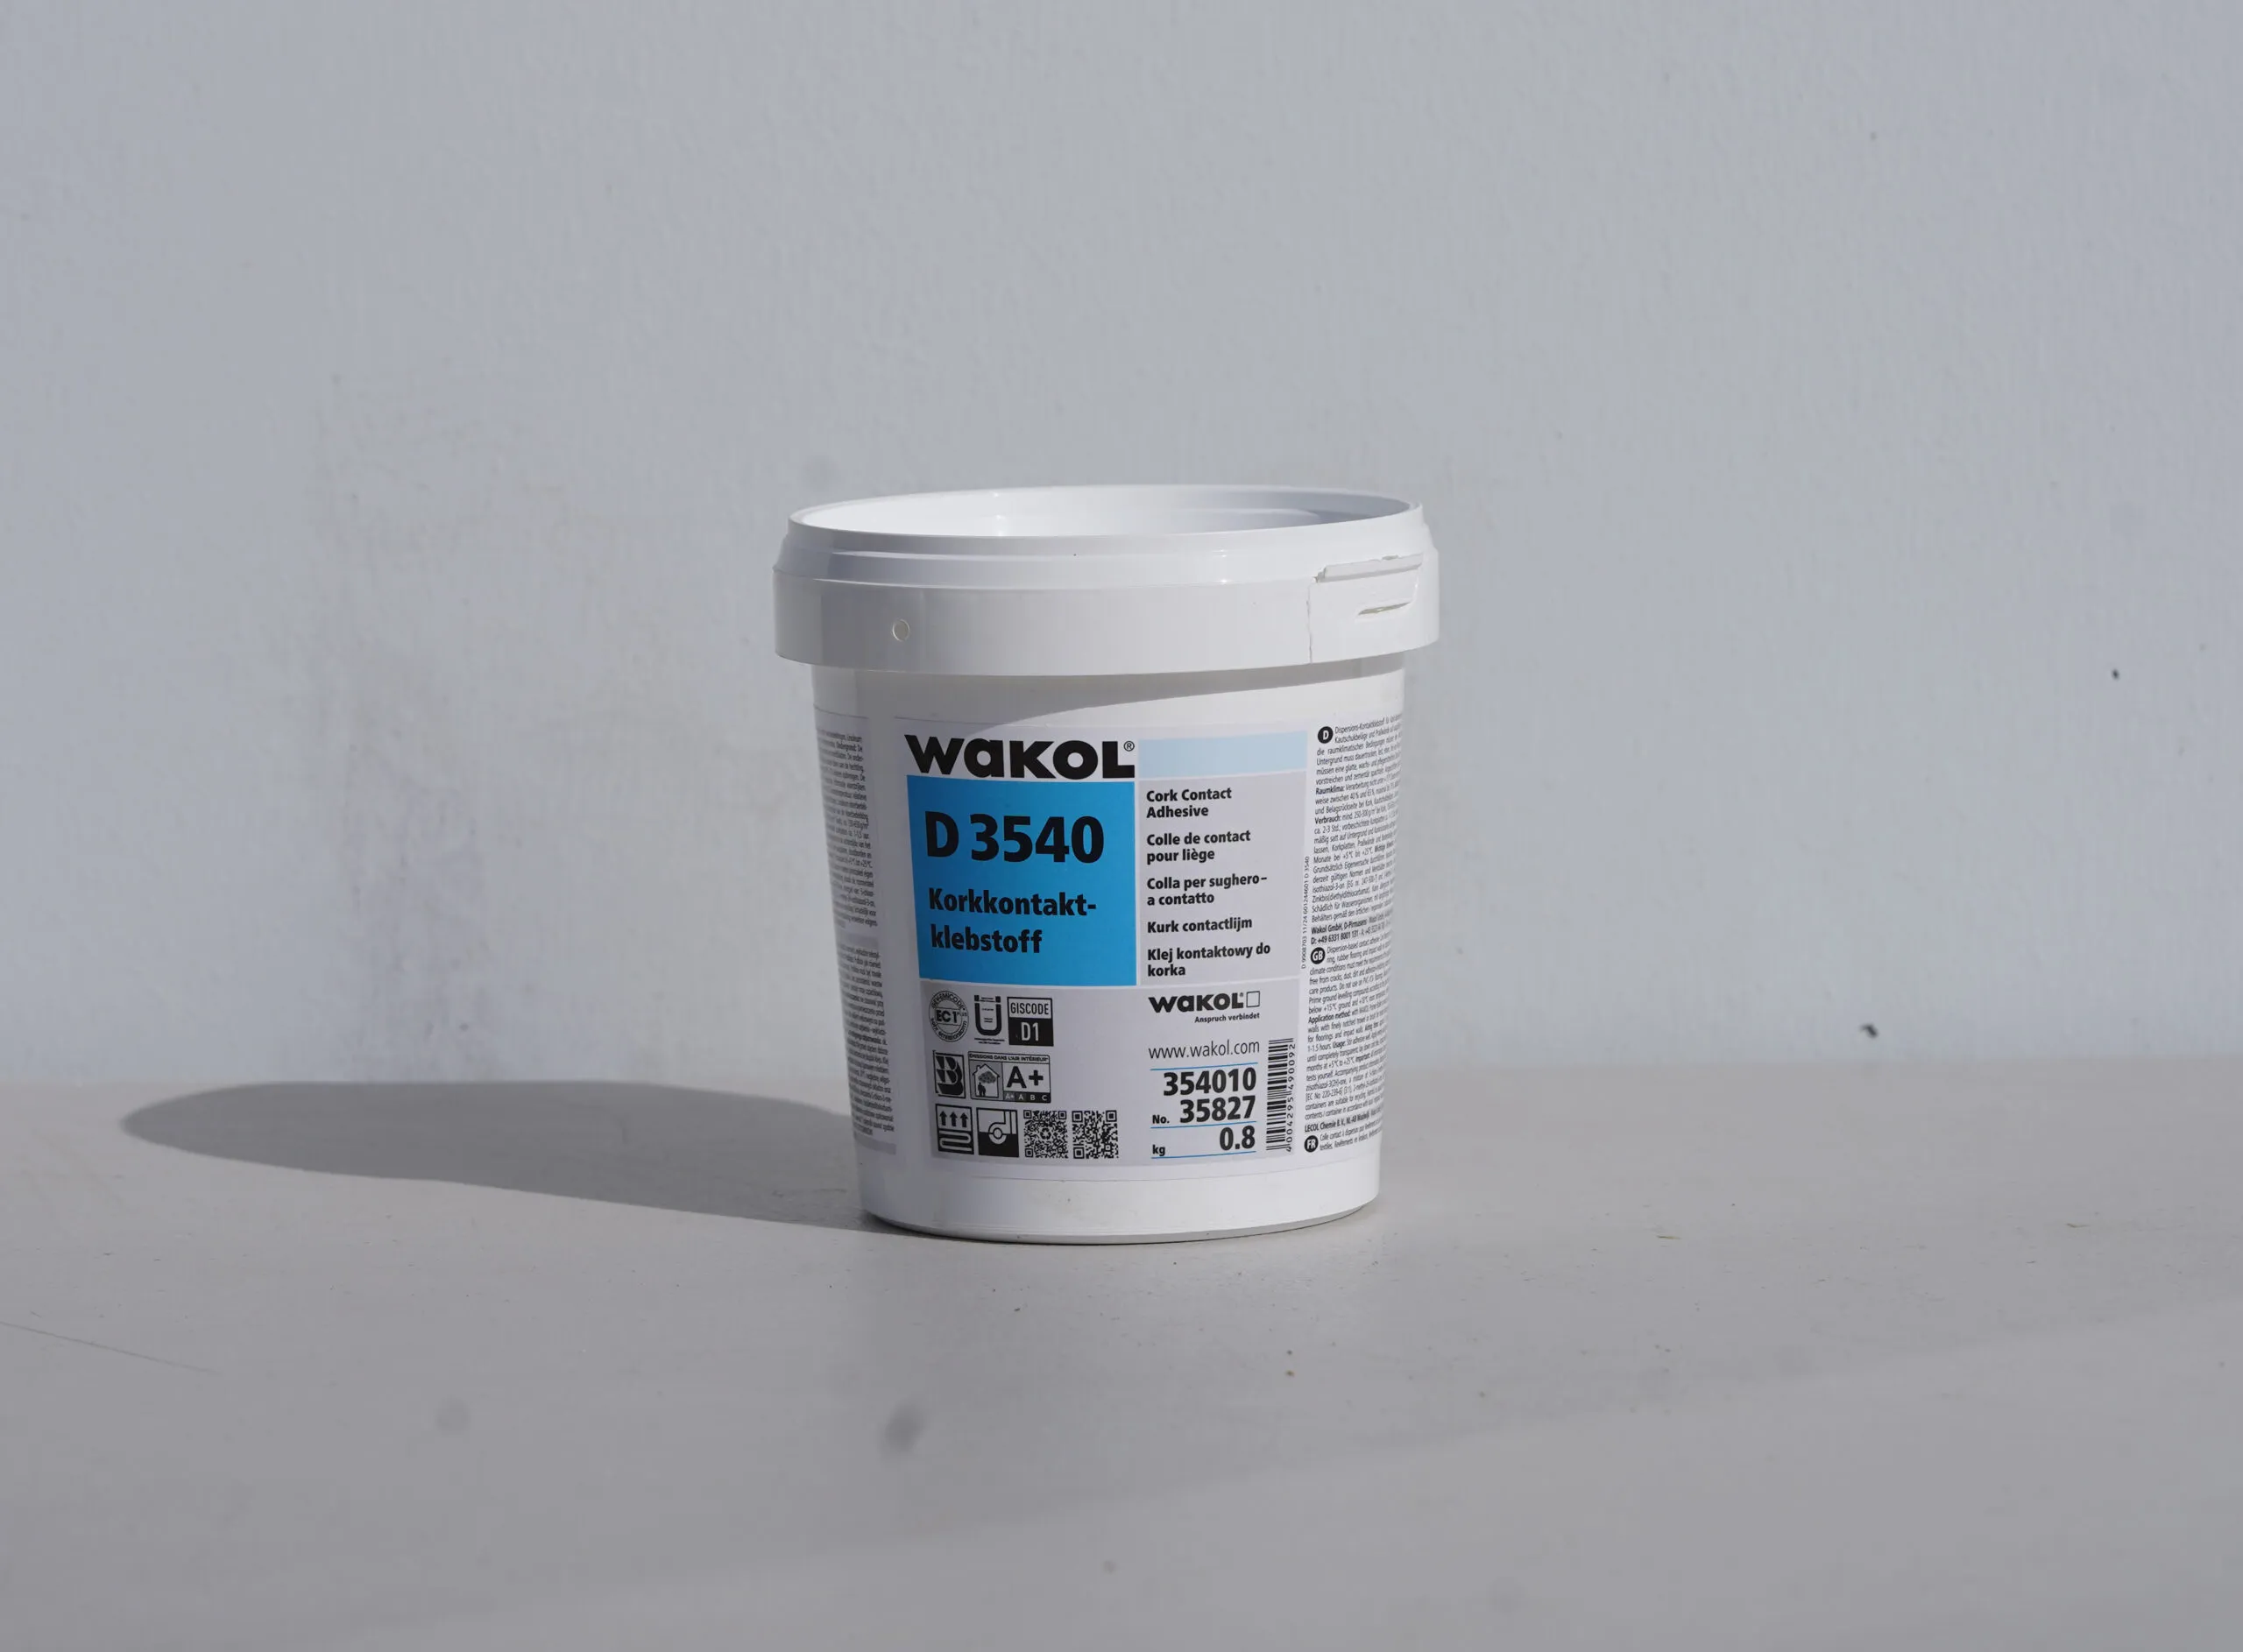
Use this guide for peel-and-stick cork wall panels, with layout, surface preparation, cutting, and added adhesive guidance where needed.
Compare cork wall styles and panel formats.
Use the standard wall tile guide for non-peel-and-stick products.
Ask before installing over unusual wall surfaces.
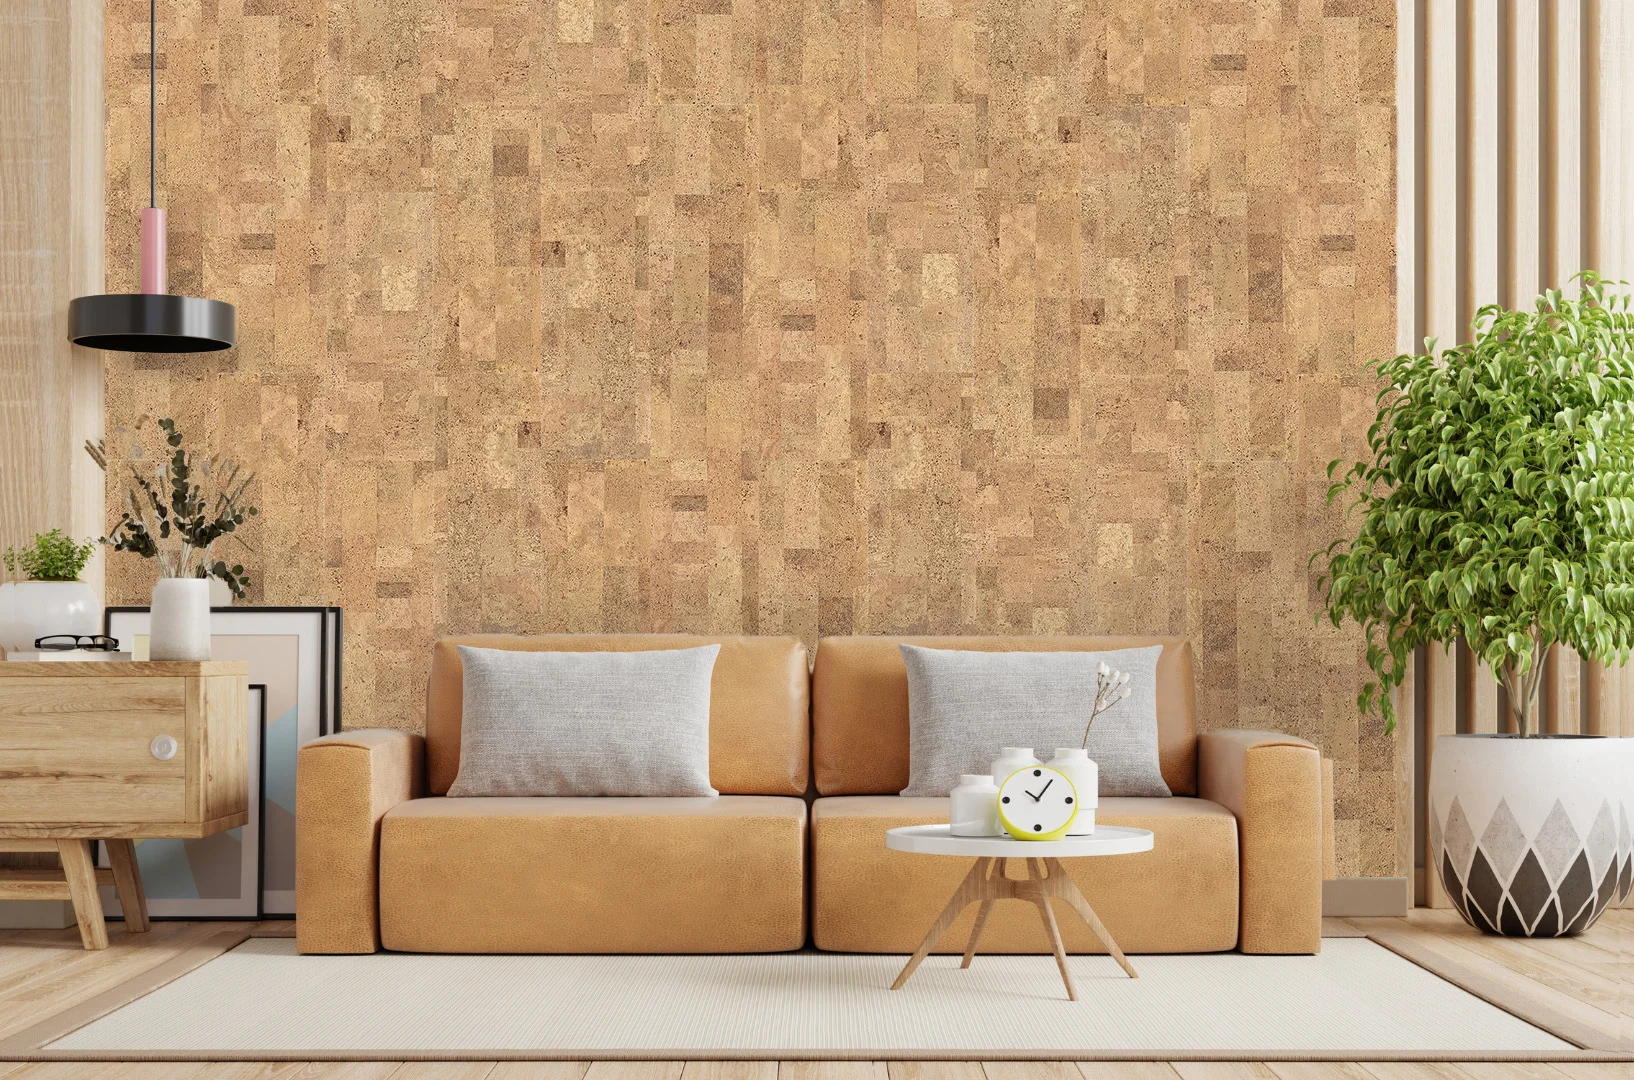
Installing Aspect peel & stick wood tiles is a simple, exciting project that adds instant style to your kitchen or bath. We have deliberately over-explained the tile installation. Have fun with this project. It’s going to be easy and look great!
Read this installation manual in its entirety before you start. If you have doubts about doing this installation, you should contact a qualified contractor, carpenter or professional installer. As with all real wood products, Aspect® Peel & Stick Wood Tiles will react to the climate in your home and to seasonal humidity changes. We highly recommend the following preparations to ensure your project satisfaction.
Note: As with any wood product, there will be some variance in the wood thickness and depth. This may result in small gaps between rows or tiles. We believe these imperfections add character to any rustic backsplash or wall installation. However, if you desire to conceal gaps, you can cut a sliver from another tile or fill gaps with matching wood putty or even a matching caulk. Be sure to wipe off excess material if the latter products are used.
PROPER SURFACE PREPARATION IS ESSENTIAL FOR A SUCCESSFUL PROJECT
Failure to follow recommended surface preparation instructions may void the warranty. ACP, LLC is not responsible or liable for any labor costs or damaged product incurred as a result of improper installation. All product defects are covered under our 5-year limited warranty. Please read our complete warranty for details.
The adhesive on the back side of the Aspect wood tiles is engineered to stick to flat, primed (please wait 10 days after priming to do this project), smooth walls.
Allow the tiles and substrate to come to room temperature (65°F to 85°F) before installation.
Proper wall preparation is required. Aspect can be installed over most structurally-sound substrates if they are clean, flat, smooth, dry and free of dust, wax, soap scum and grease. Acceptable substrates are drywall, plaster or clean, smooth tile (glazed, porcelain-type tile; not porous or textured). Any damaged, lose or uneven areas must be repaired, patched, leveled and primed. Fill cracks and irregularities with wallboard compound or spackling, then sand smooth with 400 fine-grade sandpaper.
The adhesive on the back side of the Aspect tiles is engineered to be aggressive and pressure-sensitive, that being said these tiles as we have found out through trial and error do require extra adhesive to keep them up well on your wall.
The substrate to which you are applying Aspect tiles must be primed with 2 fresh coats of latex primer such as Zinsser® or KILZ®, at least 10 days before you install your tiles (or similar products; visit our FAQ for brand suggestions). Ingredients in “paint & primer in one” products can cause adhesion failure; as such, be sure to use a stand-alone primer. To hide any gaps, we recommend that you tint the primer a dark brown or black color before priming the area to be covered. The paint desk at your home center can easily add and mix the primer tint.
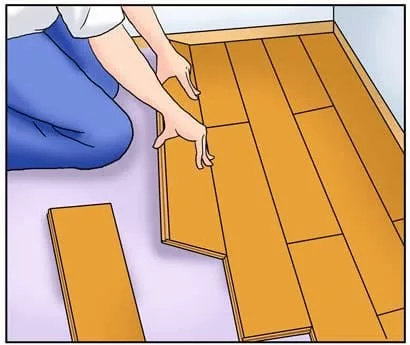
Measure the first area to be covered by Aspect Peel & Stick Tiles. We recommend you lay out the entire project on a flat surface, like a counter top, table or floor before adhering to the substrate to be sure you have enough tiles and your design and layout is correct. This will also give you good reference as to how the tiles will look on your wall. As you lay out tiles, make sure tile colors (which vary slightly as does all wood) and seams are to your liking.
As each project is different, be sure to plan for cutouts, corners or edge treatments before applying tiles. Tile edge seams will be more visible if they are not aligned. When starting a new row, you must use a random staggered pattern (subway pattern).
The easiest layout method for a backsplash is to begin from the inside corner of your countertop and work across from right to left. This method allows you to use two points of reference, your vertical wall and horizontal counter top. Note – when using these two points of reference, be sure to check them for level on the horizontal plane and 90° on the vertical plane. This will prevent any problems as you build your backsplash.
Lay a 4-foot level on top of your counter top or backsplash return lip. If the counter top is level and straight, begin tile installation as described below. If your counter top is not level and straight, please see our FAQs to learn how to start the first row.
Beginning from inside corner on right, place the first tile.
Start your first tile at the upper left corner of your accent wall area. Abut the first tile to the ceiling or topmost termination point if not a ceiling.
Beginning from inside corner on left, place the first tile.
Here’s where the fun begins. Be sure the substrate is clean and dry. Remove the adhesive liner from the back of the tile, you will need to use a small paint brush to dab dots of adhesive randomly on the back of the tile.
The first tile and all other tiles that abut an inside or outside corner will need to have the overlap notch cut away so there is a straight edge.
Use your miter saw to cut the notch and create a straight edge. File and/or sand the cut edge smooth.
Cut away the notch with a miter saw.
Straight cut edge with notch removed.
Sanding tile edge.
Working from lower right to left, make sure the overlap notch is always in the upper left position.
Working from upper left to right, make sure the overlap notch is always in the lower right position.
Note: Do not apply pressure to the tile until you are sure of your placement. If alignment is true, apply pressure to the whole tile.
The aggressive design of the adhesive does not allow for repositioning after the tile has been pressed in place. If the tile is affixed but not aligned properly, see the Removing Tiles section, below.
A manual or powered miter saw is the recommended cutting tool for the wood tiles. Use a jigsaw for cutting notches or other more intricate cutouts such as an electrical outlet.
Leave on the adhesive liner for measuring, drawing lines and cutting tiles. Measure and layout on a tile where the cut must be made and cut the tile. Take the cut tile (adhesive liner still on tile) to the work space and place it in its intended location, ensuring it fits properly. Cut and install all remaining tiles using the same steps described above. When tiles are installed to your satisfaction, press each again firmly with your hand. This will ensure that the adhesive bonds to the substrate.
To cut tiles for electrical receptacles or other cutouts that occur within a single tile, first mark on the tile faces the area to be removed.
Measure and mark the area to be removed approximately the size of the outlet box. Do not allow the tile to touch the receptacle itself. Use a jigsaw for cutting out around receptacles.
NOTE: When working around any electrical outlet, be SURE to turn the power off at your fuse box.
A powered miter saw is recommended for straight cuts.
A table saw can be used for straight cuts.
If desired, use a wood file or sandpaper to smooth cut edges
Sanding tile edge.
Use tube adhesive for small cut pieces of Aspect wood tile that is less than 4 inches by 4 inches.
If a tile needs to be removed, apply heat with a hair dryer to soften the adhesive. Use a putty knife on the back side and slowly apply outward pressure to release the tile from the wall. The adhesive is engineered to not be removed so caution should be taken to not damage the wall. Any removed tiles may be unusable.
Aspect wood tiles should be cleaned, if necessary, using a soft cloth or the brush attachment on a vacuum cleaner.
Indoor use as a backsplash is acceptable, but as with all-natural wood products, there is some inherent risk of staining and rot.
Extremely humid or dry environments may affect the wood negatively.
Many types of edge trims can be found at your local home center. Wood tile edges sanded smooth look great too. If a cut edge showing exposed wood doesn’t match, use stain to color the edge to your satisfaction.