


Cork tile installation guide
Use the full installation guide after reviewing failure prevention.
Installation guide
Most glue-down cork tile failures come from substrate moisture, wrong adhesive handling, poor transfer, skipped rolling, or rushing the dry-stick process.
Use the full installation guide after reviewing failure prevention.
Confirm the correct adhesive before installation.
Ask for help before proceeding if the subfloor or adhesive step is uncertain.
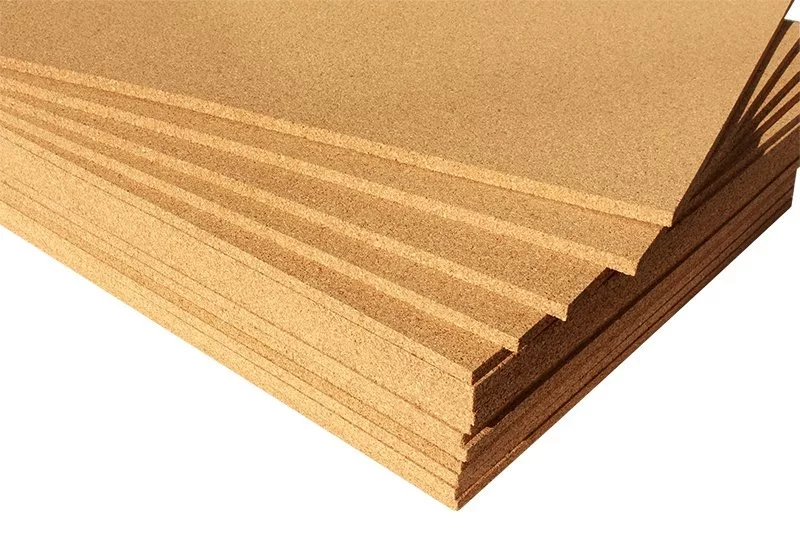
Cork flooring is renowned for its durability and longevity, demonstrated by its presence in historic locations such as the U.S. Library of Congress and numerous European cathedrals. However, issues like curling, gapping, and lifting in cork tiles often stem from a common installation error: incorrect adhesive application.
The Primary Reason for Cork Flooring Issues: Inadequate Adhesive Drying Time
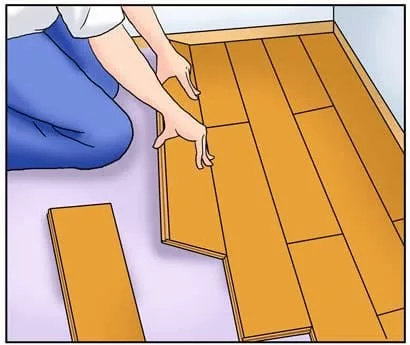
Incorrect Method: Wet Stick – Applying adhesive and immediately laying the tiles, as done with ceramic or vinyl, is incorrect for cork.
Correct Method: Dry Stick – Adhesive must dry completely, until it’s barely tacky and doesn’t stick to fingers, typically taking 15-30 minutes, before laying cork tiles.
Implications of Not Waiting:
The adhesive doesn’t dry fully, causing the bottom of the tile to expand from moisture absorption.
This results in curling edges, lifted corners, and gapping soon after installation.
Other Common Mistakes:
Improper Tool Usage: Using a trowel instead of a roller leads to excessive and uneven glue application, which causes delayed drying and weak adhesion.
Solution: Use a roller for a thin, even application of adhesive on both the subfloor and the tile.
Subfloor Moisture Issues: Particularly problematic in basements, where moisture and alkaline from concrete can degrade adhesives.
Solution: Opt for floating cork planks with a click-lock system in moisture-prone areas.
Incompatible Subfloors: Avoid gluing cork tiles directly over surfaces like ceramic tile, vinyl, or OSB.
Solution: If the subfloor is unsuitable, switch to floating cork flooring.
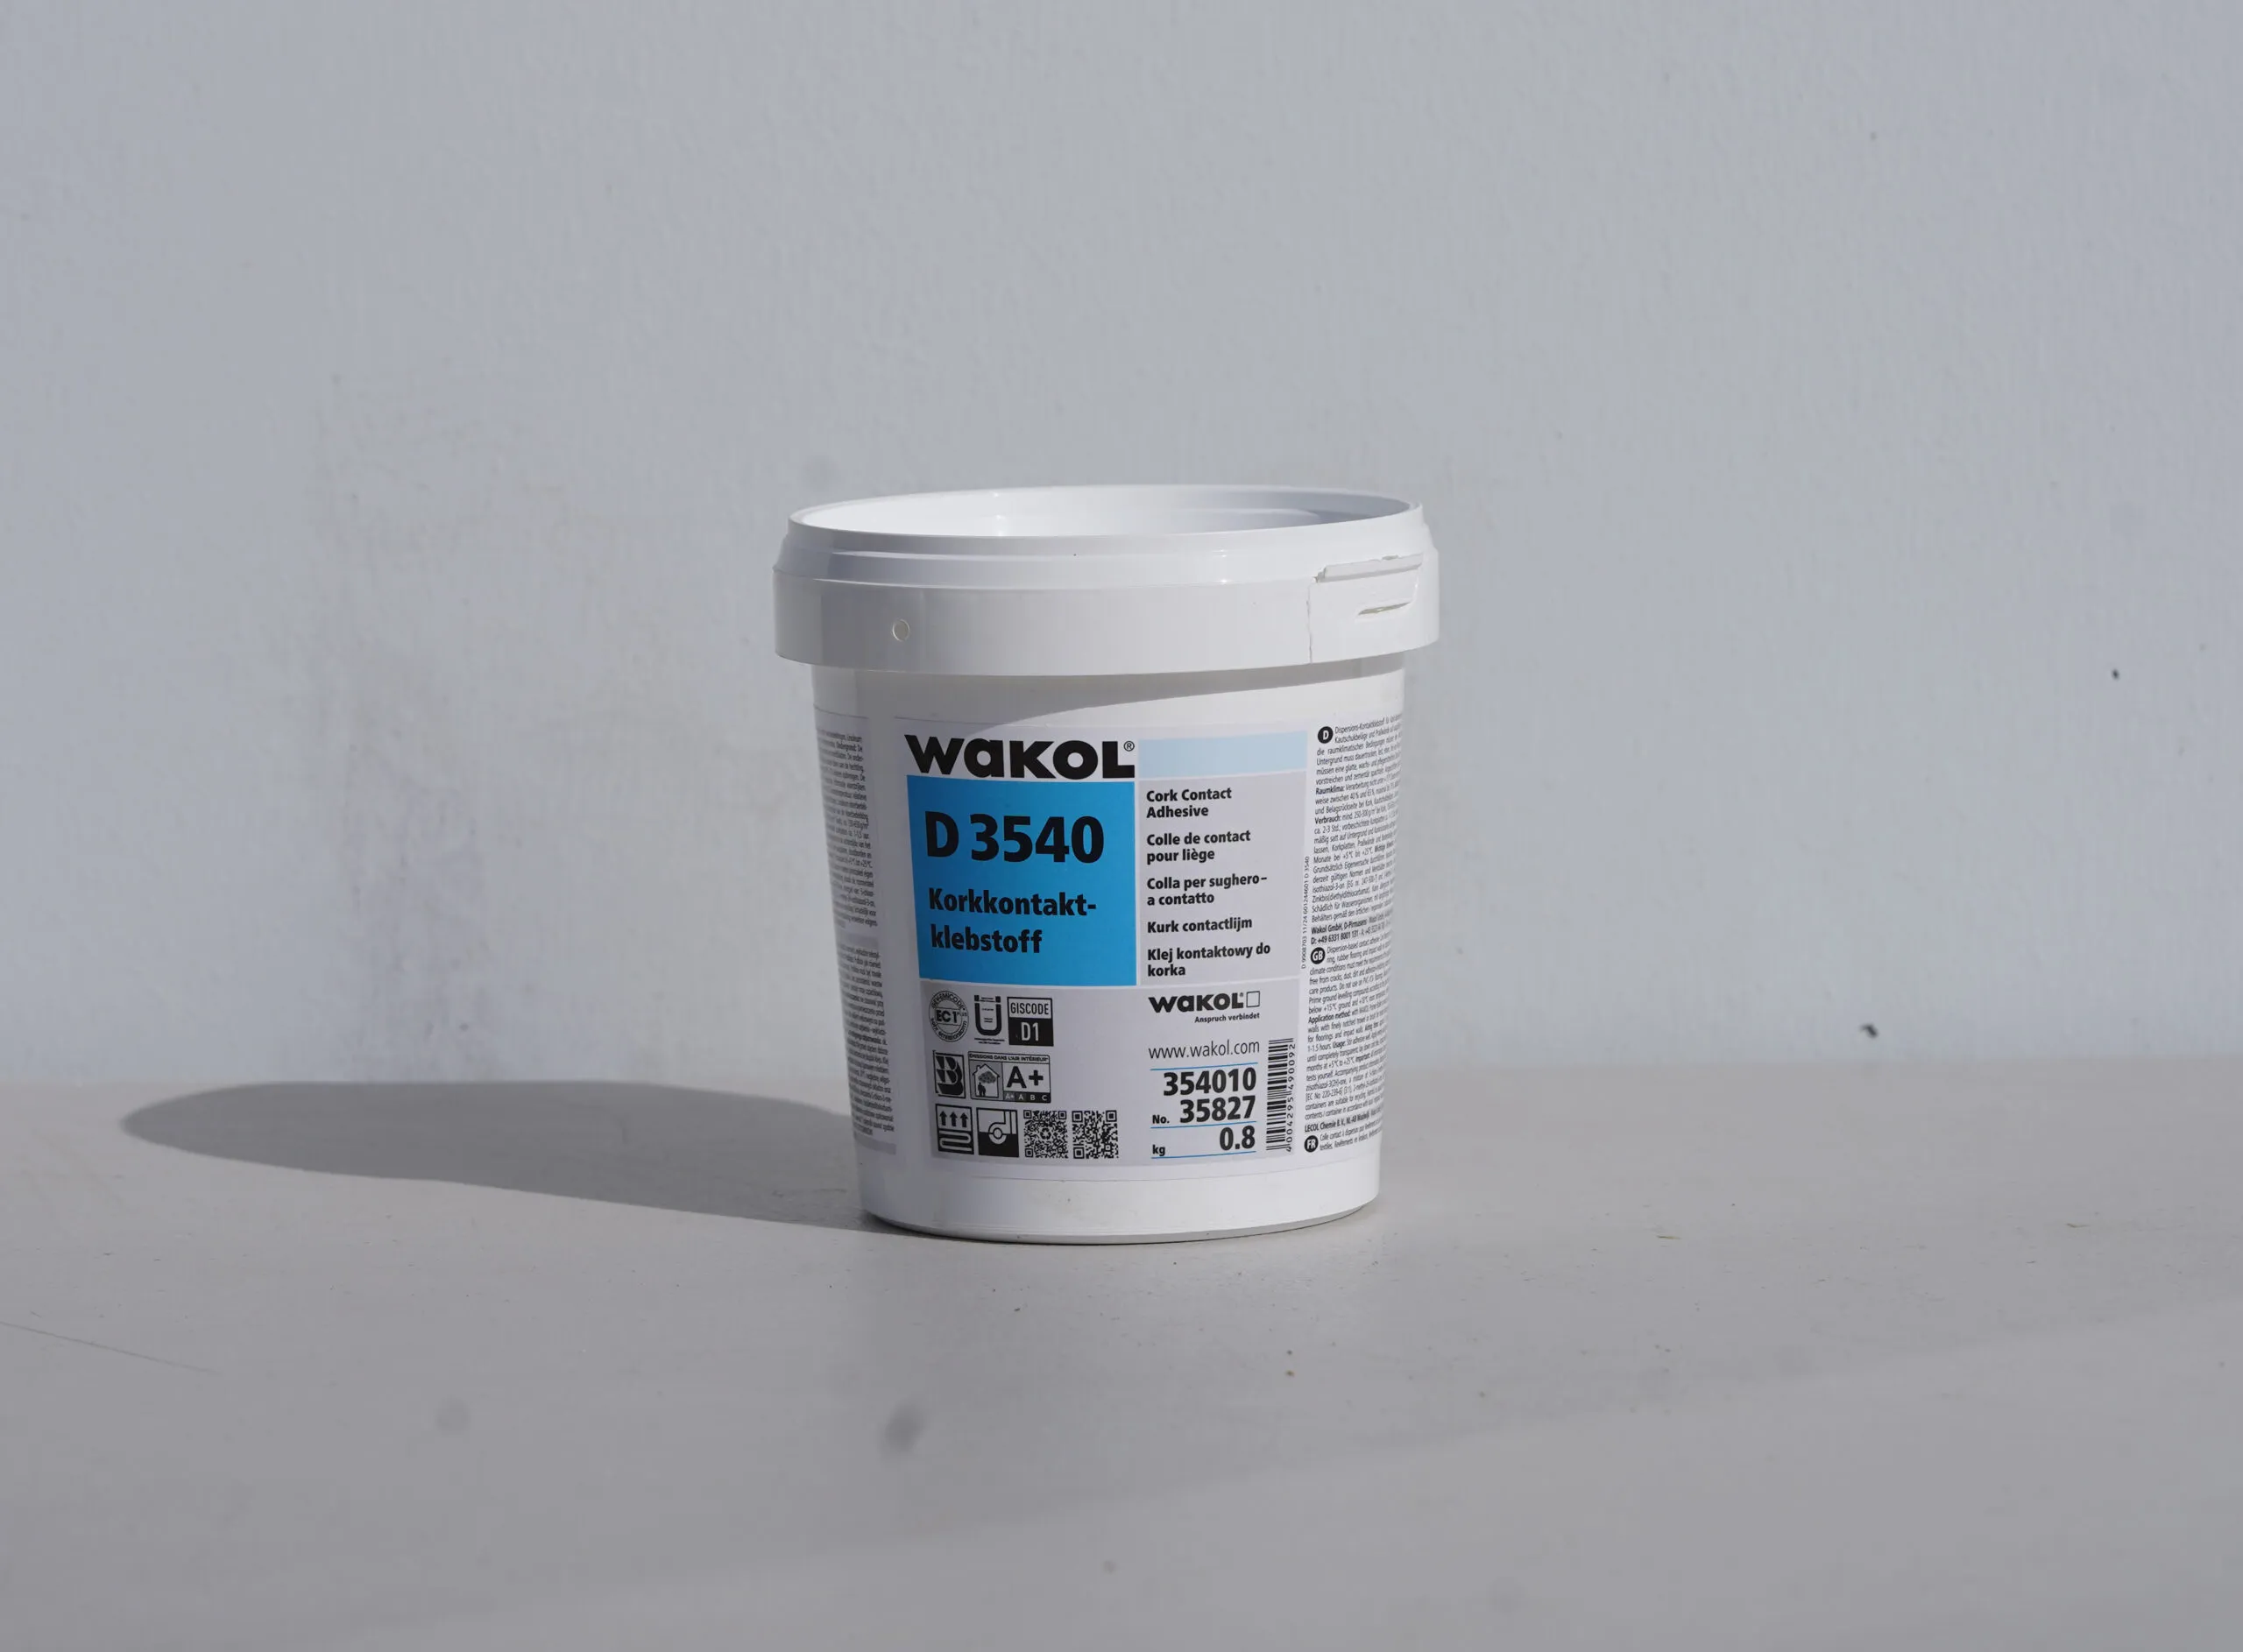
Incorrect Adhesive: Using inappropriate adhesives can doom cork installations from the start.
Recommended Adhesives: Wakol D3540 or 3M 30NF Green Fastbond Contact Adhesive.
Corrective Measures for Failed Installations:
Remove and replace affected tiles after thoroughly cleaning and preparing the subfloor.
Installation Best Practices:
Ensure adhesive is completely dry (dry-stick method).
Use correct tools and techniques for even adhesive application.
Choose the right cork flooring type based on subfloor conditions.
Always use recommended adhesives for cork.
Properly installed cork flooring should remain beautiful and functional for decades, mirroring the longevity seen in historical sites. Ensure installers are well-informed and adhere strictly to manufacturer guidelines to prevent costly mistakes and ensure lasting performance.