
Shop cork adhesive
Match adhesive to the cork tile and substrate before installation day.
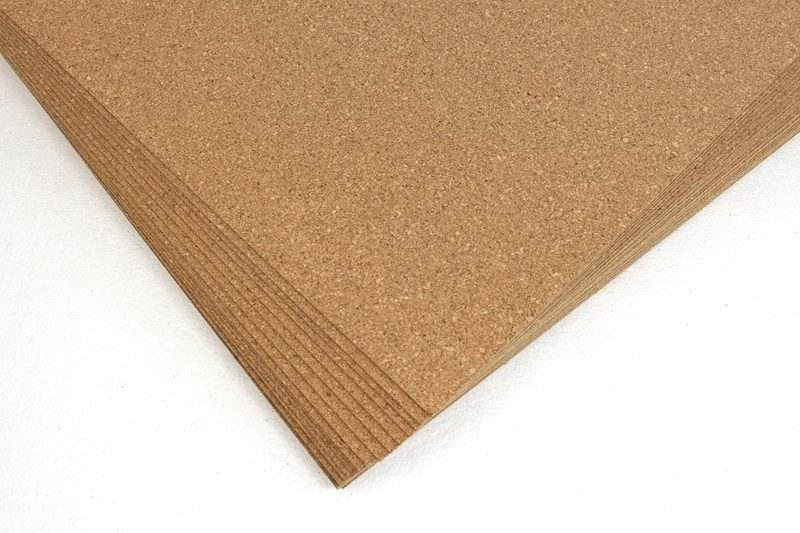
Installation guide
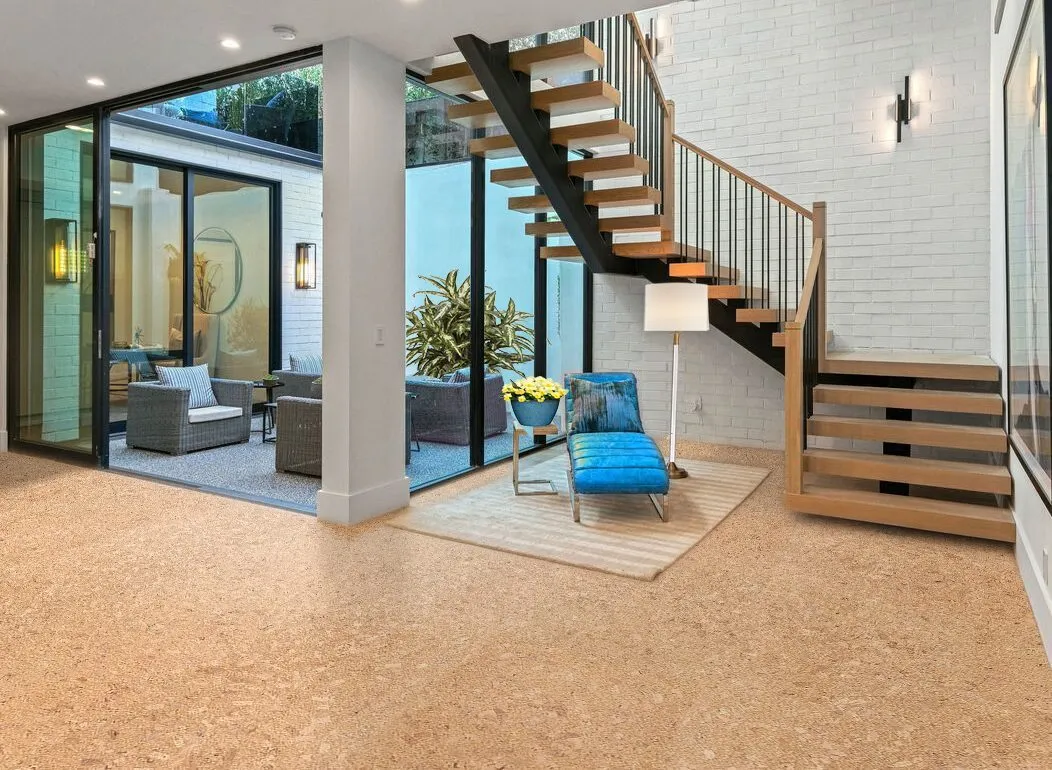
Use this guide for cork tiles bonded to the subfloor with the correct contact cement, rolling pressure, layout, and finish plan.
Match adhesive to the cork tile and substrate before installation day.
Confirm finish requirements before installing glue-down cork tiles.
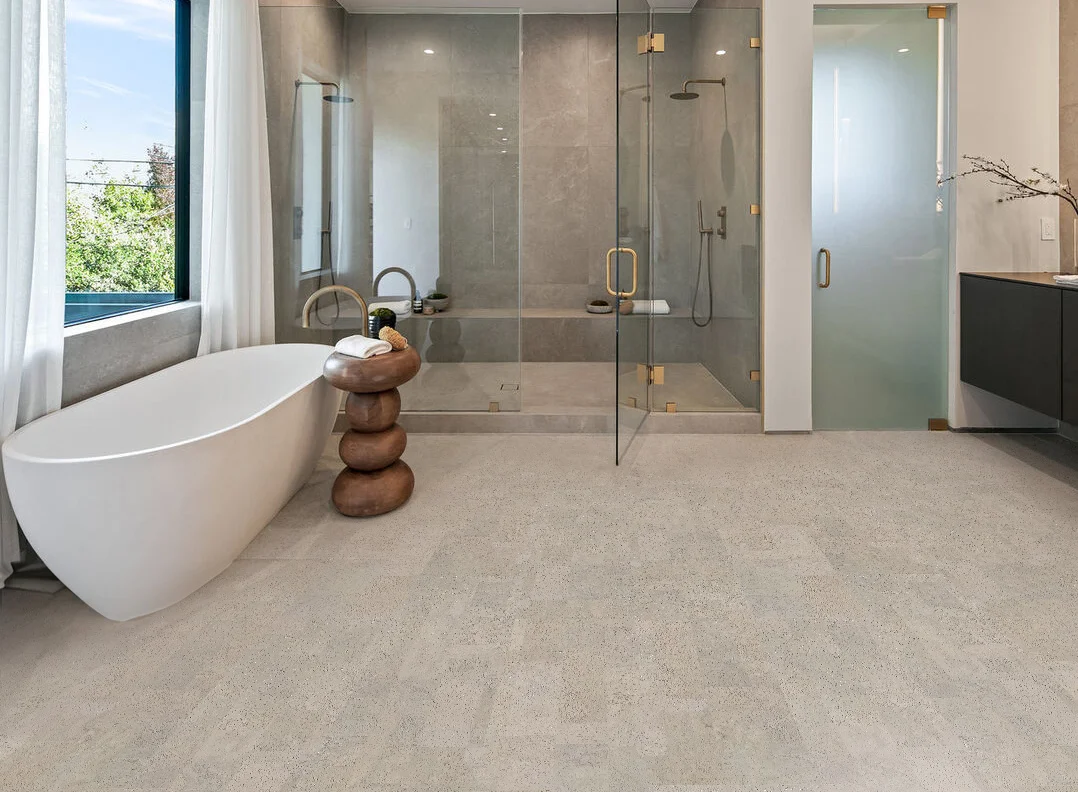
Browse floors that use bonded installation.
WARNING: For a Proper installation, You must Use roll-on CONTACT CEMENT application.
** DO NOT USE Trowel**
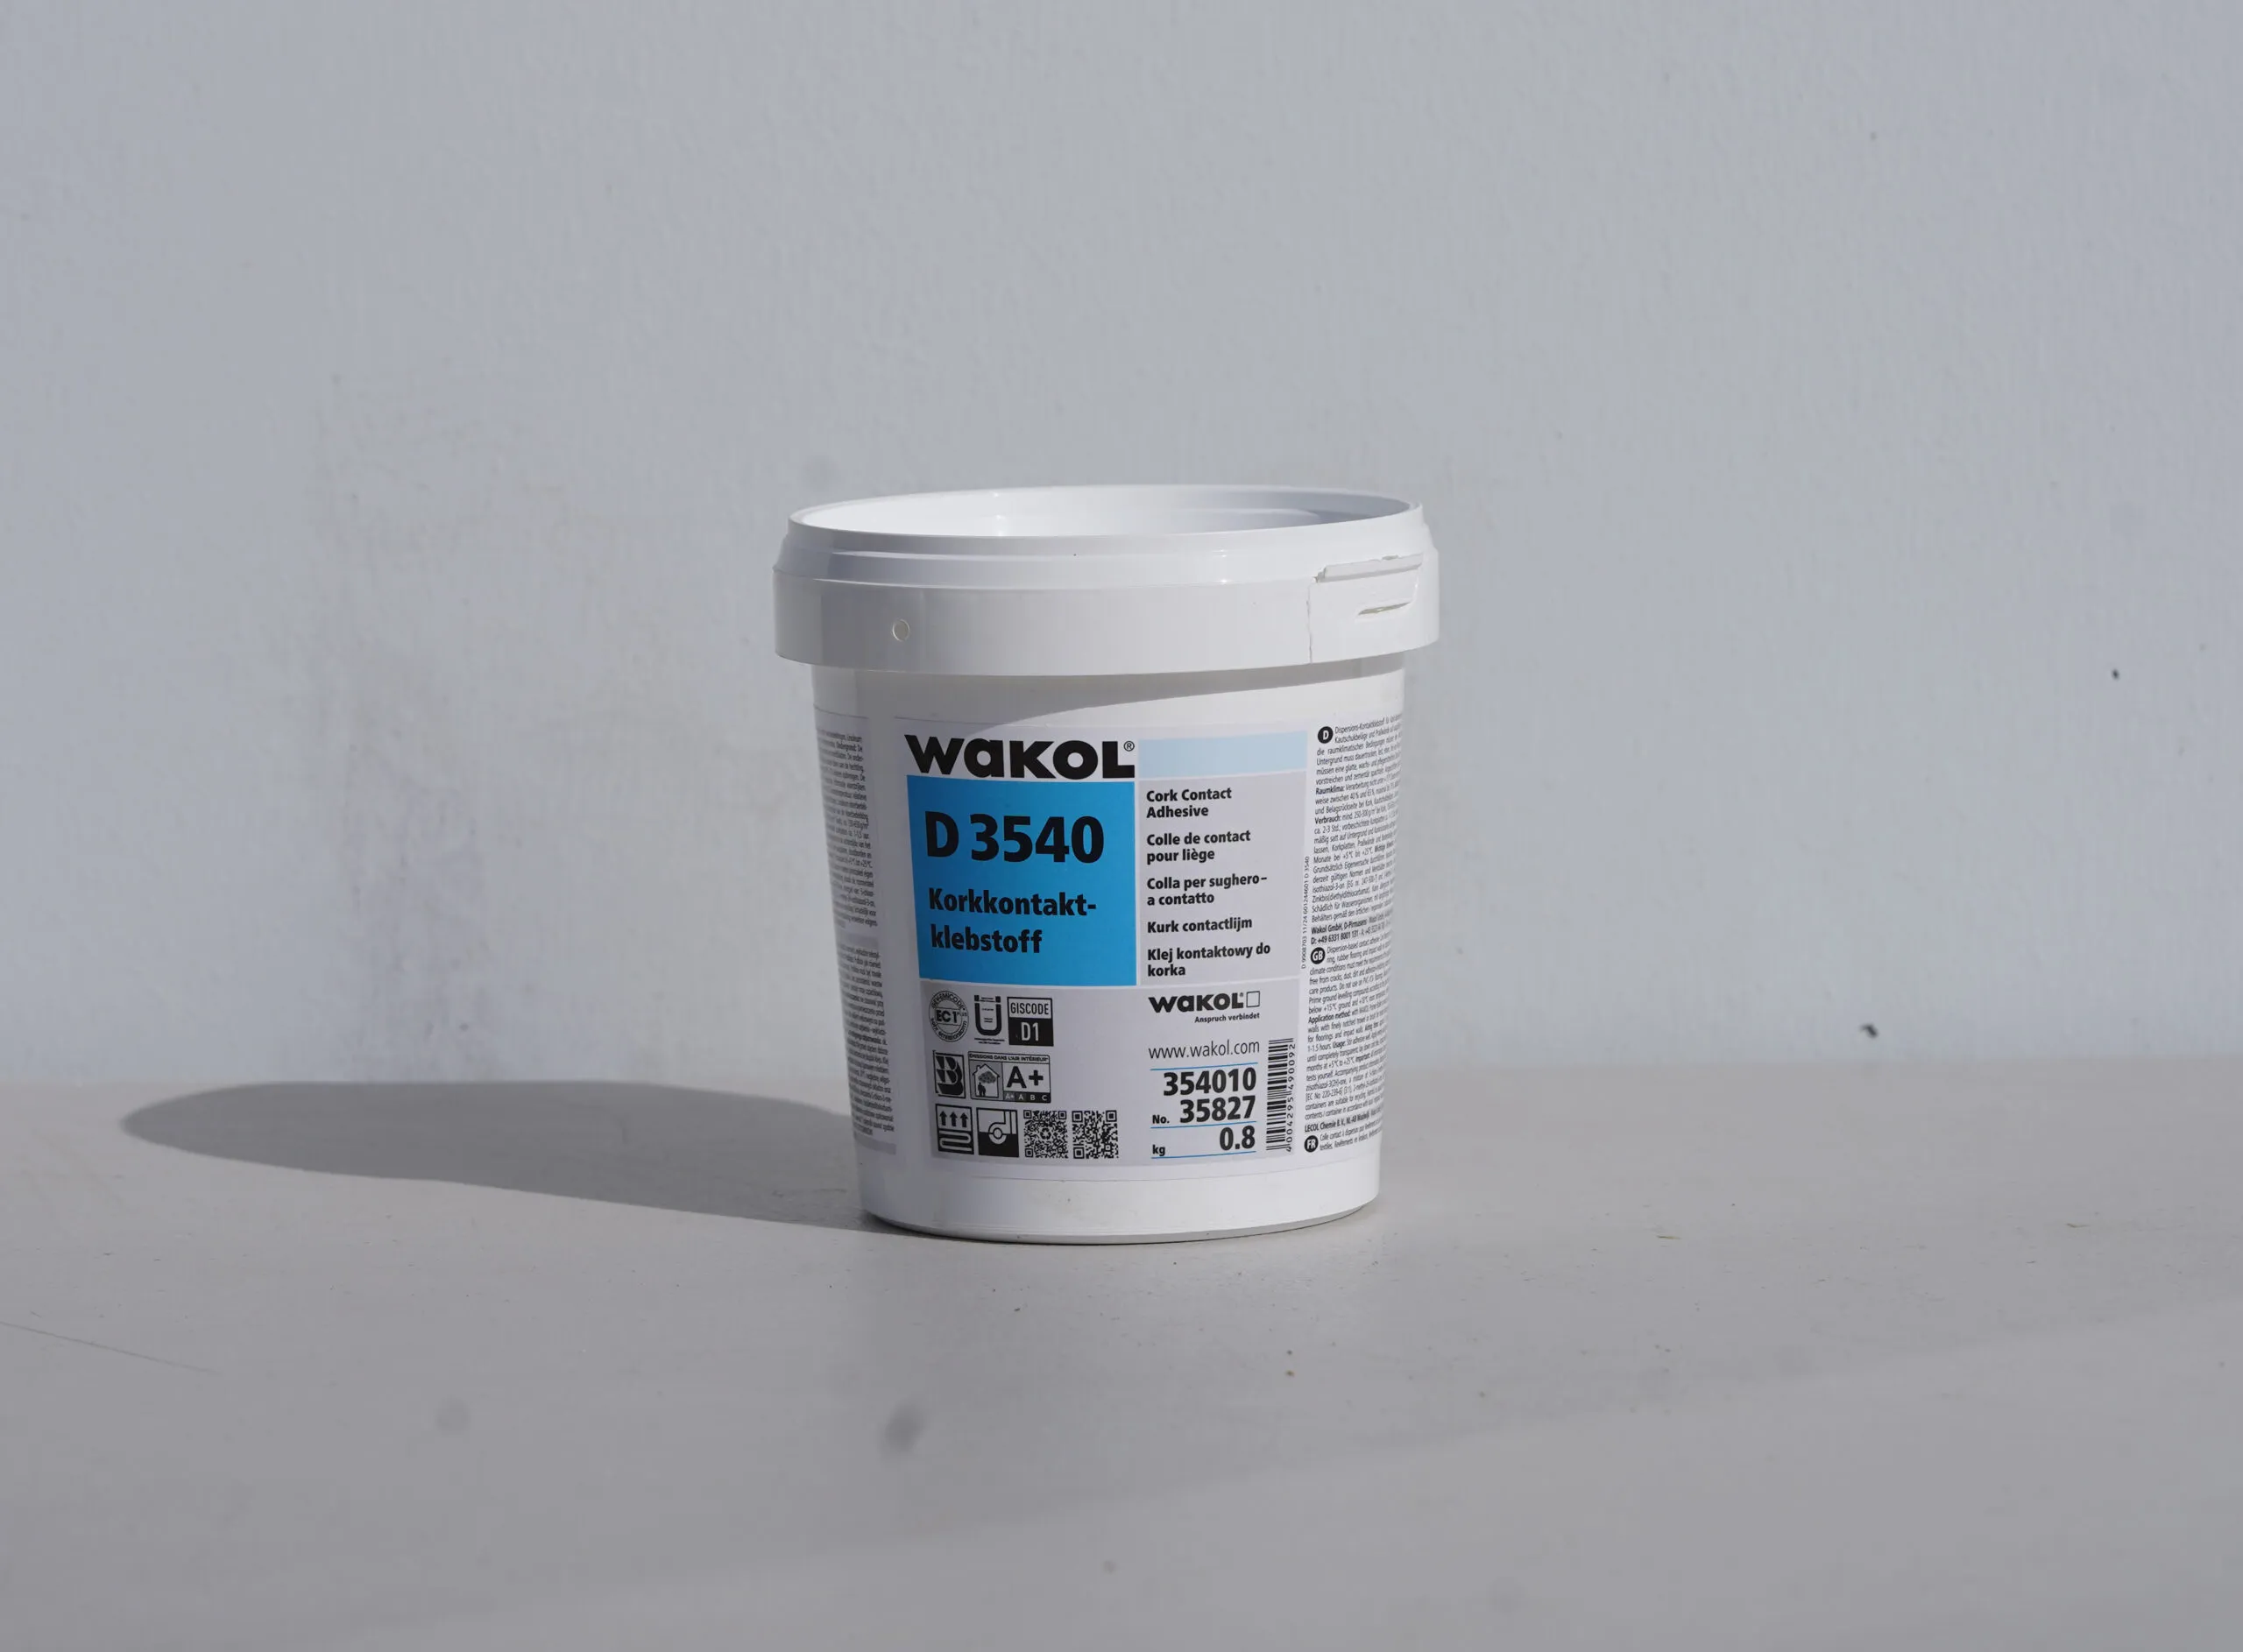
Do NOT use DAP “Non – Flammable” Contact Cement with Forna products, Multiple Forna floors have already failed!
Glue down tiles can NOT be installed over old flooring!
Tools and Materials
PREPARATION
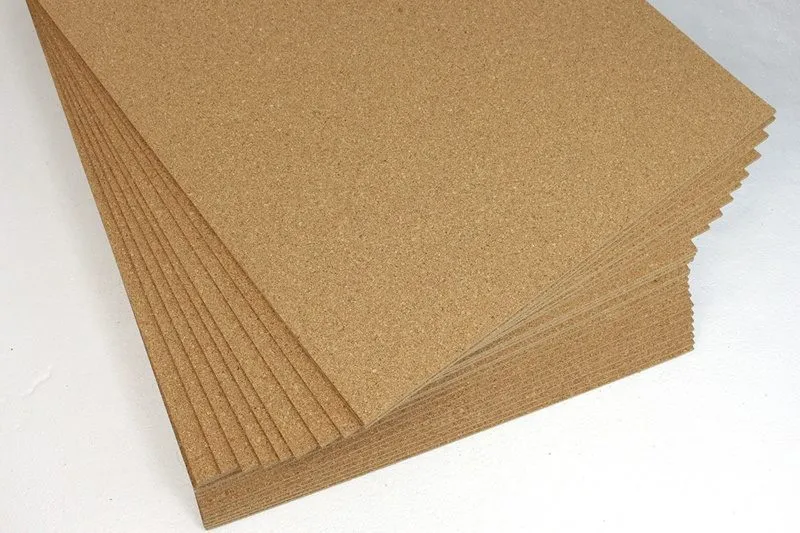
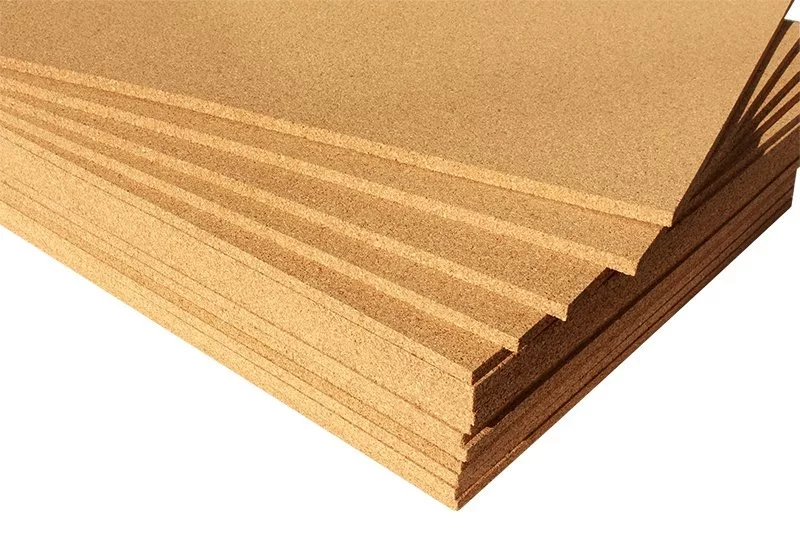
Cartons should be left open, in the space during the 48-72 hours of acclimation. DO NOT remove tiles from the packages. The day of the installation, packages can be opened and their contents “shuffled” around the room to achieve a pleasing effect. Once the packages are opened, the tiles should be laid within 1-2 days. A minimal amount of curling of the tiles is expected, especially if the tiles have been removed from their packages too early. DO NOT ATTEMPT TO INSTALL tiles that have a severe curl. Contact iCorkFloor or Cancork Floor immediately if you feel the product is defective in any way.
Make sure the subfloor material is level. Any cement surface that you install a glue-down tile floor on must be above grade. The cork adhesive, Wakol D3540 Cork Adhesive, is sensitive to ground or alkali salts that can be present in most cement pads. Any salts surfacing through the pad will deposit themselves onto the underside of the cork and cause the cork tiles to lift. Surfaces to be tiled must be sound, clean and dry. Concrete moisture content can be tested with the Calcium chloride moisture test. Moisture content should be below 3lbs. per 1, 000 sq-ft area over 24 hours.
Concrete flooring must incorporate damp-proof membranes. New cement must be allowed to dry out fully before the tiles can be laid. The recommended time is 1mm/day (1 inch/ month), with adequate ventilation, up to 50mm pad thickness. The rule of thumb is 60 days for the cement pad to dry. Cement pads that are thicker then 50mm take much longer to dry. Cold or wet weather slows the drying process. Always allow extra time for these circumstances.
Existing floor coverings must be removed. Should you choose to glue down tiles over an old subfloor you will have to ensure that there is no left over residues on the subfloor. You may have to sand down the subfloor to remove all the old adhesive or paint.
Do not attempt to glue directly to chip board or OSB board. The adhesives in the board will not bond to the cork tiles adhesive and you will not be able to achieve a satisfactory bond (your floor will lift). Do not fix directly on to asphalt.
If you are going to install the cork tiles flooring over a floor with radiant heat, turn on the heat regardless of the season. Wakol D3540 is designed to adhere well to radiant heating.
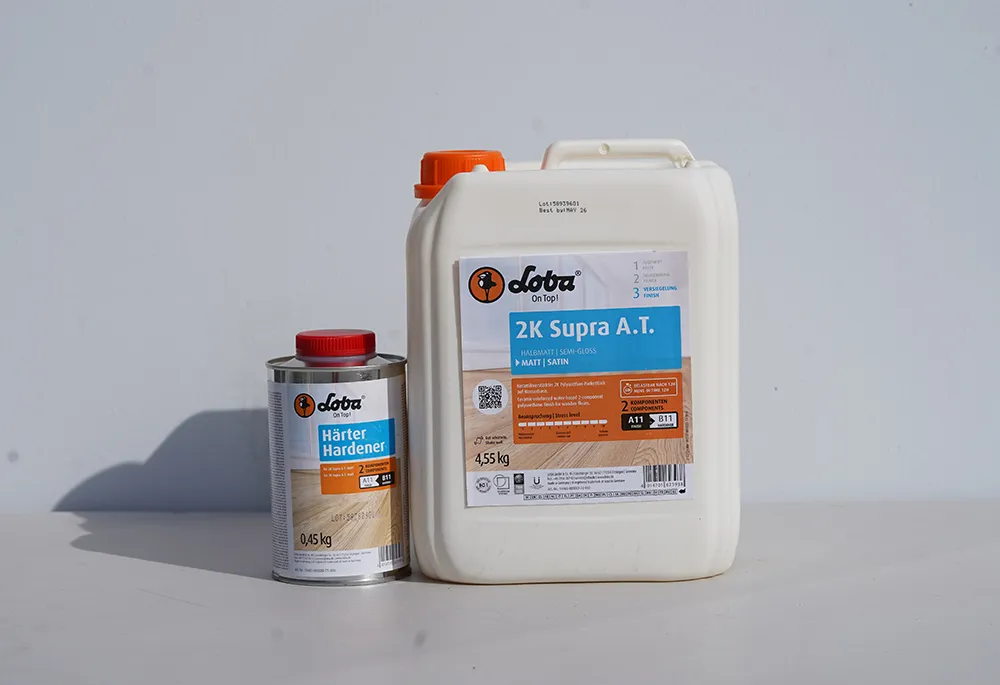
Once the floor is installed you must finish the floor with 2-3 coats of water based polyurethane. The Loba 2K Supra AT is the polyurethane that is used to achieve the factory finish. Loba 2K Supra AT is commercial-grade polyurethane with low VOCs and is ranked as formaldehyde free. The factory finish cannot be refinished with solvent based varnishes as this will cause delamination of your floor (the polyurethane will bubble and peal; the veneer will delaminate from the cork pad).
Installation
Step 1
Important: You MUST READ the preparation instructions before installing your glue down flooring!
Lay out the cork tiles as it will be installed on the floors. Adjust the tiles until you are pleased with the layout. Draw lines on the floors with chalk to indicate where the tiles will be placed. Draw a line to mark every third row of tiles. The chalk lines will guide you during installation.
cork adhesive
Step 2:
Apply adhesive with shorthair velour or medium napped roller on cork tiles backing
Step 3:
Apply adhesive around the perimeter and in the corners of the room with a paintbrush. Pour the adhesive into a paint pan. Saturate a medium-nap roller with adhesive, and roll the glue onto the floors. Allow the glue to become tacky. Follow the manufacturer’s instructions for specific times. If you using Wakol D 3540, Wait until both adhesive films are dried and completely transparent.

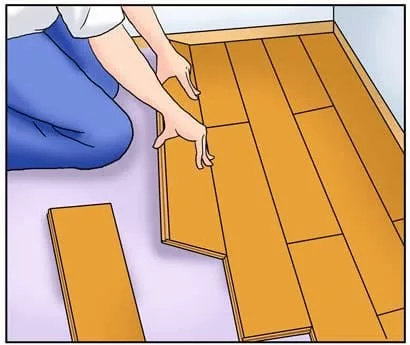
Step 4:
Set the tiles into place on the floor using your chalk lines as a guide. Press the tiles tightly together. Hit the tiles firmly with a rubber mallet to set into place. Continue setting rows of tiles until you have installed all of the uncut tiles.
how to install cork flooring
Step 5:
Mark along the back of the tiles where they need to be cut. Slice the tile with a sharp utility knife. Press the tile in place on the floor. Allow the glue to set. Light use of the floor is possible immediately after installation.

Step 6:
Vacuum the floors to remove all small particles. Clean and remove all traces of excess adhesive and other marks. Clean the floor with a hardwood floor cleaner, but do not allow the cork to get too wet. Allow the floor to dry.
Step 7:
Here is an excellent link to view the application of Loba Supra 2K Satin AT:
Loba AT – two part epoxy or two part application
Pour a small amount of the polyurethane onto the floor beginning at the wall or farthest point of the floor. The amount should be the thickness of a bead of toothpaste and about 2-3 ft in length. Roll the water-based polyurethane onto the tiles with a smooth foam or fine napped roller. Roll in one direction. Wait for the first coat to dry (4-6 hours) before applying the next coat. Apply 2-3 coats (2 coats for regular wear areas and 3 coats for heavy traffic areas or bathrooms). This process seals the tile joints against possible water and dirt penetration. It also allows the floor to react as a single sheet of cork rather than individual tiles. After 24 hours the floor is available for light use – one person in stocking feet for 5 minutes at a time. Do not install furniture nor area rugs.
At this point, your floors may be dry but they are not cured (hardened). The curing process takes up to 4-5 days. During this time it is advisable not to wear any footwear when standing on the floor. You should refrain from placing matting or area rugs down during the curing process. The floor is still vulnerable to indentations that could become permanently imbedded into the polyurethane. If this happens, there is no cure – it is permanent!
MAINTENANCE
You need only to sweep or vacuum your floor to remove surface grit and dust. A polyurethane sealed floor only needs to be wiped with a damp cloth or mop. Occasionally a mild detergent can be added to the water or simply go ahead and purchase a “neutral cleaner” as your main form of flooring cleaner. Do NOT use abrasive cleaners or wax polish to clean the floor. Use protective pads under furniture legs. Be aware that some footwear, such as stiletto heels, can cause indentations in the cork.
A cork floor requires “refreshing” every 3-10 years; depending on traffic levels and personal taste. A light buff or “screening” of the floor will remove any residue left over from cleaning products as well as provide a prepared surface ready to take the new coat of water based polyurethane.
⚠️ Warning: Applying tape directly to cork flooring or natural wood flooring can permanently damage the finish. Always tape paper-to-paper or paper-to-trim only.
Read: Never Use Tape on Cork Flooring or Natural Wood Floors