
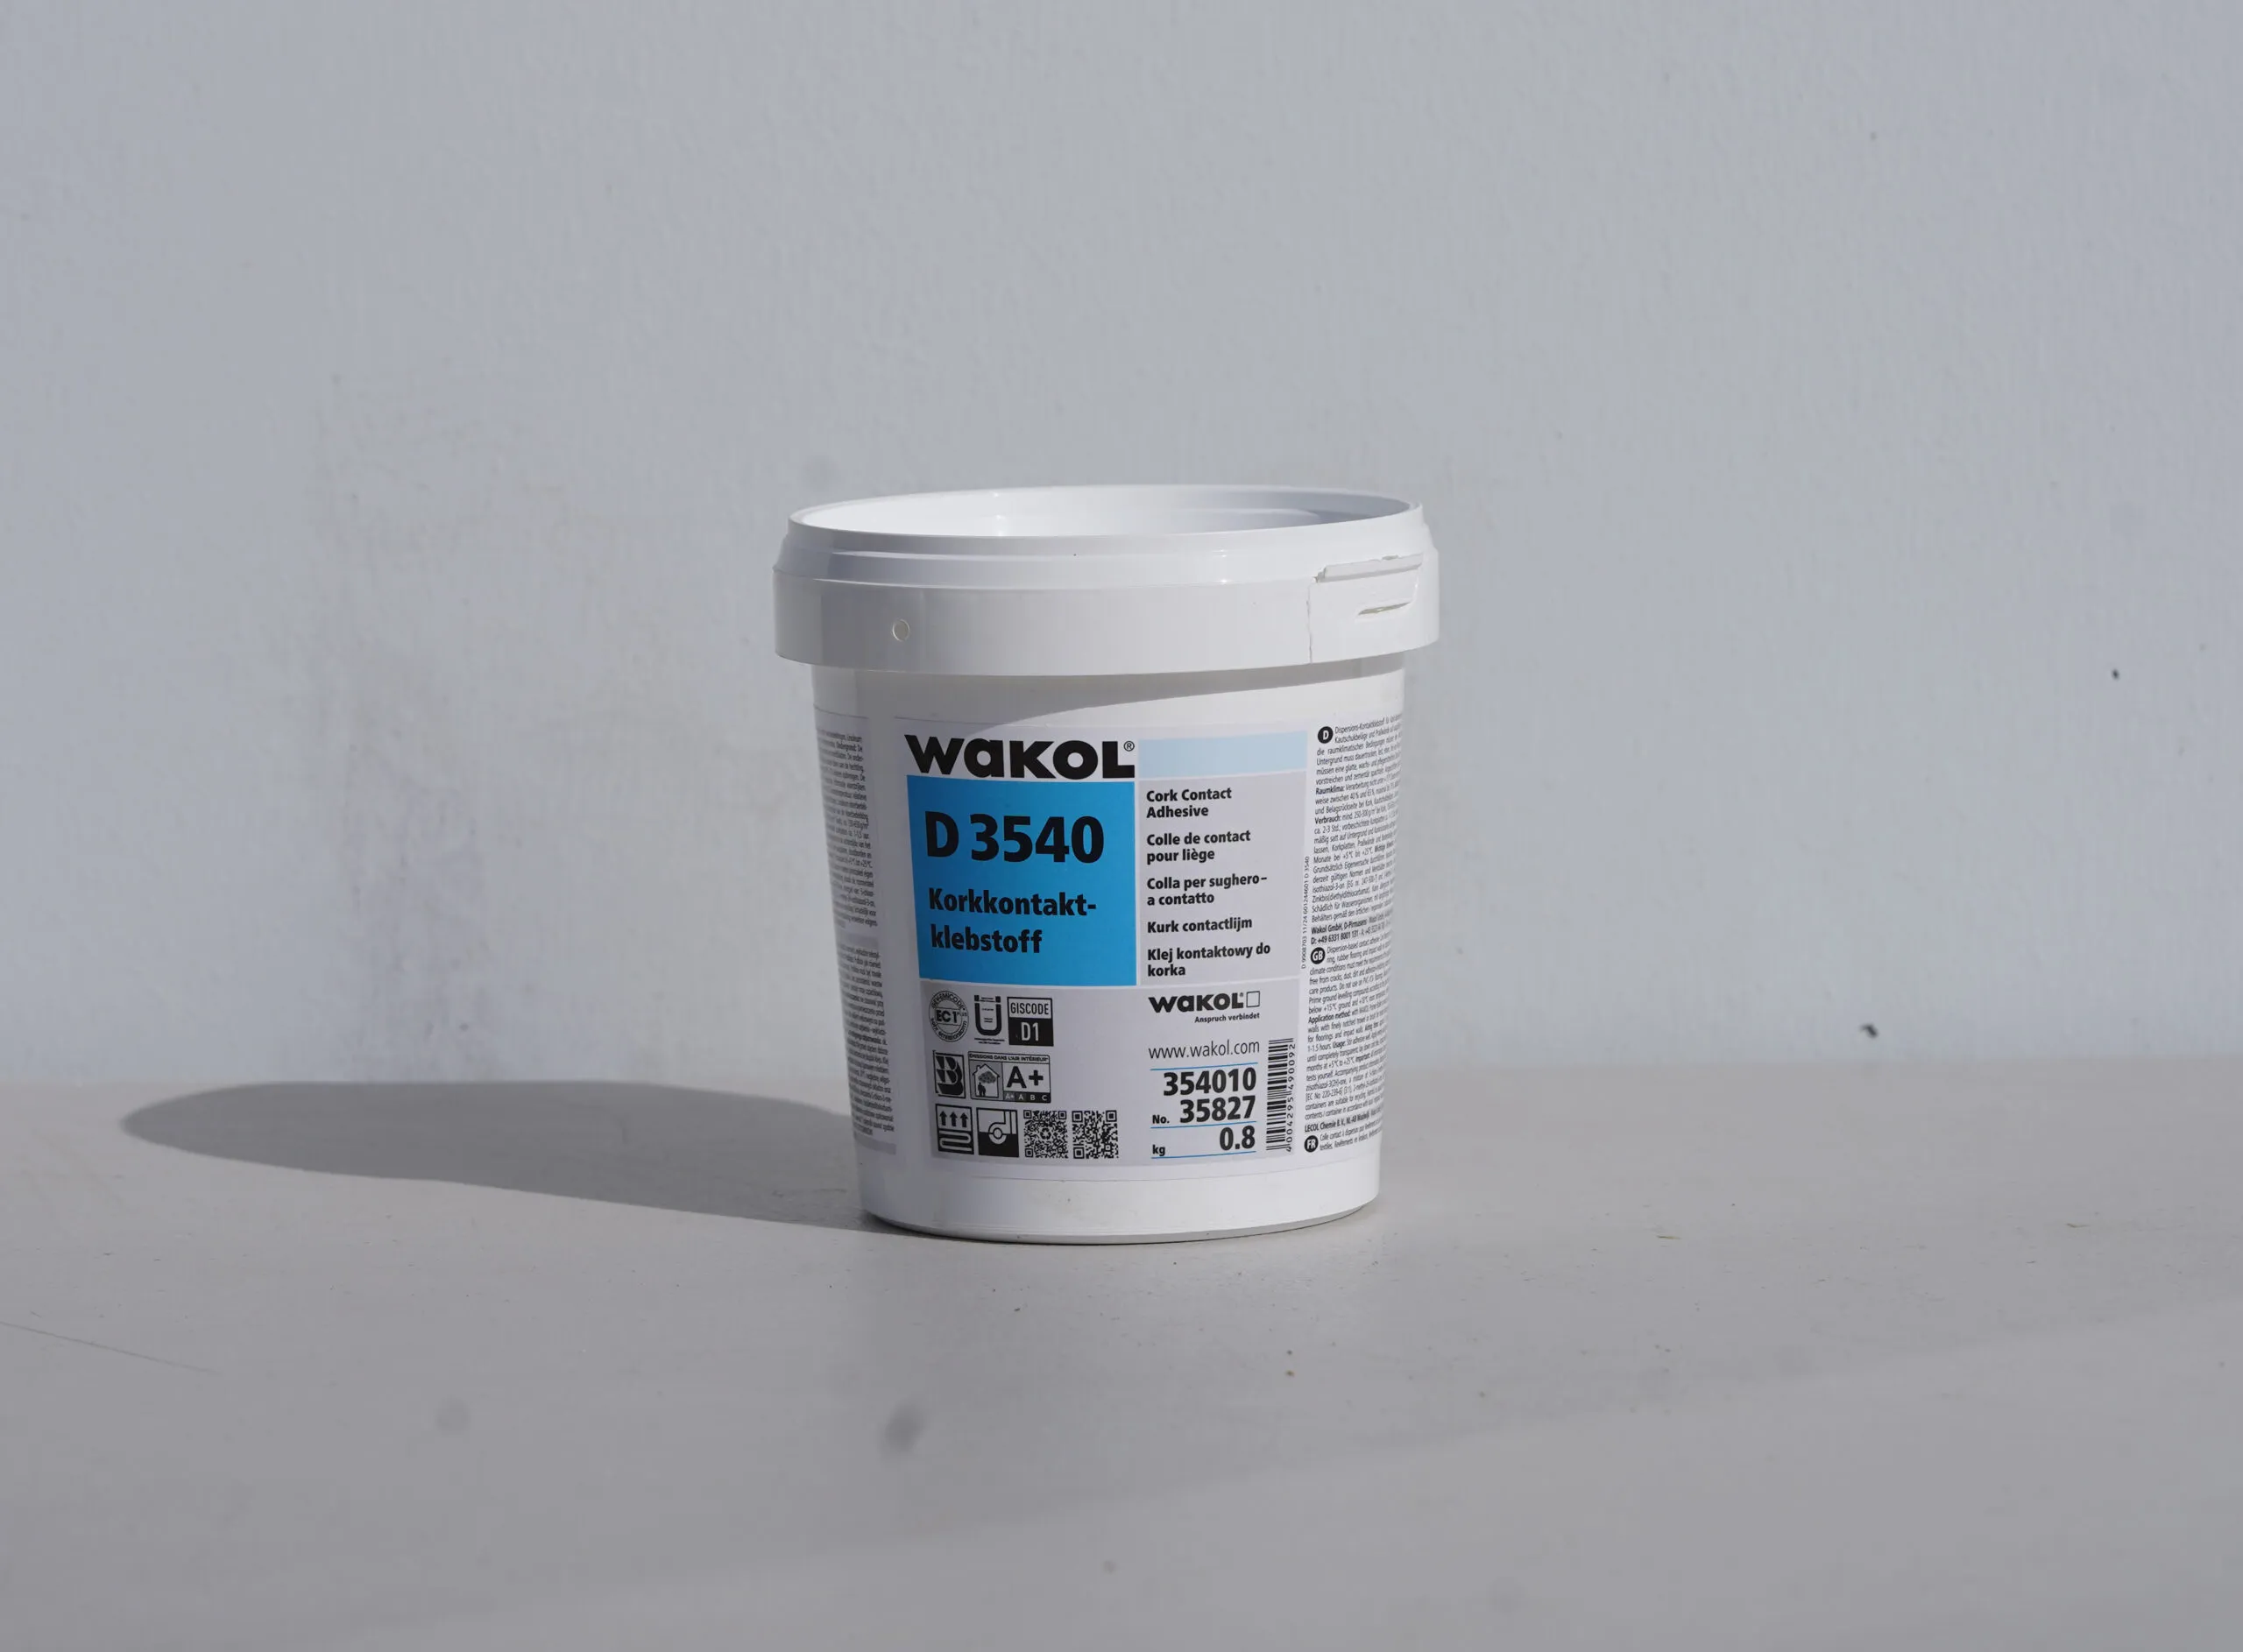
Shop cork adhesive
Confirm adhesive compatibility before installation.
Installation guide
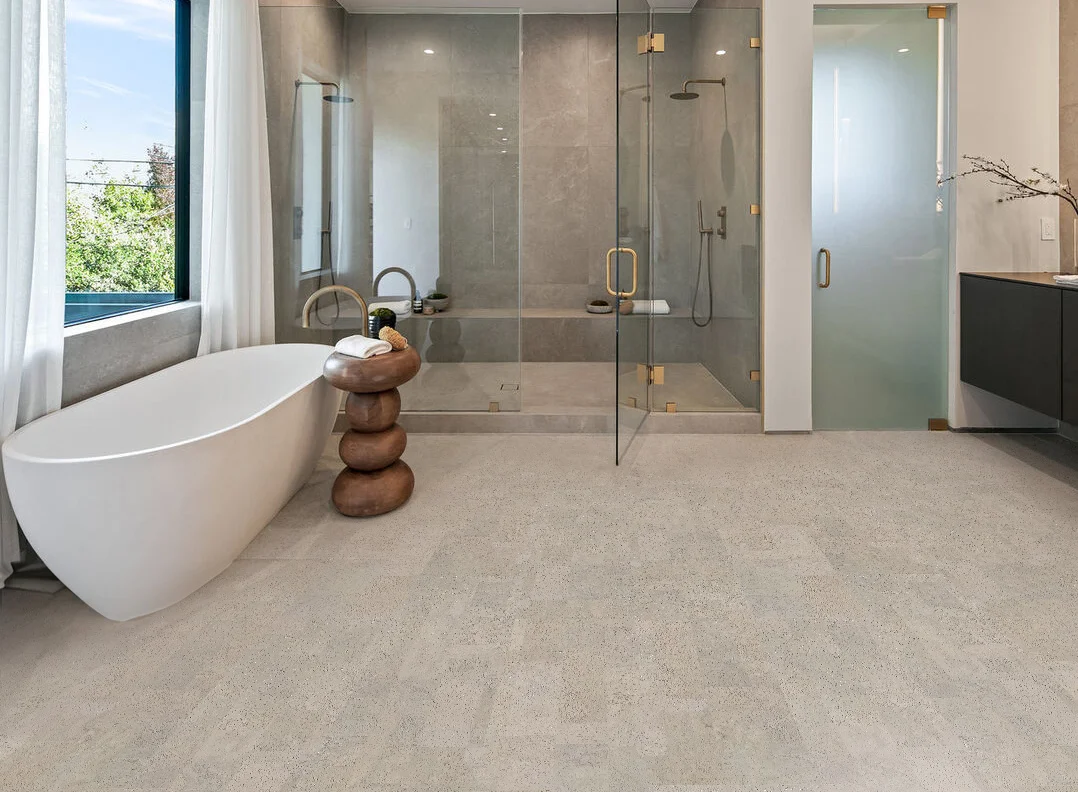
Use this guide when TechSlate is being installed with adhesive in bathrooms, laundry rooms, basements, or other flood-risk areas.
Confirm adhesive compatibility before installation.
Ask for help when water exposure or substrate conditions are uncertain.
Compare with floating TechSlate and other specialty floor guides.
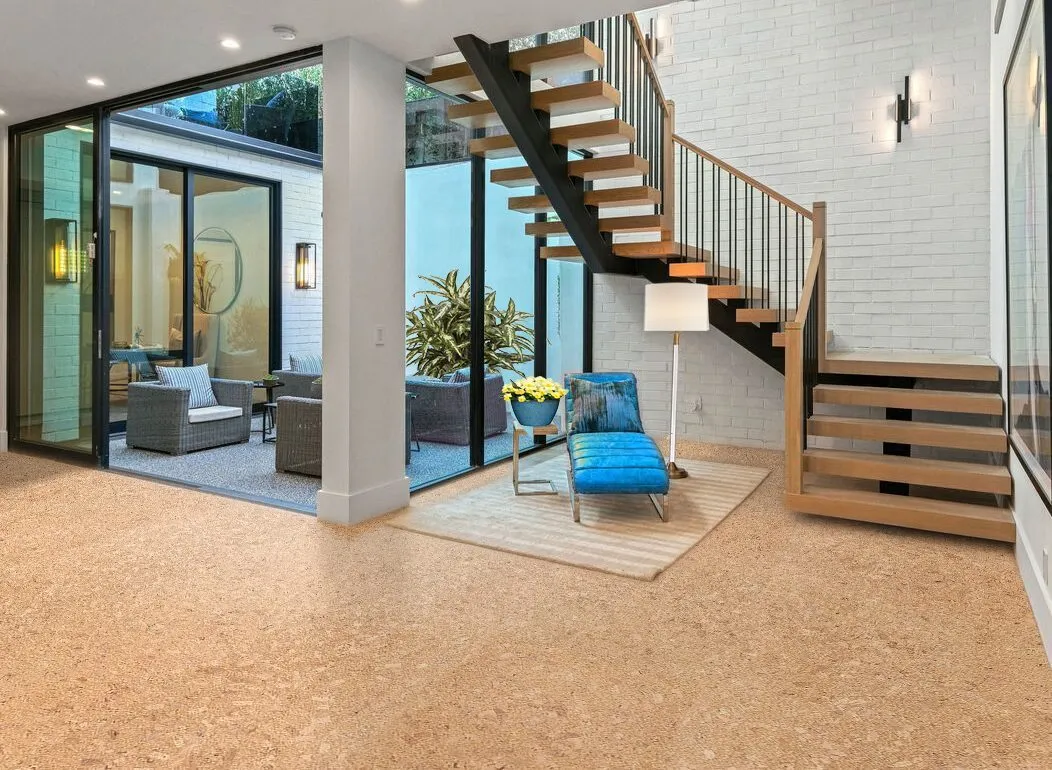
Techslate is a durable floating flooring system designed with the Uniclic® interlocking profile and a fully waterproof surface layer. While it is typically installed as a floating floor, glue-down installation is recommended in spaces where there’s a higher chance of water intrusion—such as bathrooms, basements, and laundry areas—to prevent moisture from seeping beneath the floor and causing mold or mildew.
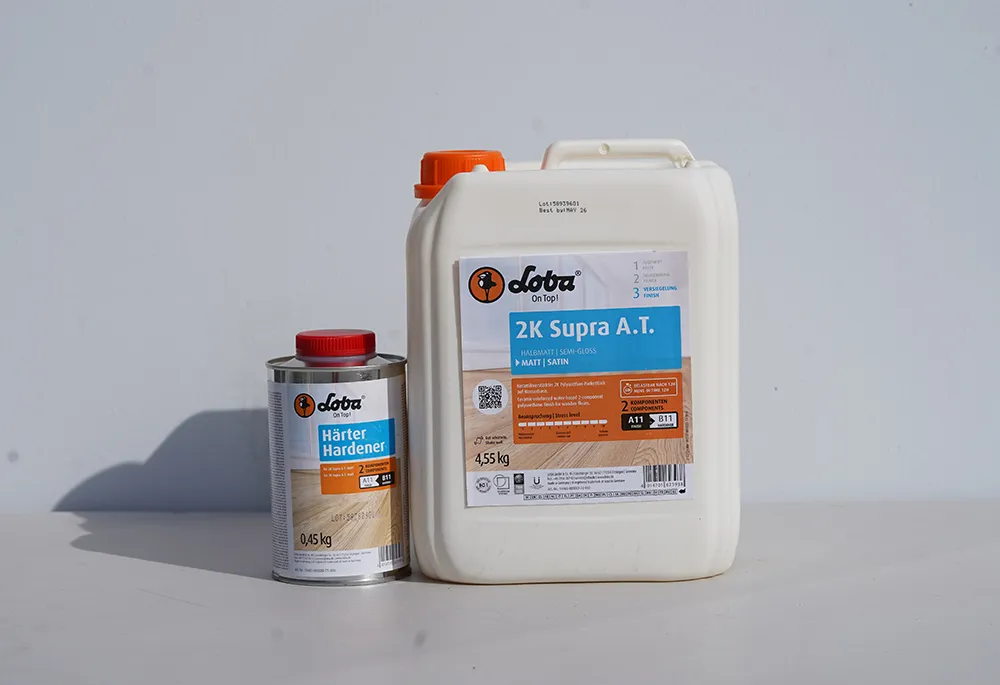
For best results, use a low-moisture or moisture-free adhesive that’s typically used for parquet wood floors. Approved products include:
MAPEI Ultrabond ECO 995 – a one-part urethane adhesive with built-in moisture protection
SikaBond® T55 – a low-VOC polyurethane adhesive known for strong bonding and elasticity
These adhesives maintain the structural integrity of Techslate’s core while preventing water-related damage.
You’ll need the following materials and tools:
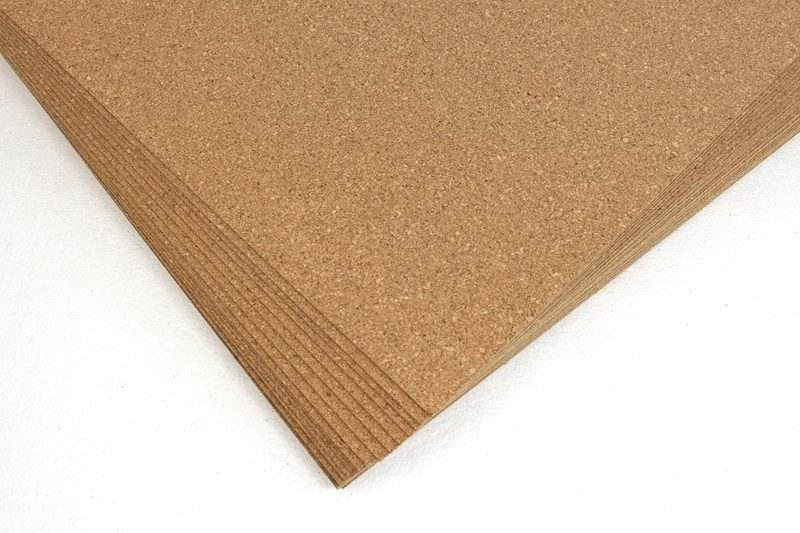
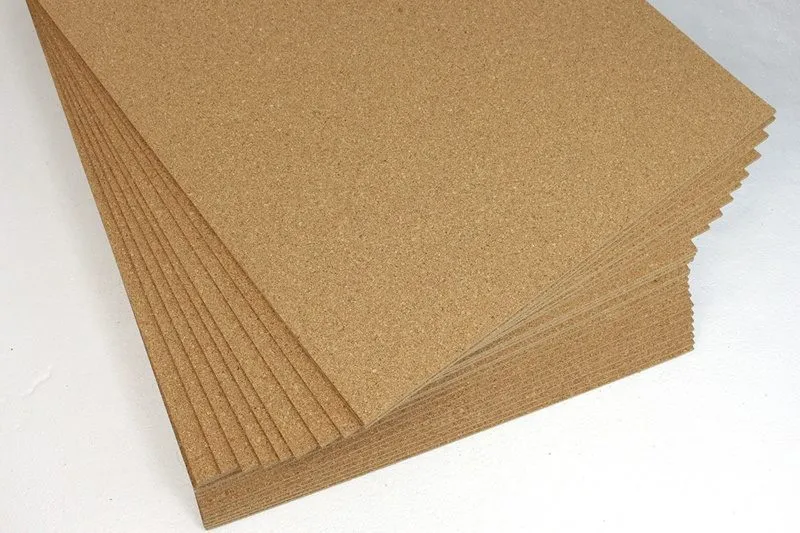
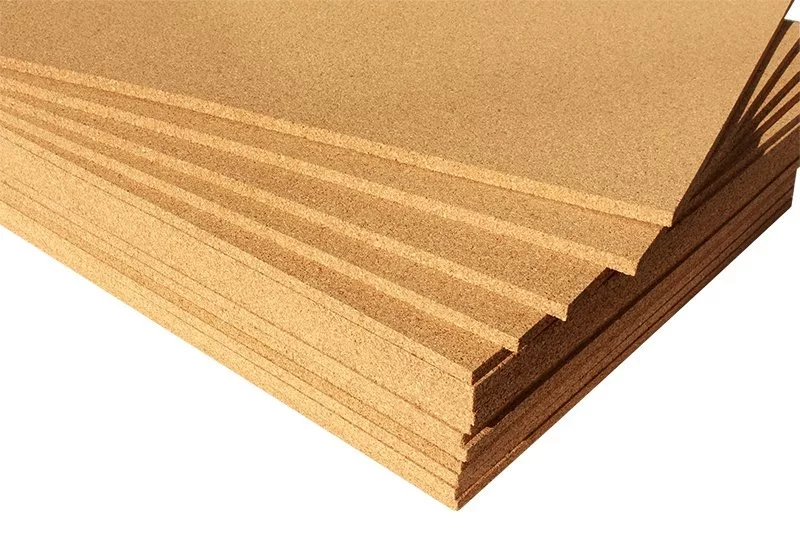
Techslate planks
Compatible adhesive (ECO 995, T55, or equivalent)
V-notched trowel (1/4″ or 1/8″, depending on adhesive)
Chalk line for layout guides
100-lb flooring roller
Moisture meter (for subfloor testing)
Measuring tape, utility knife, spacers
Ensure the subfloor is smooth, dry, and structurally sound
Suitable surfaces include: concrete, plywood, OSB, or self-leveling compounds
Confirm moisture levels with a moisture meter; they must meet the adhesive manufacturer’s limits (e.g., ≤3 lbs MVER)
Thoroughly vacuum to remove all dirt and debris
Apply a moisture barrier primer if the adhesive brand recommends it for concrete
Allow Techslate to sit in the room where it will be installed for 24 to 48 hours
Maintain indoor temperatures between 65°F and 78°F (18–26°C) during this time
Use a chalk line to mark straight reference guides on the subfloor
Work in sections to avoid stepping into areas where adhesive has already been applied
Refer to the adhesive manufacturer’s directions for correct trowel size and open time
Use the trowel to spread adhesive evenly
Apply only as much adhesive as can be covered within the adhesive’s working time (usually 30–60 minutes)
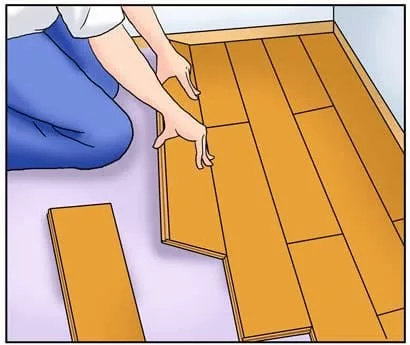
Place the planks directly into the wet adhesive and press firmly into place
Leave a small expansion space (2–3 mm) around the room perimeter
While Techslate has a Uniclic® locking system, you can trim off the groove to convert to a butt joint for easier glue-down
Avoid sliding planks across adhesive—drop them into place and shift slightly to align
Use a 100-pound floor roller within 30 minutes of laying each section
Roll in both directions to ensure full adhesive contact
Immediately remove any adhesive that seeps out between joints
Use a damp cloth or mineral spirits, depending on the type of adhesive used
Follow the adhesive’s guidelines for curing:
Wait 12–24 hours before walking lightly on the floor
Wait 72 hours before moving in heavy furniture or cleaning
Avoid exposing the floor to water during this time
Do not install over radiant heat systems exceeding 27°C (80°F) unless your adhesive is rated for it
Never install over wet or visibly damp subfloors
In flood-prone spaces, seal edges and expansion gaps with waterproof caulking for added protection