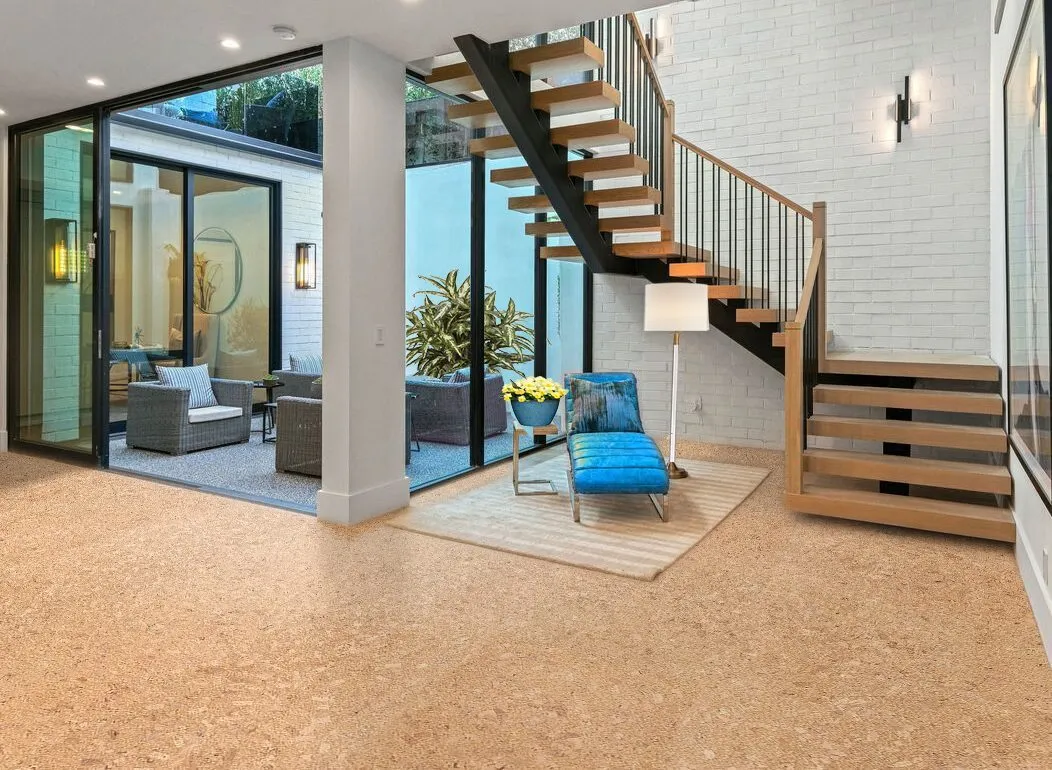

View floating cork floors
Browse products that use click-lock floating installation.
Installation guide
Use this guide for click-lock floating cork planks installed over a clean, flat, dry substrate with the correct underlayment and expansion space.
Browse products that use click-lock floating installation.
Match underlayment thickness and acoustic requirements before installation.
Use glue-down, kitchen, wall, or finish guides when those conditions apply.
Some tools you may wish to have on hand before beginning your project:
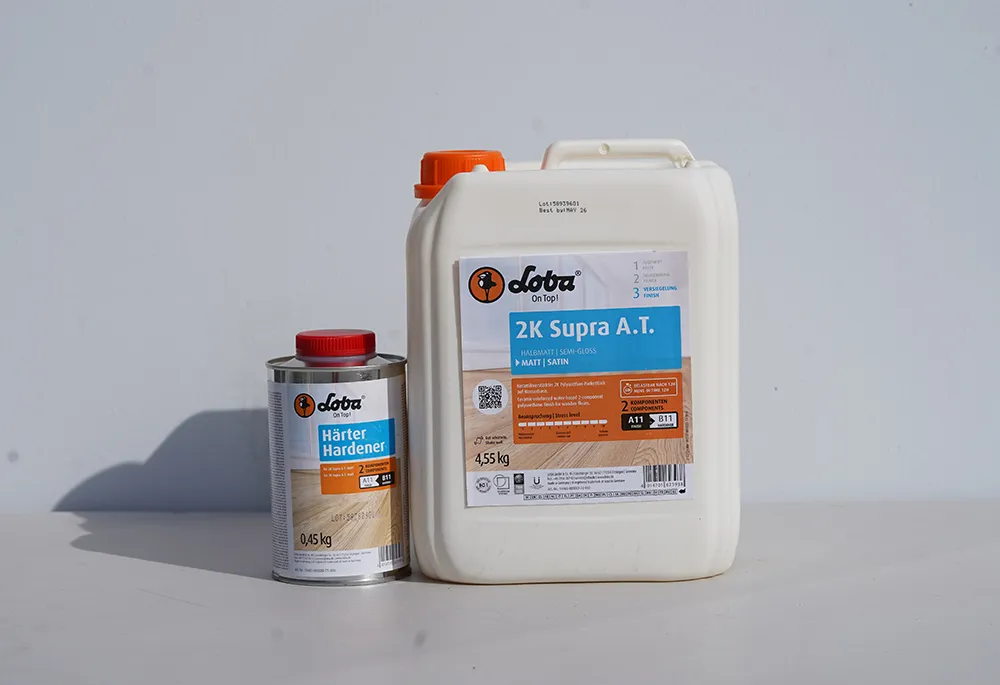
Cancork Floor highly recommends that any/every traditional cork floor receives 2 coats of appropriate polyurethane at the time of installation. Forna cork floors require use of the Loba finishes. Please contact your Forna representative for more information
If the sub floor is concrete, it should be older than 30 days (this is for a “new” build or newly poured cement slab). The preferred room temperature is ± 21℃ (±70 ℉) with a relative humidity of 35%~60%. The cork floor planks need to be acclimatized for 24 to 48 hours within the job site.
Check for flatness. Any bumps or hollows exceeding more than 4mm within 1 square meter area (the length of one flooring plank) below or above the standard level should be sanded down or filled with filler.

.
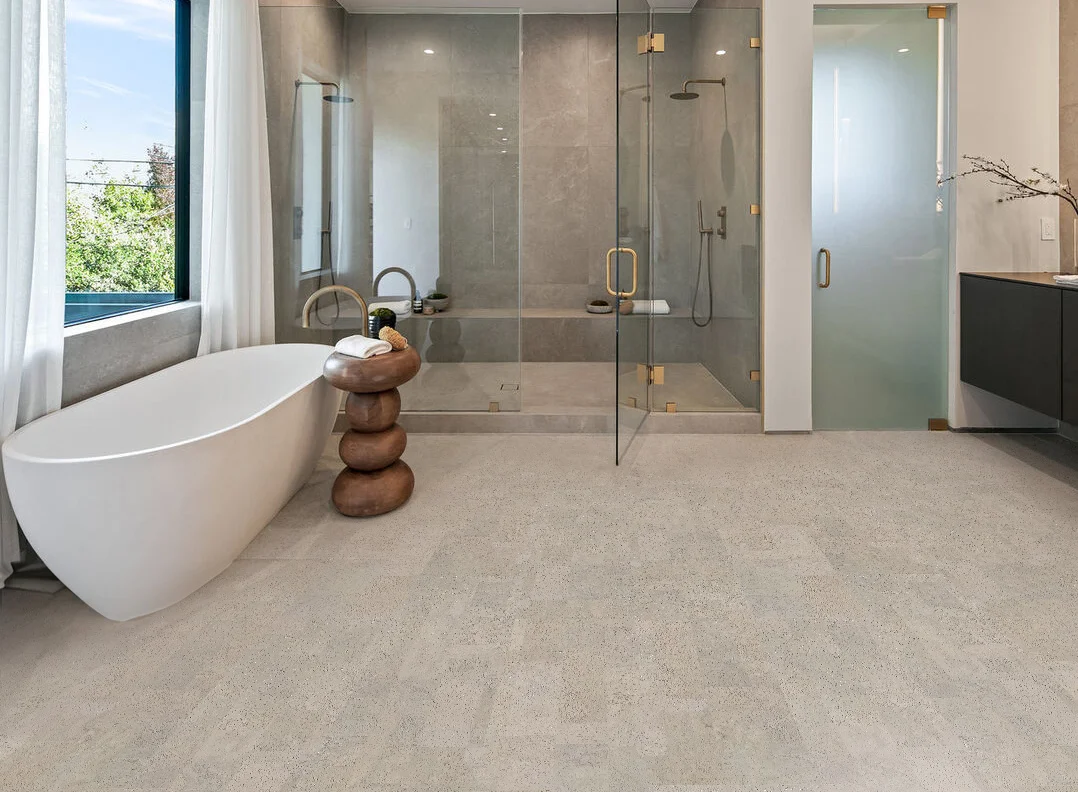
Cork floating floors are intended for indoor use (as with any other flooring system such as laminate flooring).Install cork flooring in humid areas such as bathrooms or laundry rooms is not recommended. Cork tiles (glue down flooring) should be used in such instances.
Step 1. Lay the planks lengthwise with the direction of sunlight. Check for color harmony and consistency in the flooring. This can be done when allowing your materials to acclimatize beforehand. Manage abrupt patterns by relocating planks. This allows for a more natural transition between color variances in the cork.

Step 2. Install cork flooring over a concrete sub-floor usually requires some form of moisture barrier. This can be in the form of polyurethane sheeting. Most hardware stores will be able to direct you to the right product for the job. This is especially true when working in a basement or any other room that is below-grade.
Step 3. Measure your room and divide by the width of a flooring plank. This will determine the number of the planks needed to cover the floor. If your measurements leave you with space of more than 2.5 inches on you long wall (63 mm) you should start with a partial board (cut the board to size) in the first row to ensure the stability of the floor.
Step 4. Leave a 1/2″ inch (12.7 mm) expansion gap between the flooring and each wall, or other obstacles such as a door frame or cabinetry, using spacers (scrap wood or waste product works well).
Working right to left in the room: “brick” or stagger your planks to reduce the visual appearance of the seams. The tiles along the edge should be the same width along all the walls. This is where your “pre-placement” of your planks is going to pay-off.
Place the first plank in the up right-hand corner of the room (leaving your spacing to the wall) with both tongue sides facing the wall. Complete the first row by angling the planks together one at a time. Try to install the tiles so that they form a single line when you click them together. Remember to lightly tap each edge as it is installed. See Figures A & B.


Step 5. Start of second row: Insert the tongue ridge of the next plank to the groove of the first plank at a 20-30 degree angle to the floor –this is where you will place the cut plank from row 1 to ensure the staggered seams. Press downwards with your hands allowing the plank to “click” into place and lay flat on the floor (Figures A & B).
Should you need to “straighten” a row or “tighten” the seams you can use a scrap of the planking as a “tapping block”. By using the tapping block (which you have so cleverly created with a piece of scrap tongue and groove flooring) and your rubber mallet you will save the edges on the flooring from any damaging blows.
![]()
.
Step 6. Once you have reached the end of the row, you may have to use have to use the crowbar and mallet to tap the last piece into place (space against the wall will be tight).

Step 8. Proceed the same way for subsequent rows.


Step 9. The last row: Hopefully the gap between your flooring and your wall will be uniform along its length. You can ensure the gap is uniform by measuring at both ends of the room.
Measuring: Overlap (matching seam to seam) one plank over your flooring (see Ill.10).

Place a second plank (make sure it is snug against the wall) on top of the overlapping plank. You should be working with the depth of three planks – one on top of another. Mark your measurements onto the overlapping plank (the one sandwiched in the middle). You will cut the width of your last row to the measurements you have just made.
Make sure you maintain the tongue and groove of your flooring and that you cut the CORRECT SIDE!!!
Remember: Measure twice, Cut once!
For daily maintenance, you can use a damp mop to clean the cork floors. Too much moisture can cause warping which is not covered under warranty.
Quickly wipe spills from the floor to protect cork from excess liquid.
Use door mat to prevent sand and dirt or other abrasives.
4. It’s wise to use felt pads under the legs of furniture to avoid scratching and permanent denting.
When moving heavy objects try to lift instead of pull. If this is not possible, then using pieces of heavy cardboard under the furniture, while moving it, will help keep your floor from being scratched.

For in-floor radiant heating, the surface temperature should never exceed 28 ℃ (about 83℉)at anytime.
SEALING: – DOES NOT APPLY TO FUSION FLOORS
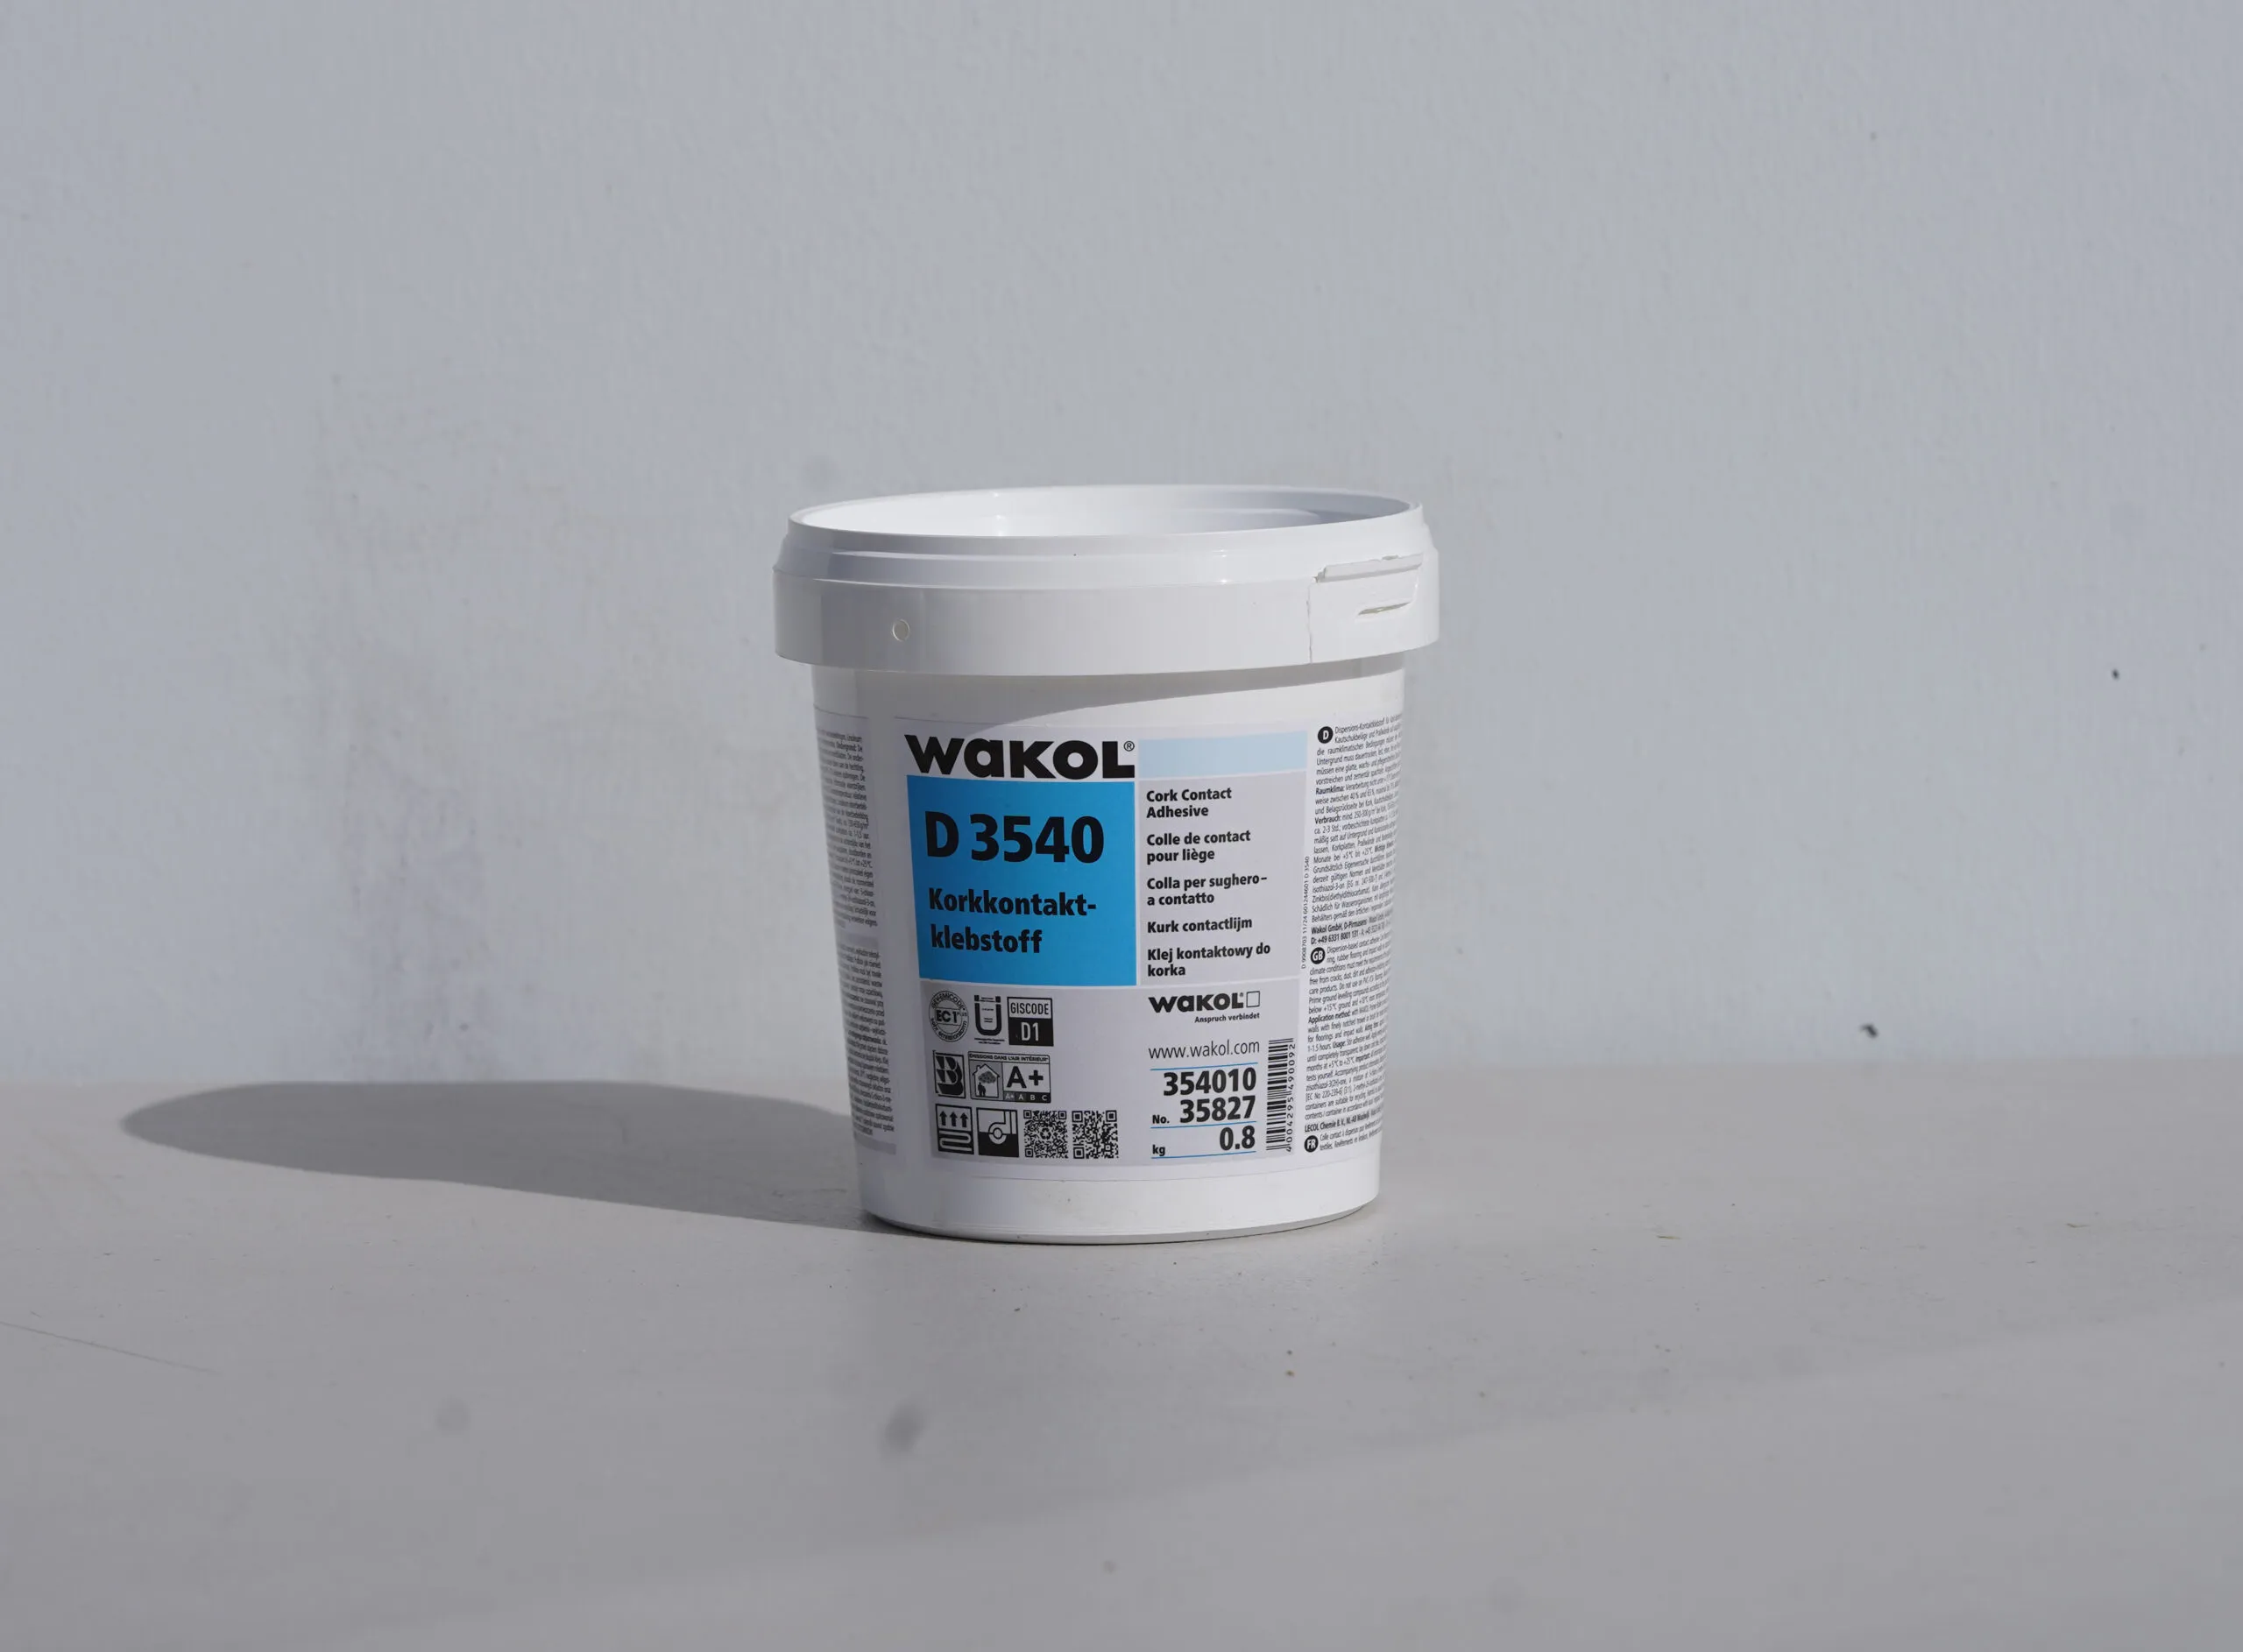
Our cork products have been surface-sealed with three layers of water based polyurethane. To facilitate install cork flooring, the seams are not sealed from the factory. After installation we recommend you re-coat the entire floor. This will seal the seams to protect the joints against dirt accumulation and water spillage. Apply 2 coats of floor grade water based polyurethane for light residential use or 3 coats for heavy residential or commercial use. Follow sealant manufacturer’s application instructions.
For fusion floors, please use Click Seal around moisture areas such as the kitchen sink, entrance ways, etc
⚠️ Warning: Applying tape directly to cork flooring or natural wood flooring can permanently damage the finish. Always tape paper-to-paper or paper-to-trim only.
Read: Never Use Tape on Cork Flooring or Natural Wood Floors