View wall and ceiling products
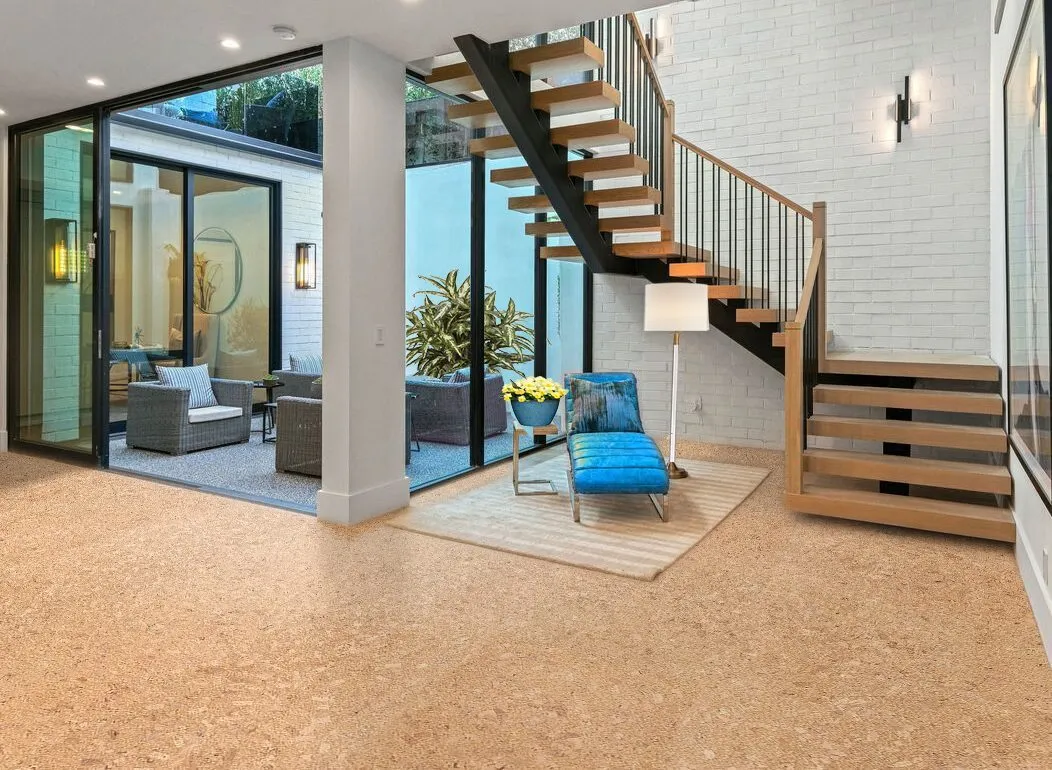
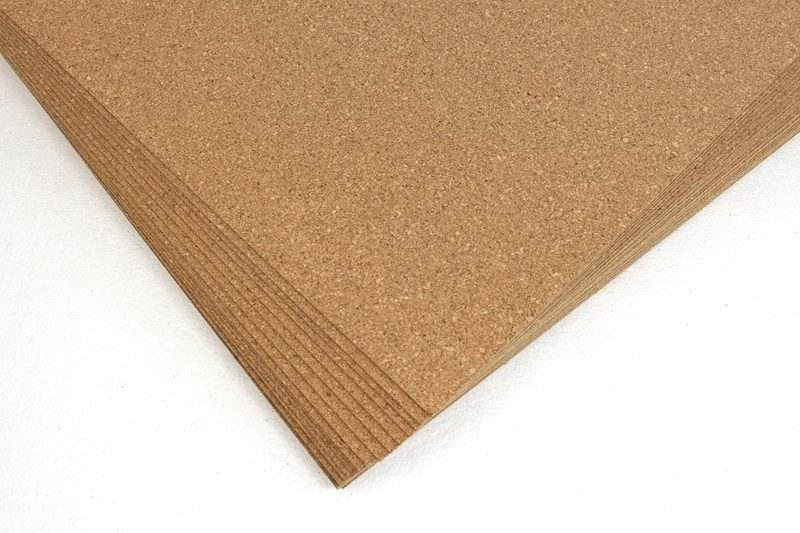
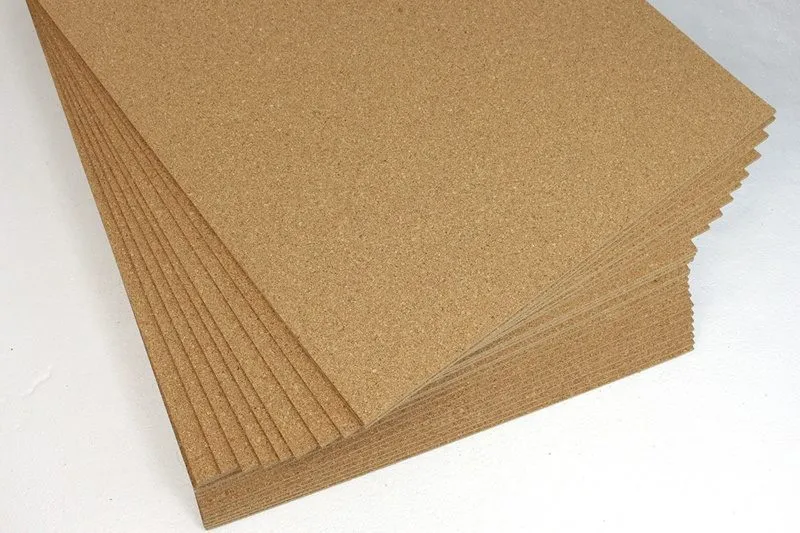
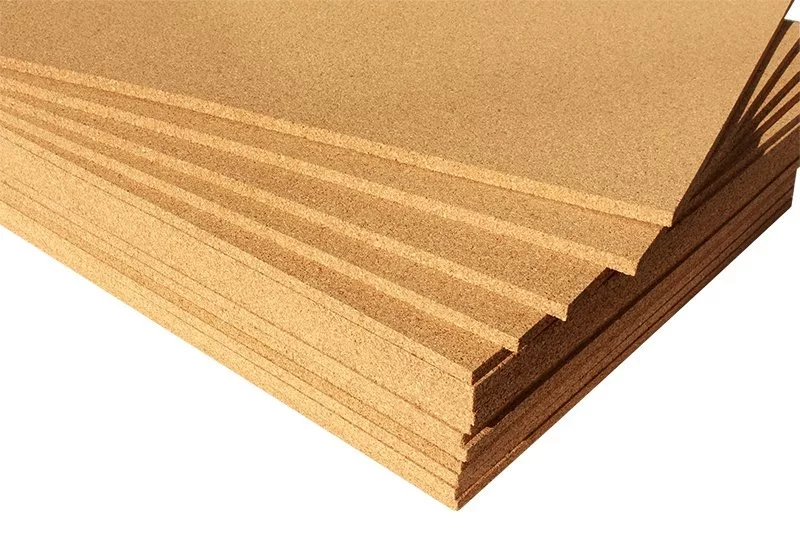
Compare cork wall products before ordering full boxes.
Installation guide
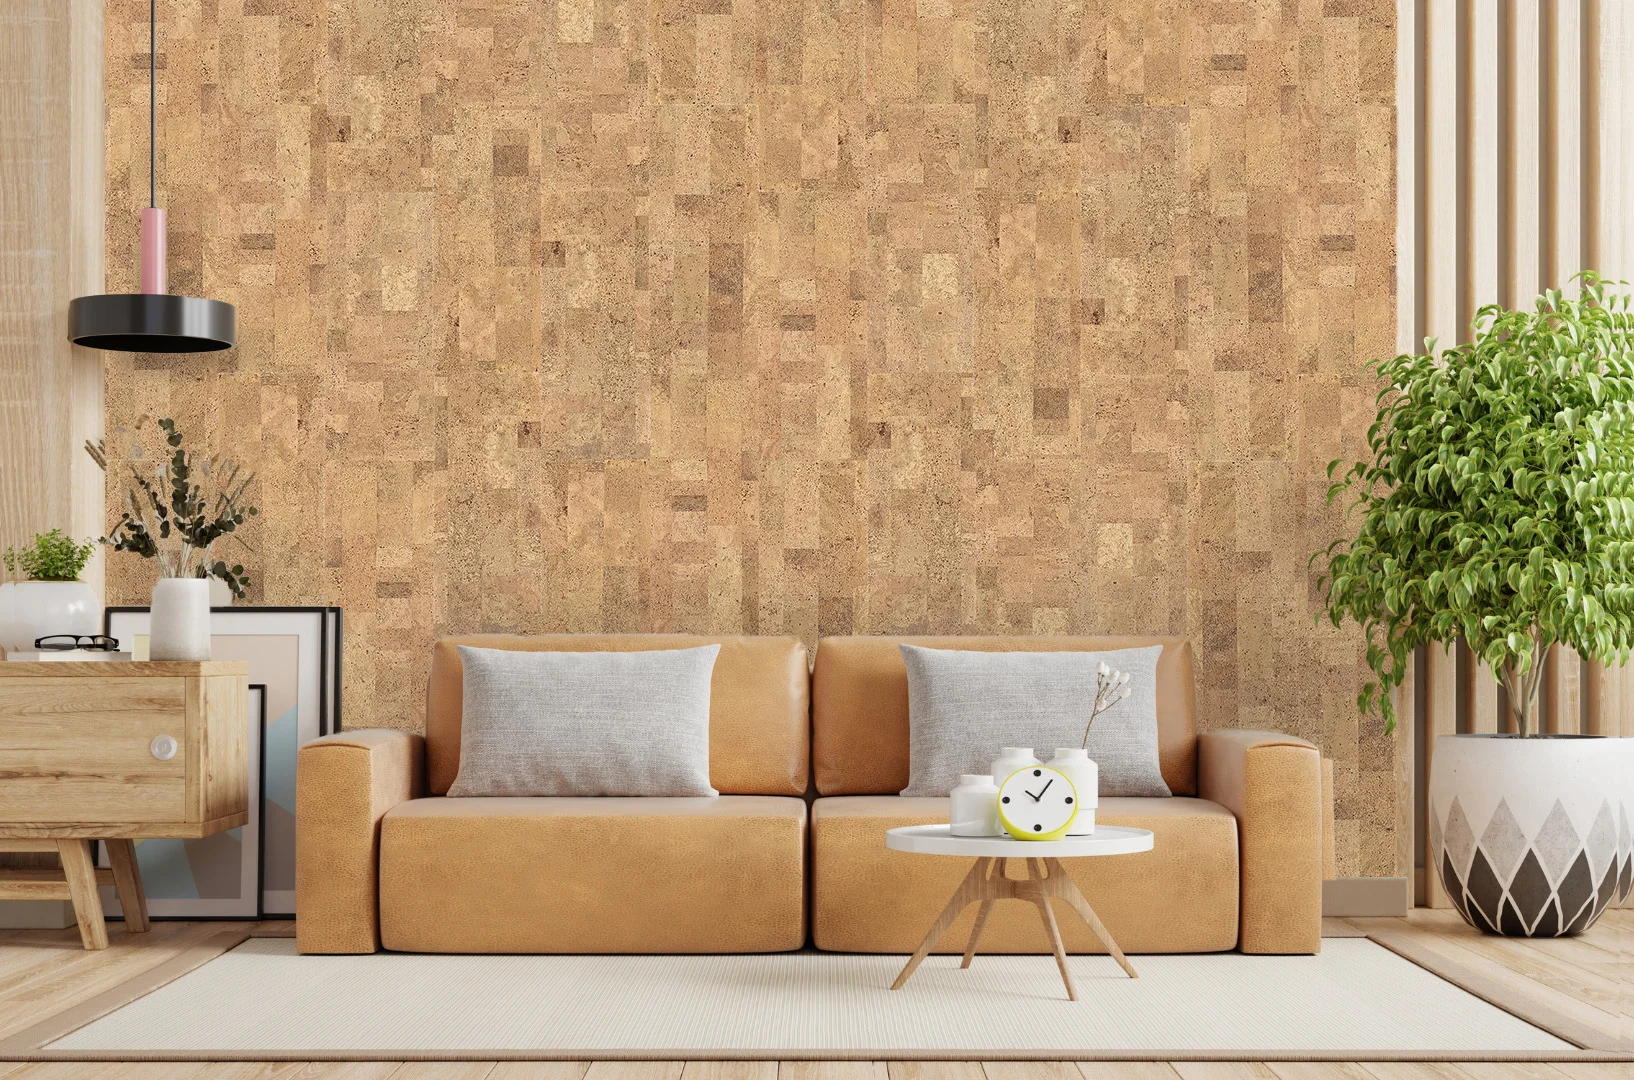
Use this guide for cork wall tiles and panels without an MDF core, including layout, adhesive planning, cutting, and surface preparation.
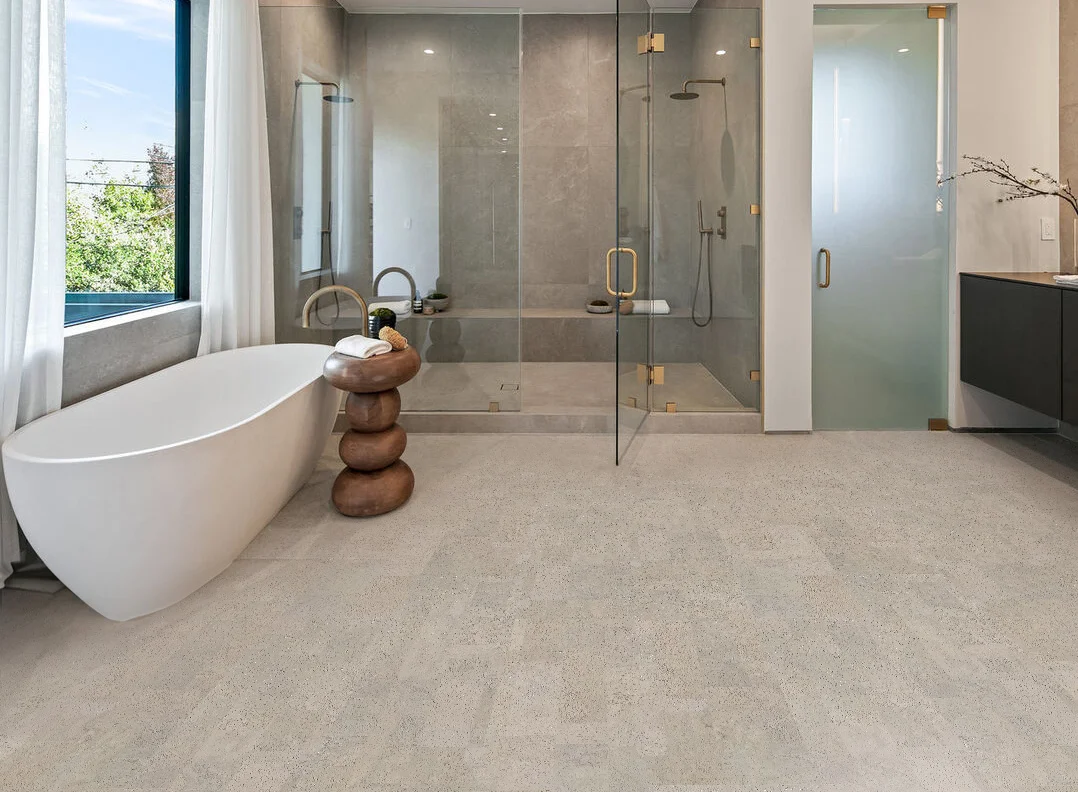
Compare cork wall products before ordering full boxes.
Check texture, depth, color, and lighting before installation.
Compare wall, MDF, 3D, and peel-and-stick instructions.
Step one: Measure the exact area to be covered with Cork wall tiles and make sure to write down the dimensions. To find out the amount of Cork wall tiles you will need, you will multiply the length of the area by width. This will indicate your “square footage”. Allow the wall cork to acclimate in the room it will be installed in for 48-72 hours before installing.
Step two: Prepare the surface area that needs to be covered. The surface should be smooth and free of any wallpaper, paint, old adhesive, etc. Remove the old wall coverings, sand, vacuum and wipe with the cloth if necessary. Surface must be clean and dry. If installing over new drywall, the surface should be primed first. It is will prevent from the glue that will be used soaking into the drywall. If surface is painted, you will need to prepare the area using latex-based paint primer over the area being covered in Cork wall tiles.
Step three: If necessary use a pencil level, square and tape measure to mark of the wall where the Cork wall tile will be installed.
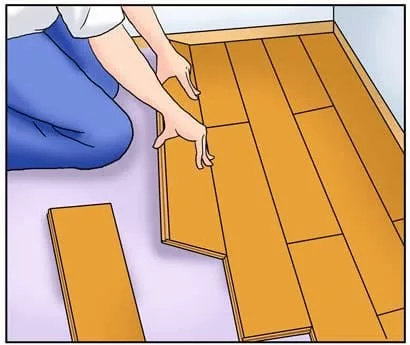
Step four: Layout Cork wall tiles in an appealing pattern that shows the design/pattern in the most appealing way. Remember to stagger the joints in the same way bricks are staggered (running bond pattern). 
Step five: Cut the cork wall tiles. When tiles are staggered, there will be tiles that will need to be cut on the edges. Use a meter stick or a straight edge to determine the line. The patterned surface of the Cork wall tiles (finished side) can be scored using a utility knife or a “tile cutter”.  Snap the Cork wall tiles where it has been scored. Use a piece of sand paper to smooth down the rough edge of the tile if needed.
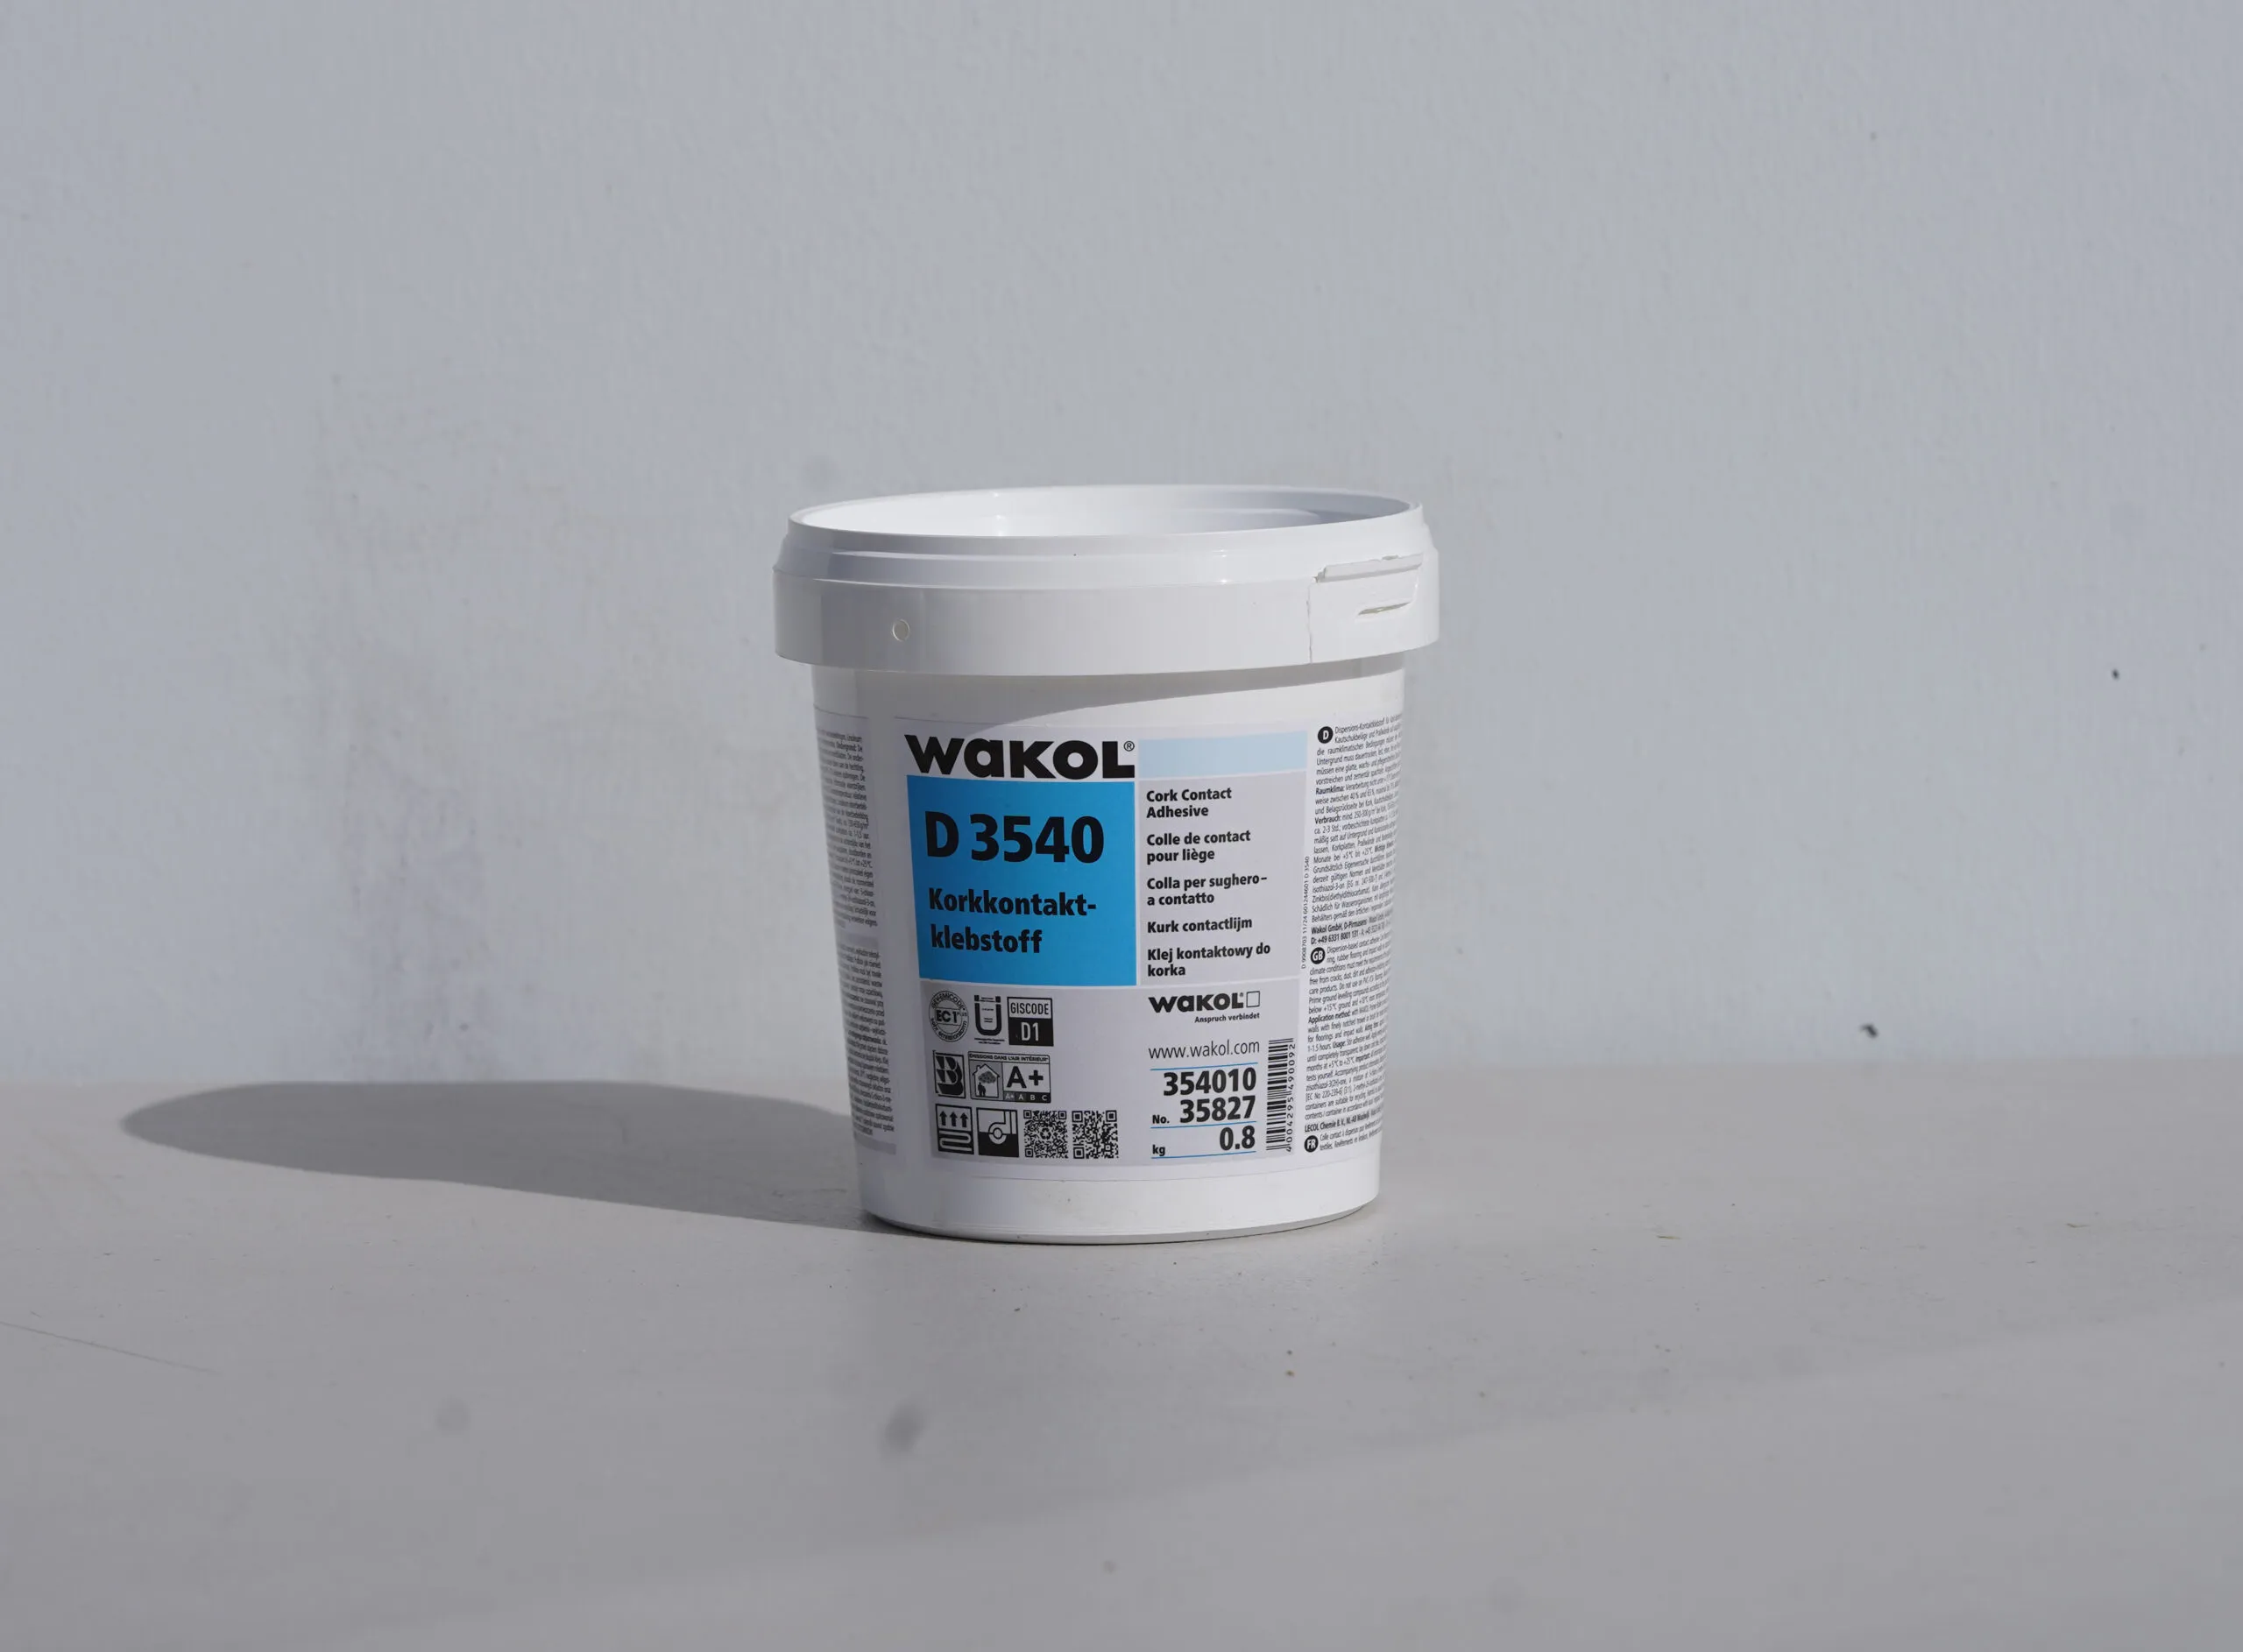
Step six: Applying glue. Use only a water-based contact cement for adhesive. Follow the manufacturer’s instructions  as shown on the water-based contact cement container. Apply water-based contact cement in both the wall area and back of cork wall tiles. You use the drop cloth to keep from spilling any on the floor. Painter’s tape could also be used if necessary. Allow the contact cement on both the wall surface and the back of cork wall tiles and let completely dry to touch before installing. The glue will turn from milky way to clear when it dry.
Step 7: Install the cork wall tiles to the wall surface. Once adhesive is dry to touch,  carefully placed one edge of cork wall tiles along the mark line on the wall and gently press this edge into place. If satisfied with the location, slowly move the cork wall tile along the guide pressing that bit by bit gently and place. Working with contact cement can be tricky, once a cork wall tile in the wall may contact the bond will be firm. Be sure that Cork wall tiles is exactly where desired before making firm contact. After the cork wall tile is up once again press the Cork wall tile firmly to the wall in all areas to ensure a full-surface bond.
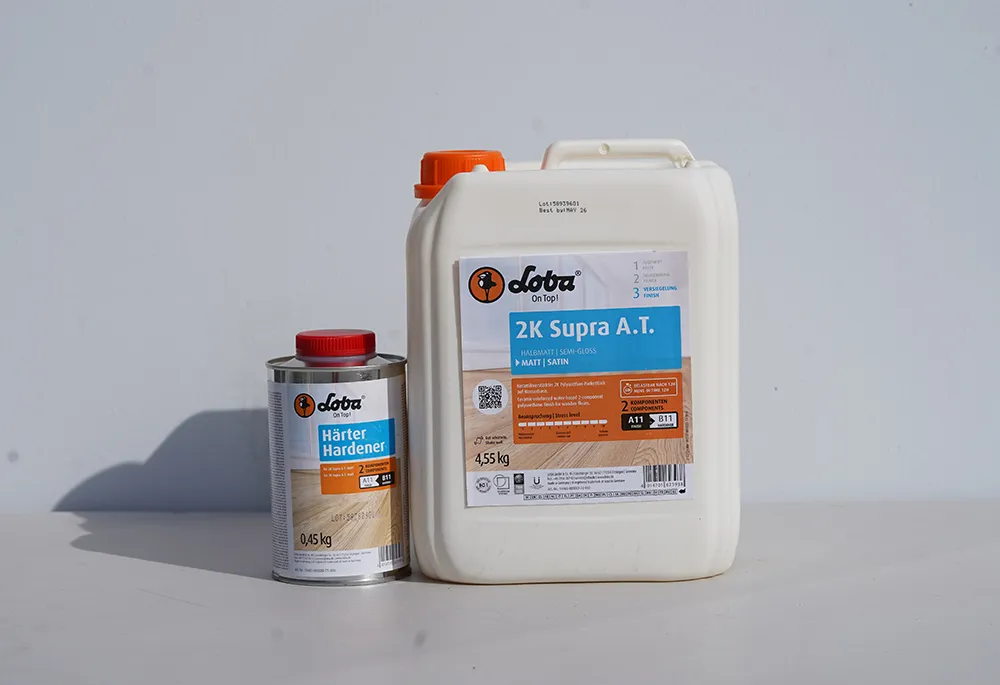
Our cork glue down tiles are flooring products that can be used as wall décor. The floor tiles are factory finished with a water based polyurethane that is as flexible or more flexible than the cork itself. It is a German product specifically designed for cork’s malleability. When installing cork on walls, we still recommend they receive 1-2 coats of Loba 2K Supra AT polyurethane to seal the seams and prevent shrinkage. Like all wood products, cork can shrink. By applying the 1-2 coats after the tiles are installed, the shrinkage is mitigated to “zero” or none.