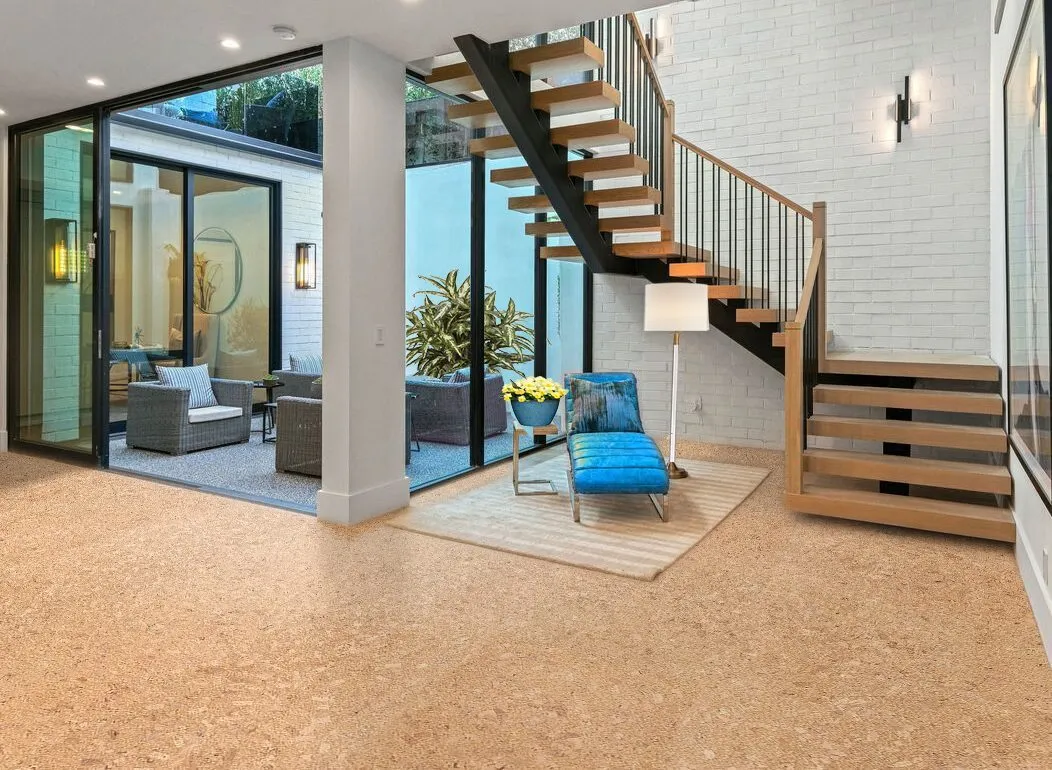
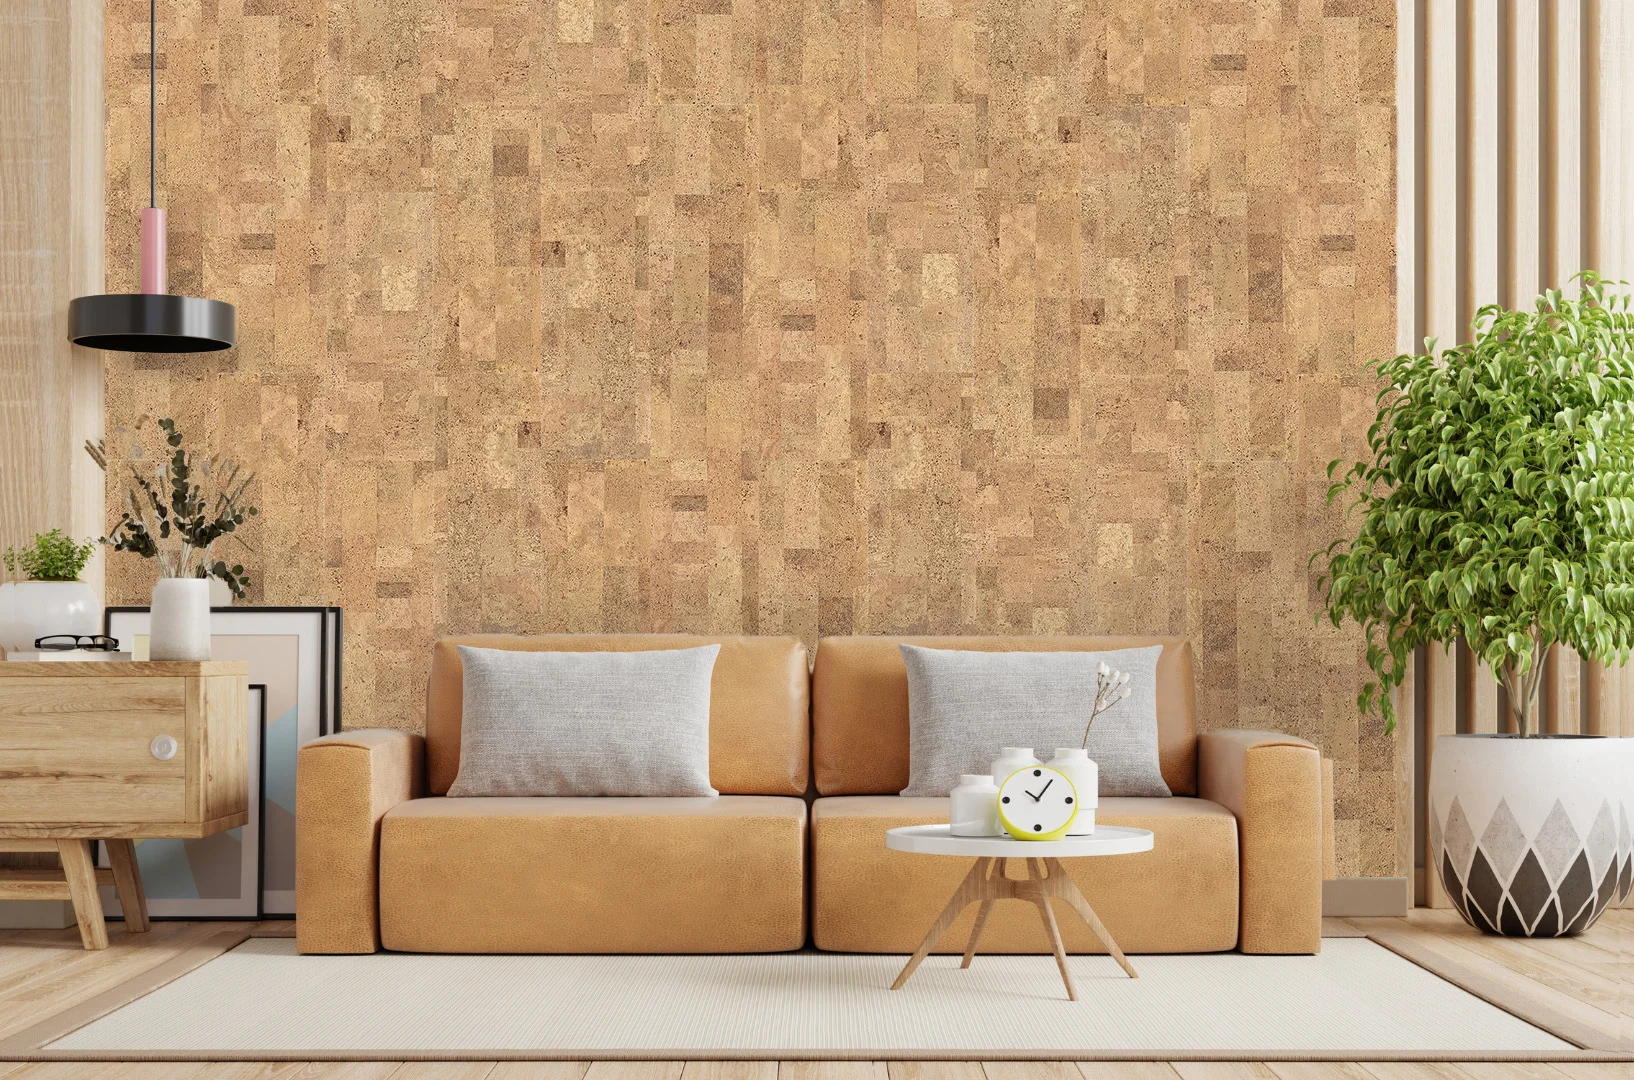
View wall and ceiling products
Compare wall products before selecting the installation method.
Installation guide
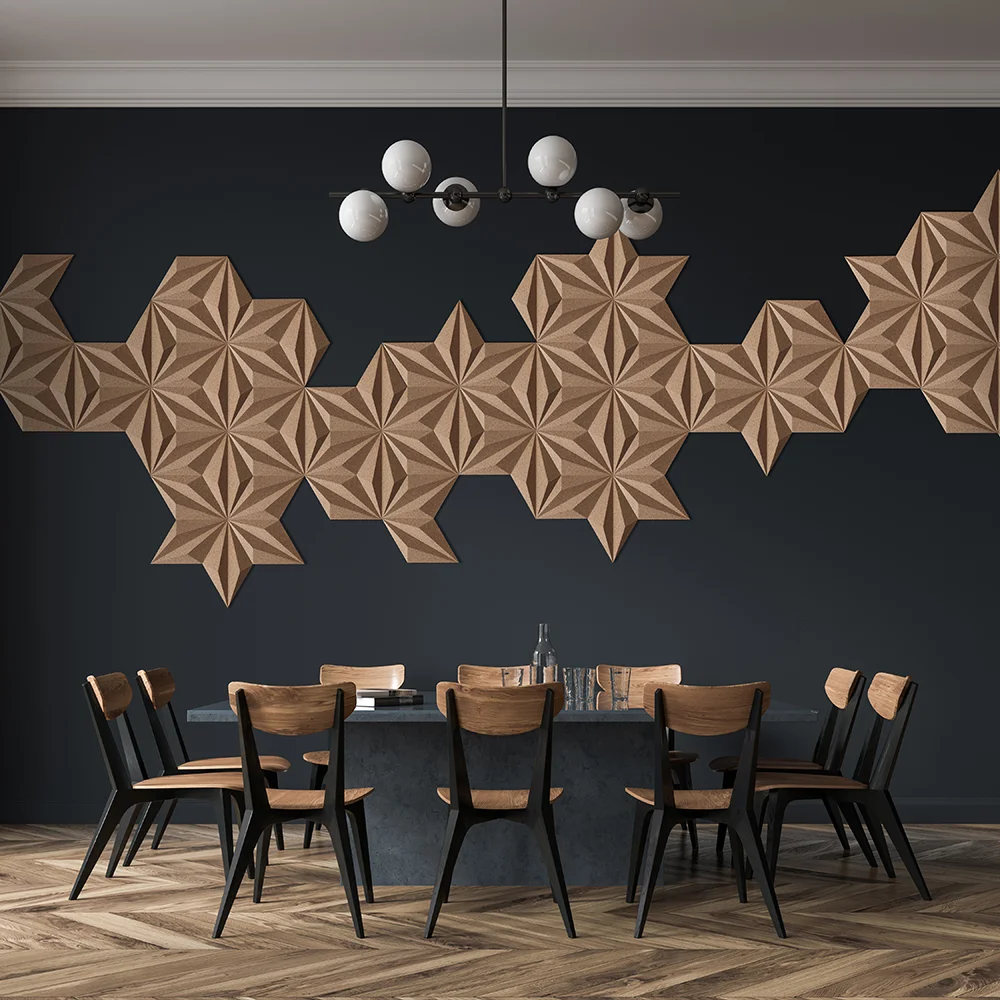
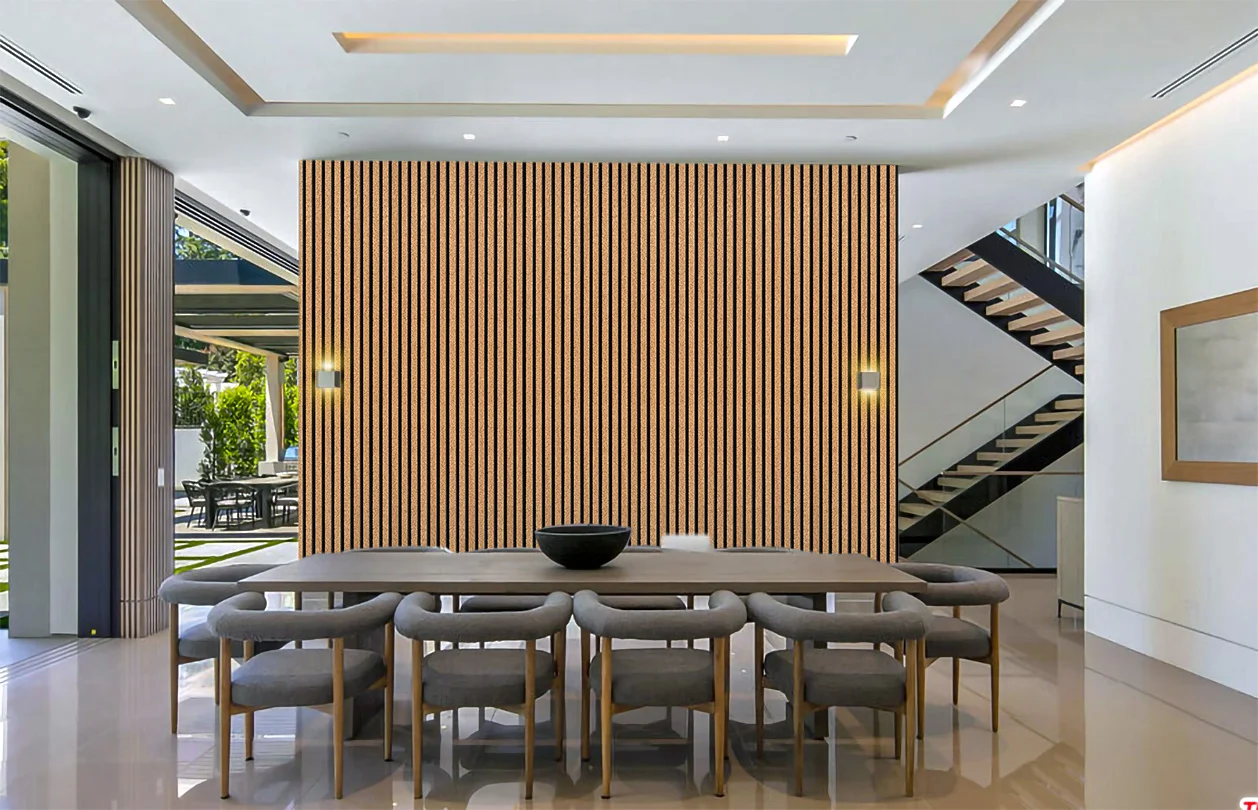
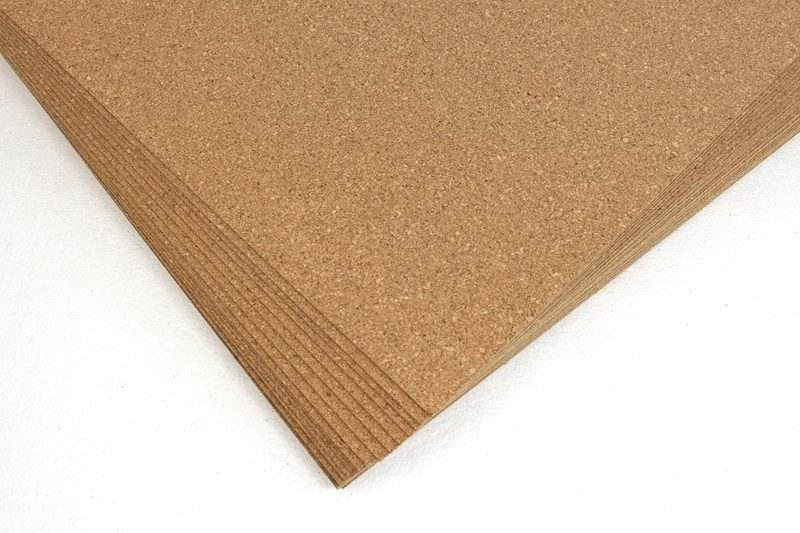
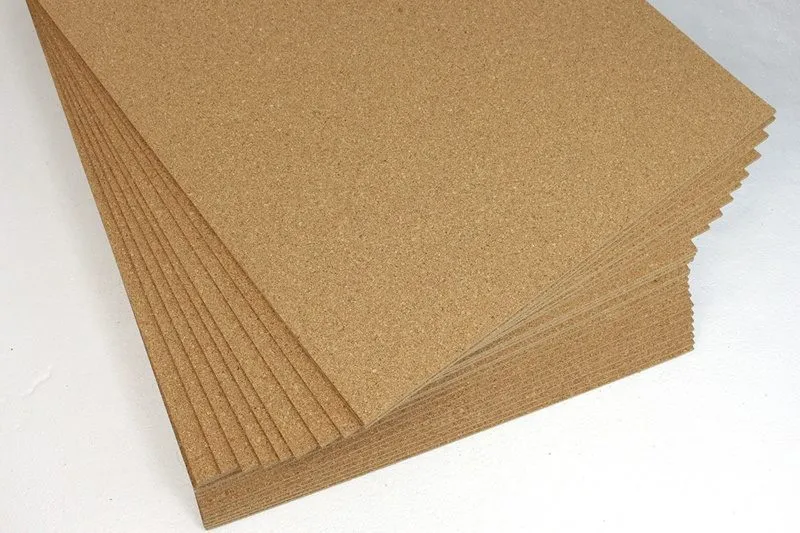
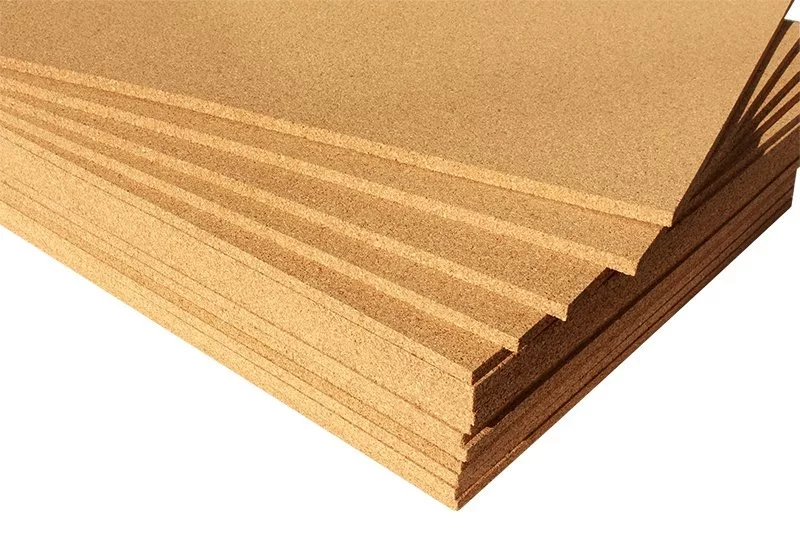
Use this guide for cork wall panels with an MDF core, including acclimation, cutting, adhesive or fastening, and alignment.
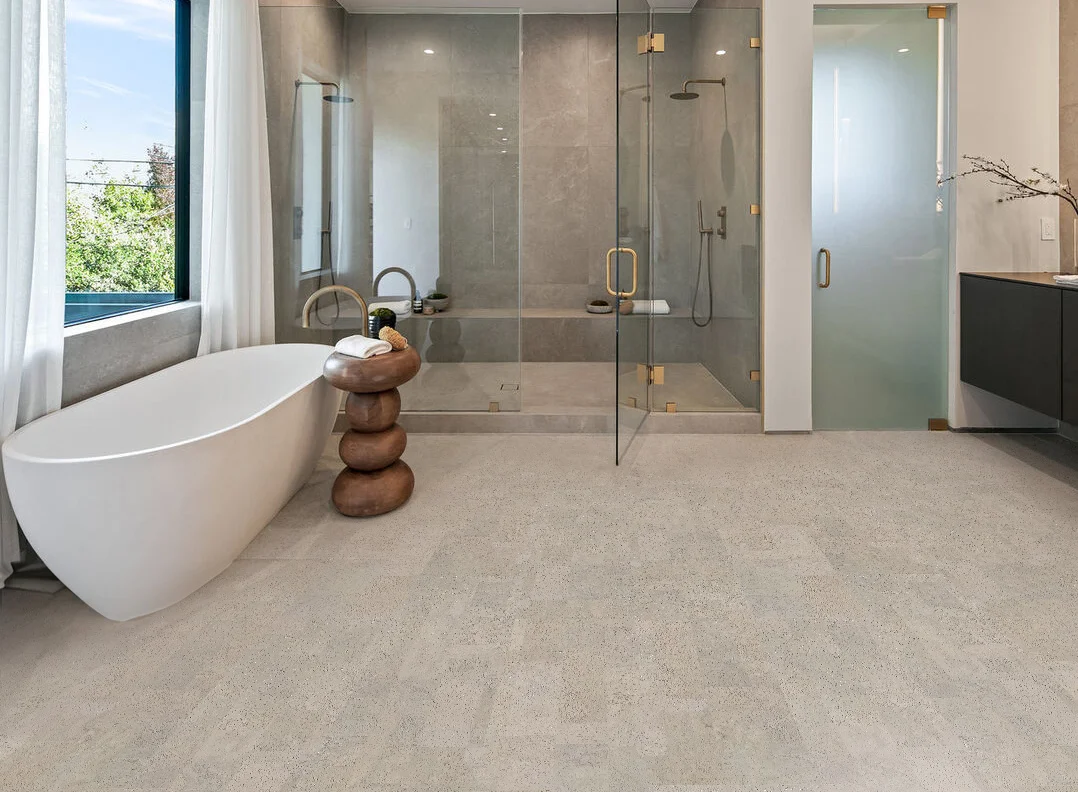
Compare wall products before selecting the installation method.
Use the non-MDF wall guide when the panel has no MDF core.
Ask for help when wall substrate or fastening method is unclear.
New Wall Panel with MDF Core Installation Guide
Tools Required:
Step 1: Panel Preparation and Sizing Let the cork wall panels adjust to the room’s environment for at least 72 hours. Simply open the boxes in the installation room. Removing the panels from the boxes is not required during this stage. If the panels need resizing, use a table saw or circular saw to trim them to the desired dimensions.
Step 2: Preparing the Installation Surface Before starting the installation, confirm that the wall surface is even and dry.
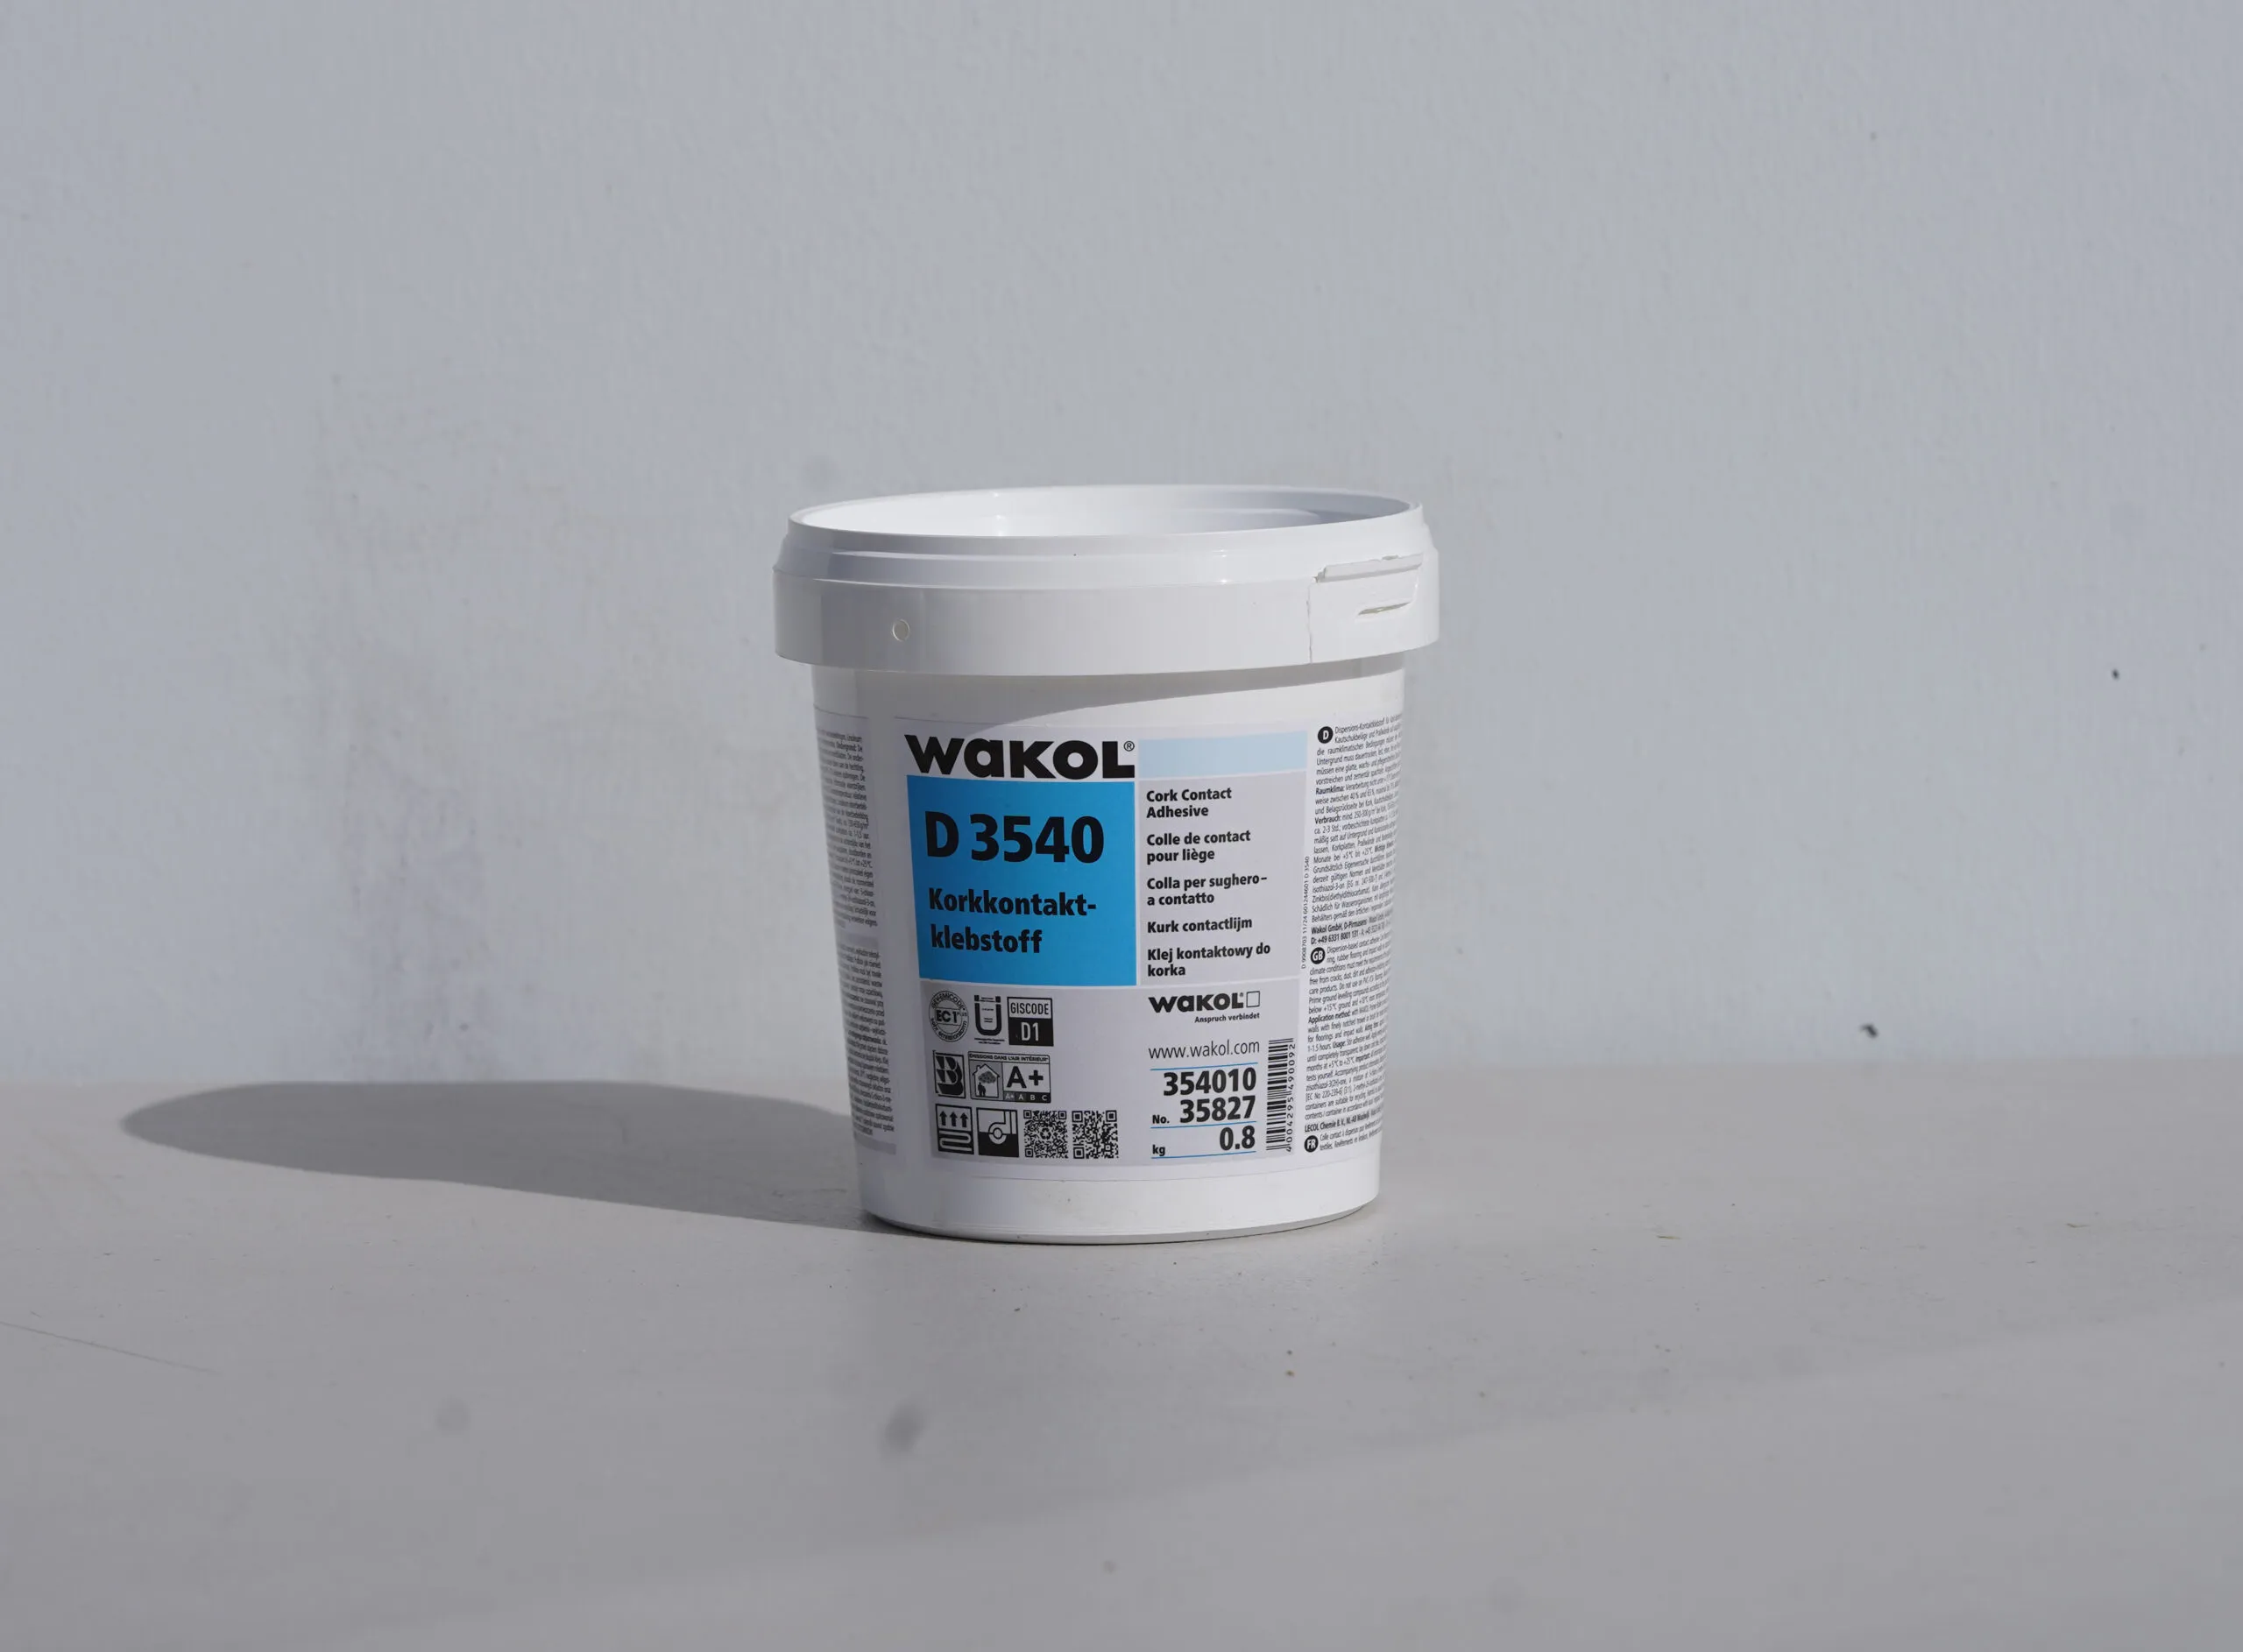
Step 3: Securing Panels with Adhesive and Nails It is advised to use both adhesive and nails for secure installation. Follow the provided image for adhesive application. Aim to place brads or nails into the wall studs wherever feasible for enhanced support.


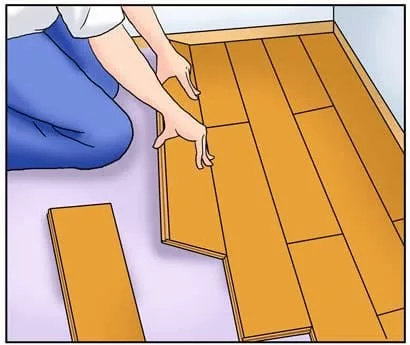
Step 4: Installing the Panels Locate and mark the wall’s center on the floor. Ensure the first panel is vertically aligned using the level. Affix this initial panel with the chosen adhesive and firmly nail it using a brad gun. Proceed by attaching the subsequent panels to either side of the first, moving towards the wall’s edges.

