
Browse flooring
Compare flooring families before selecting full cartons.
Installation guide
LinoDesign floating flooring needs the correct substrate, moisture barrier, expansion, acclimation, and maintenance plan.
Compare flooring families before selecting full cartons.
Review installer experience before scheduling specialty flooring work.
Ask for help matching the guide to the exact product and room.
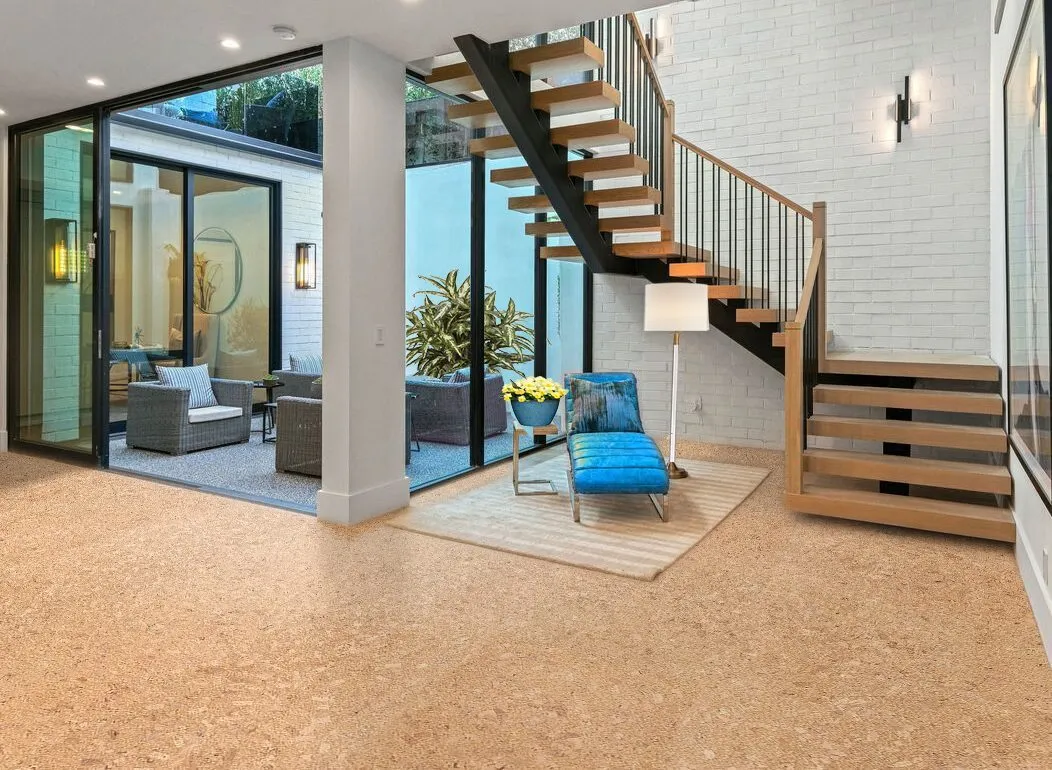
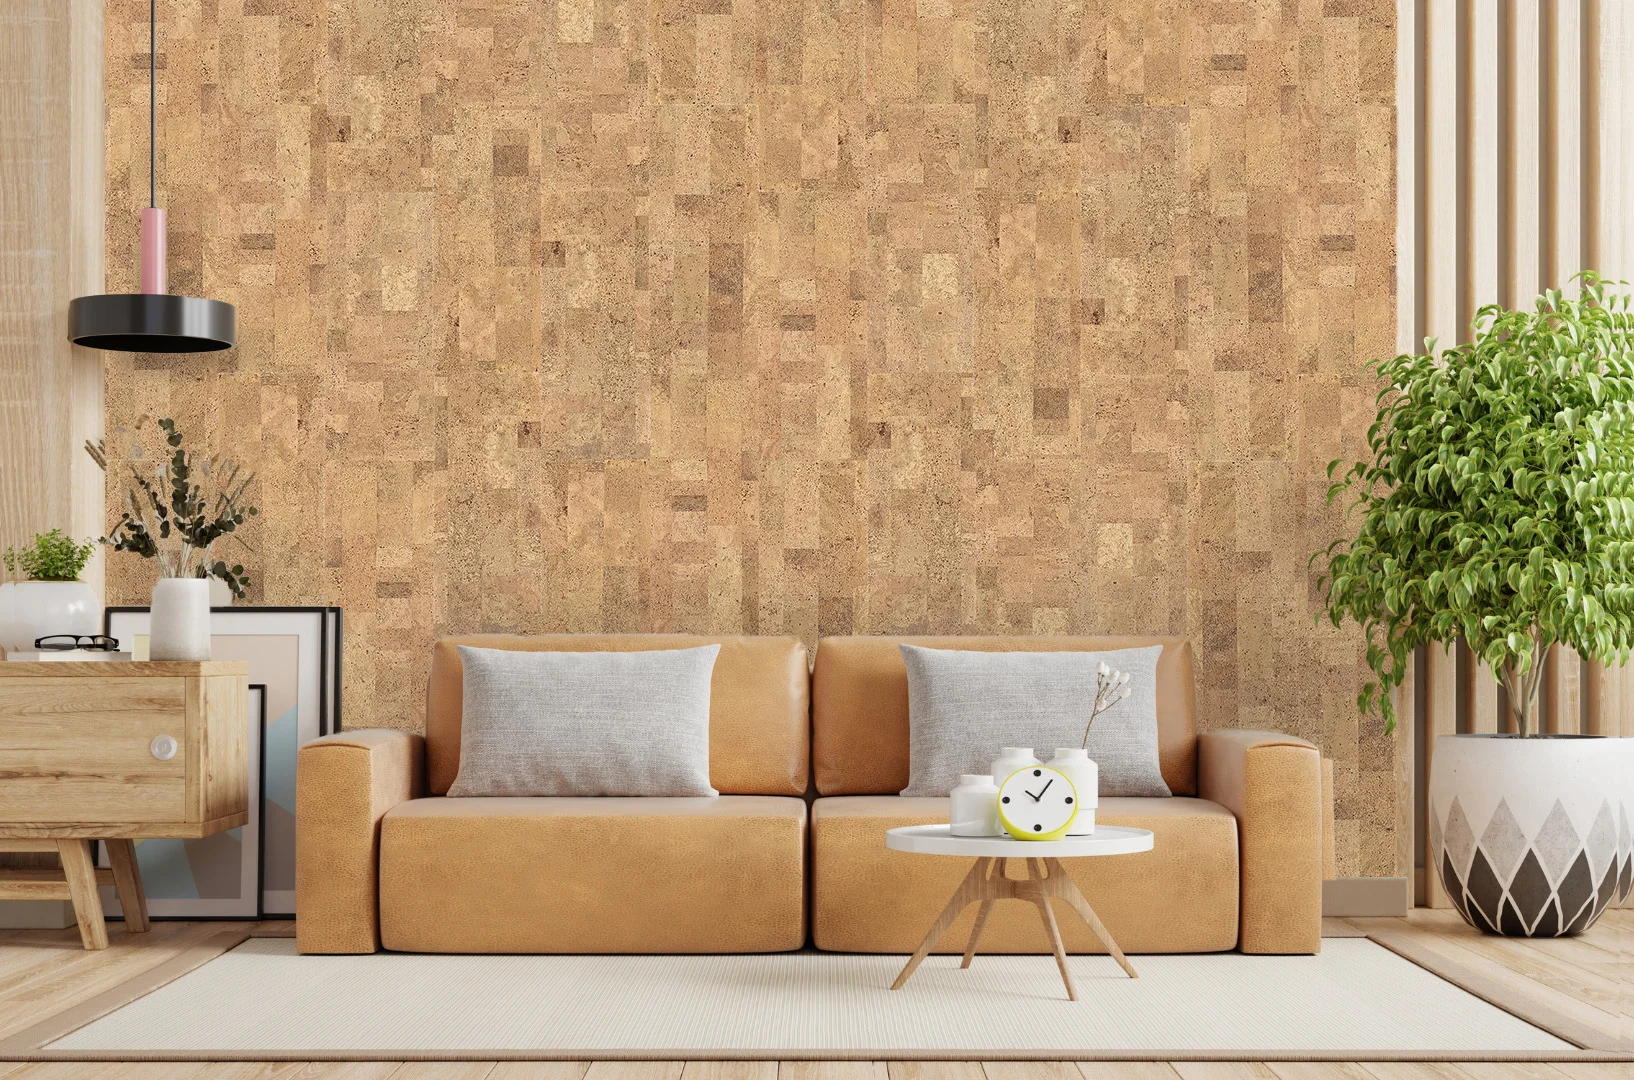
Forna Linoleum Floating Flooring combines Swiss craftsmanship with innovative design. Featuring the patented UNICLIC® locking system, installation is tool-free and hassle-free. Each plank interlocks securely, creating a stable, slip-resistant surface that naturally repels dirt. Perfect for renovations, this flooring requires proper subfloor preparation—ensure wood or chipboard bases are smooth and level before installation.
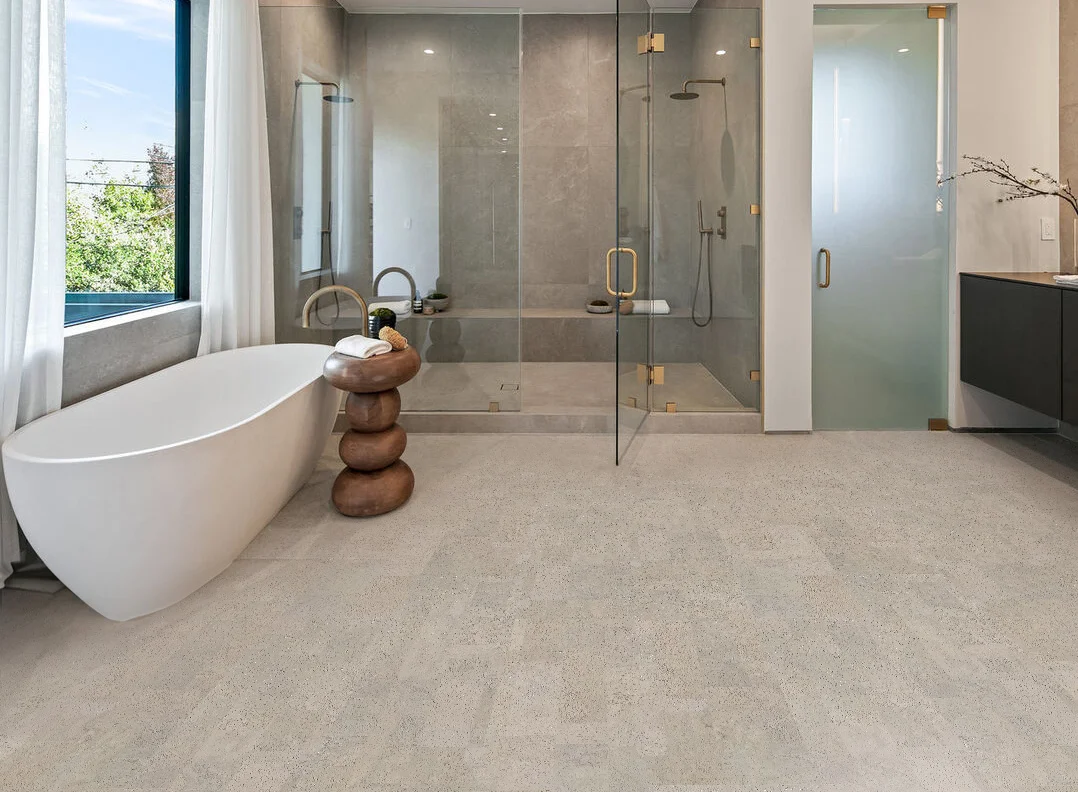
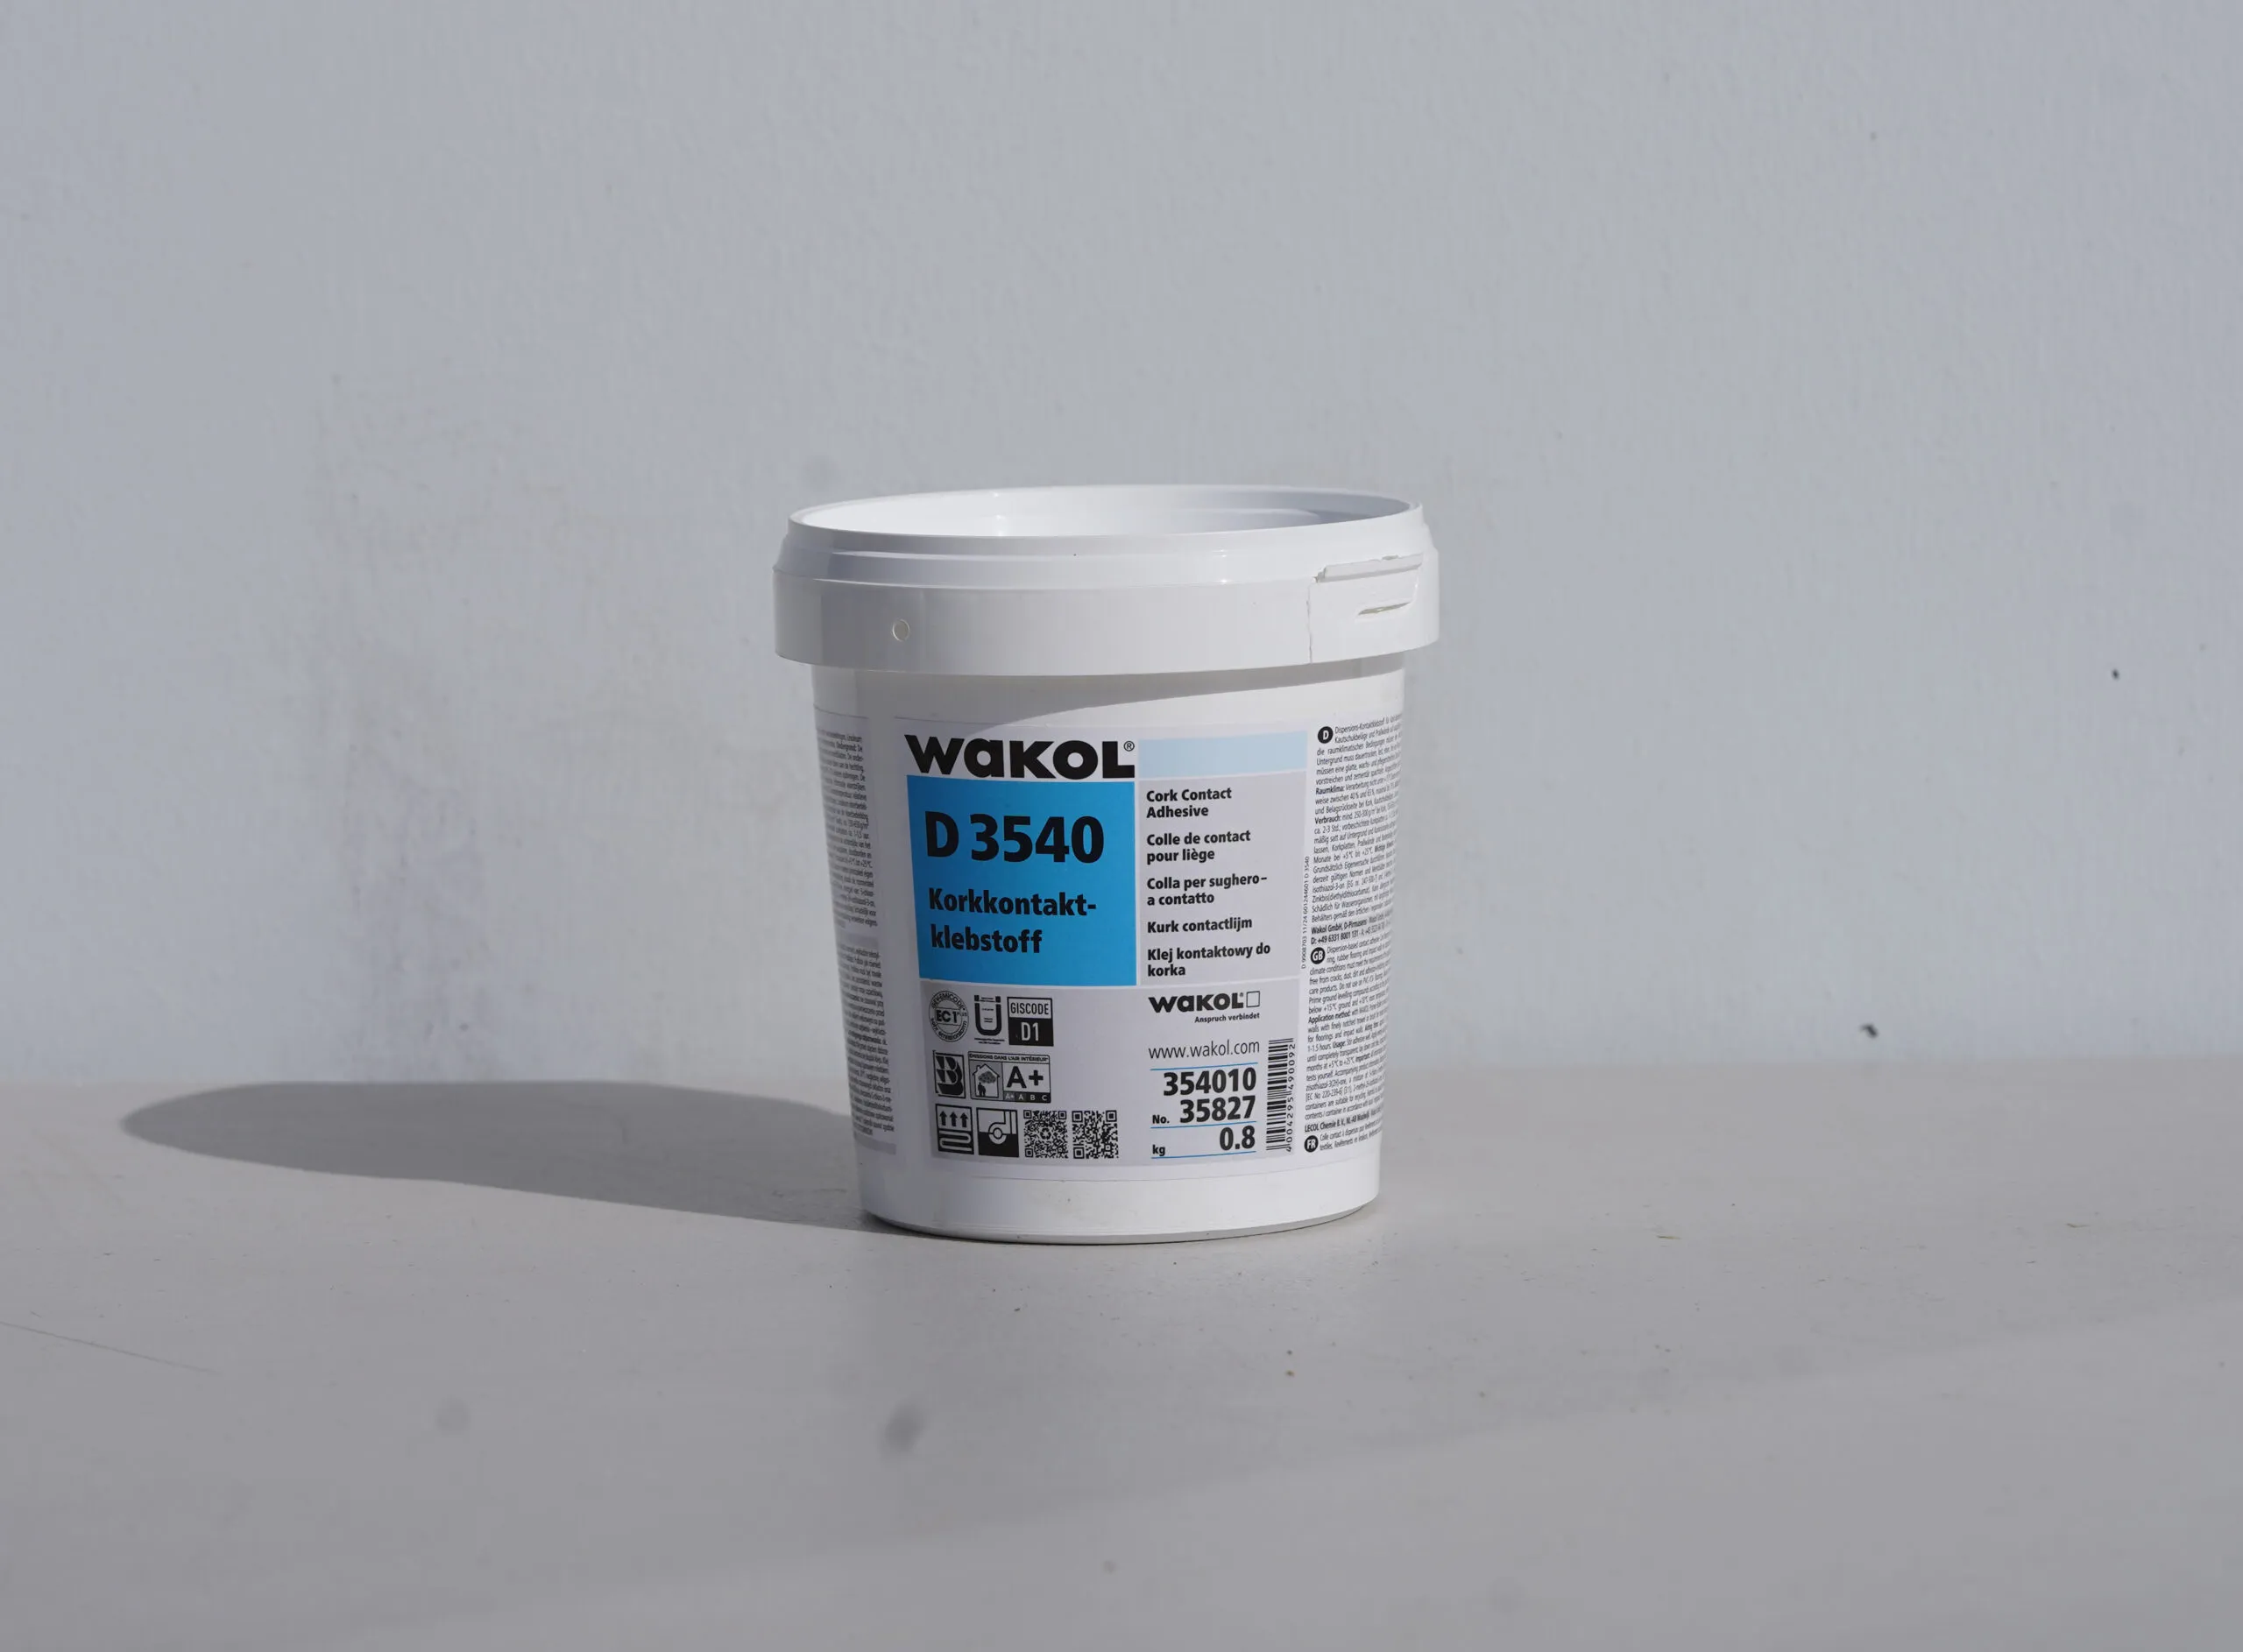
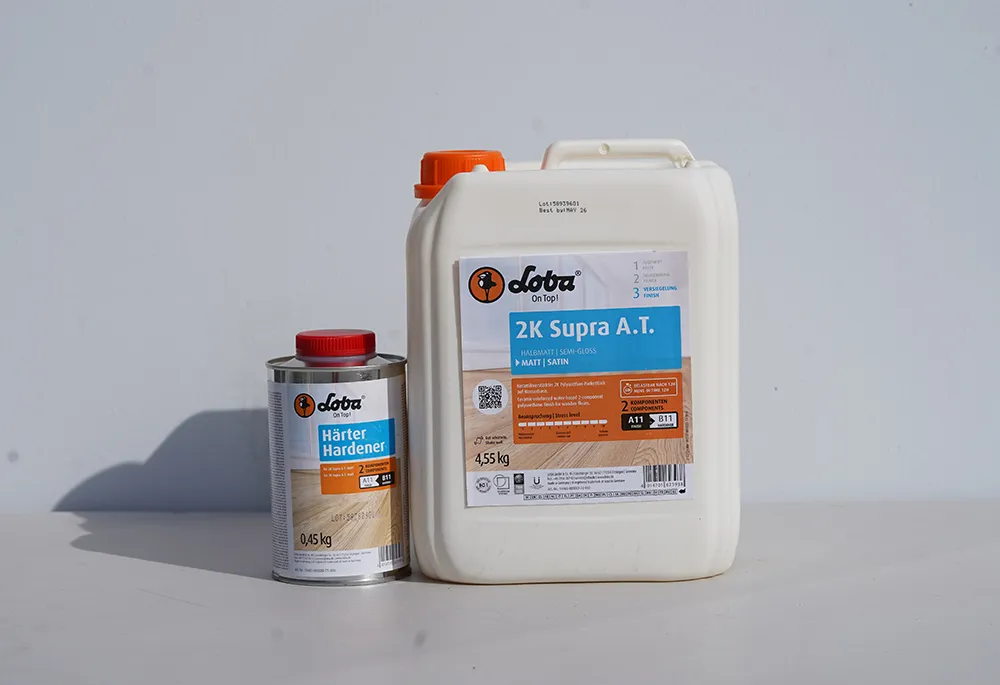
*Note: Only Hydrowood core Forna flooring is waterproof and suitable for wet areas like bathrooms (can be glued down). HDF-core flooring should not be glued. For bathroom installations, seal edges with Loba 2K Supra AT.*
Must be clean, dry, flat, and structurally sound (meets DIN 18365 standards).
Level any uneven areas exceeding 3mm per meter.
Not suitable over carpet.
Moisture Limits (CM Method):
Cement screed: < 2.0% (heated screeds: < 1.8%).
Anhydrite screed: < 0.5% (heated screeds: < 0.3%).
Store unopened boxes flat for 24+ hours in the installation room.
Maintain room conditions: 59°–77°F (15–25°C) and 40–60% humidity.
Inspect planks in natural light for defects before installing.
Minor imperfections can be used for cut pieces.
Do not proceed if environmental conditions or product issues exist.
Lay 0.2mm polyethylene film over mineral subfloors.
Overlap seams by 8 inches (20cm) and tape securely.
Extend film 1 inch (2–3cm) up walls.
Tip: PE film ensures smooth floating performance on all subfloors.
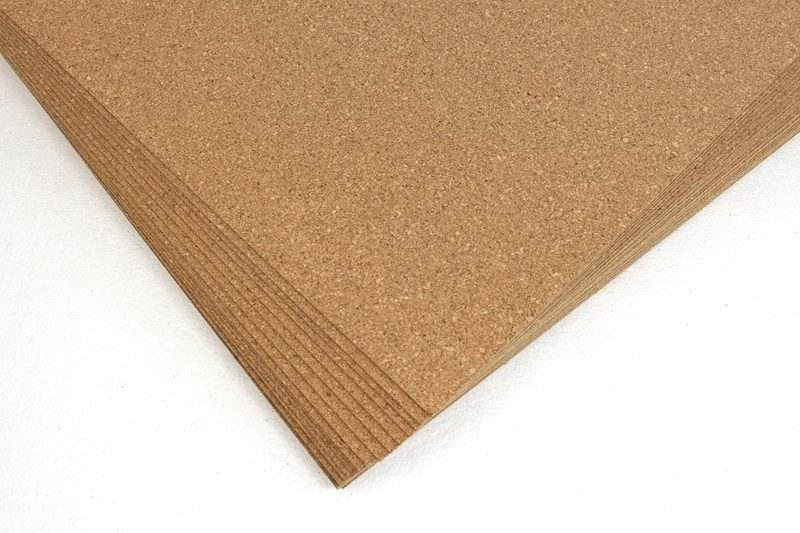
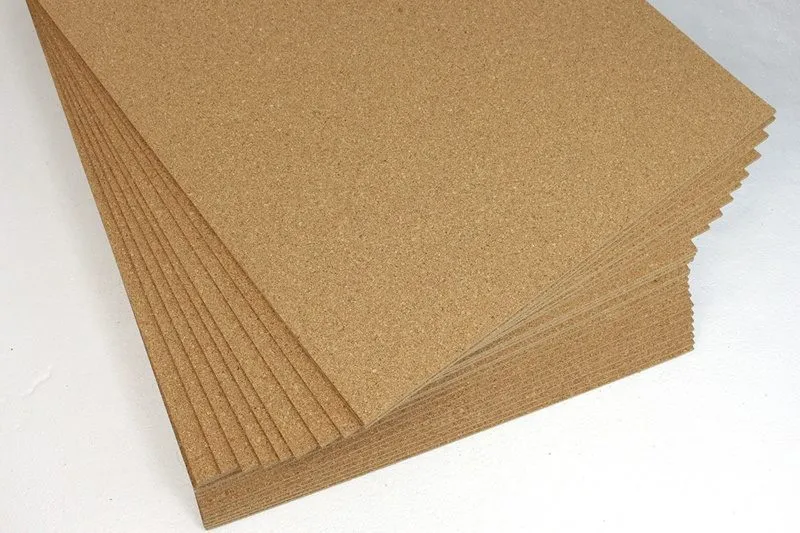
Pre-attached cork or Green Sound underlay eliminates the need for additional layers.
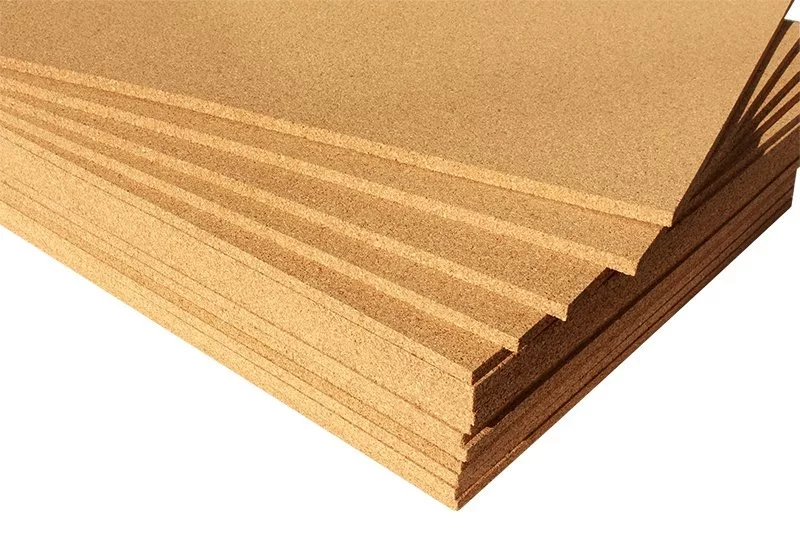
If adding underlay, ensure minimum 200 kPa compression resistance (CS value).
Maximum installation area: 100 x 80 ft (30 x 24m) without expansion joints.
Leave 3/8-inch (10mm) gaps around walls and fixed objects.
Never fill edge joints with silicone—use transition moldings.
Open packages as needed and mix planks for natural variation.
Install parallel to the primary light source for best visual flow.
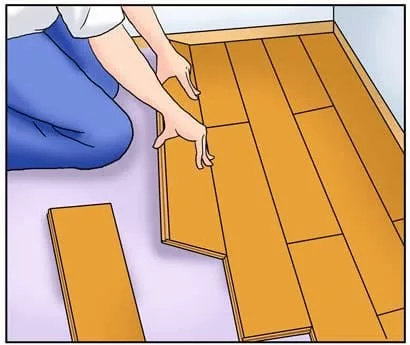
Two Locking Methods:
A) Angle-to-Angle:
Tilt plank 10°, engage the tongue into the groove, and lower to lock.
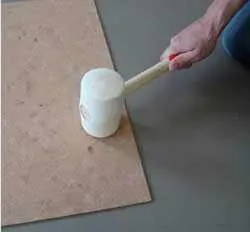
Use a tapping block (min. 8 inches/20cm) to secure seams.
B) Angle & Snap:
Connect short ends first, then angle and tap the long edge into place.
Stagger end joints at least 8 inches (20cm), ideally 16 inches (40cm).
Never nail or screw planks—floating installation only.
For heavy fixtures (e.g., kitchen islands), leave expansion space or use breaks.
Bathrooms: Glue planks down and seal edges with silicone. Use PE round cord for perimeter joints.
Keep 3/8-inch (10mm) clearance around pipes and door frames.
Secure cut pieces with adhesive tape.
Avoid nailing door stops through flooring.
Max surface temperature: 82°F (28°C).
Must be fully embedded in screed. Glue click joints periodically.
Tip: Request a screed supplier’s heating protocol.
Daily care: Sweep, vacuum, or damp mop.
Stubborn stains: Use pH-neutral PU cleaner.
Avoid abrasives, wax, or solvents.
Protective Measures:
Place walk-off mats at entrances.
Use soft furniture pads (Type W, EN 12529).
Never use rubber-backed mats—they can discolor floors.
Need Help?
For detailed support, visit our website or consult a Forna flooring expert. Enjoy your beautiful, long-lasting floors!