Browse flooring
Compare flooring families before selecting full cartons.
Installation guide
Swiss leather floating flooring needs careful acclimation, clean substrate preparation, moisture protection, and expansion planning.
Compare flooring families before selecting full cartons.
Review installer experience before scheduling specialty flooring work.
Ask for help matching the guide to the exact product and room.
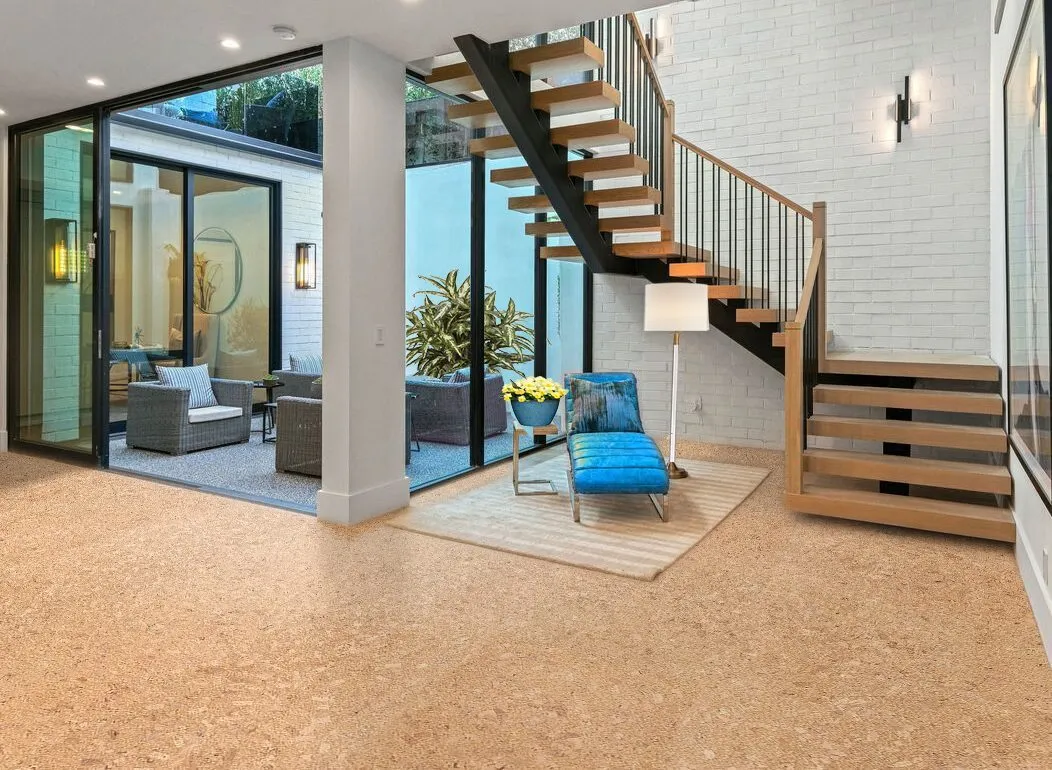
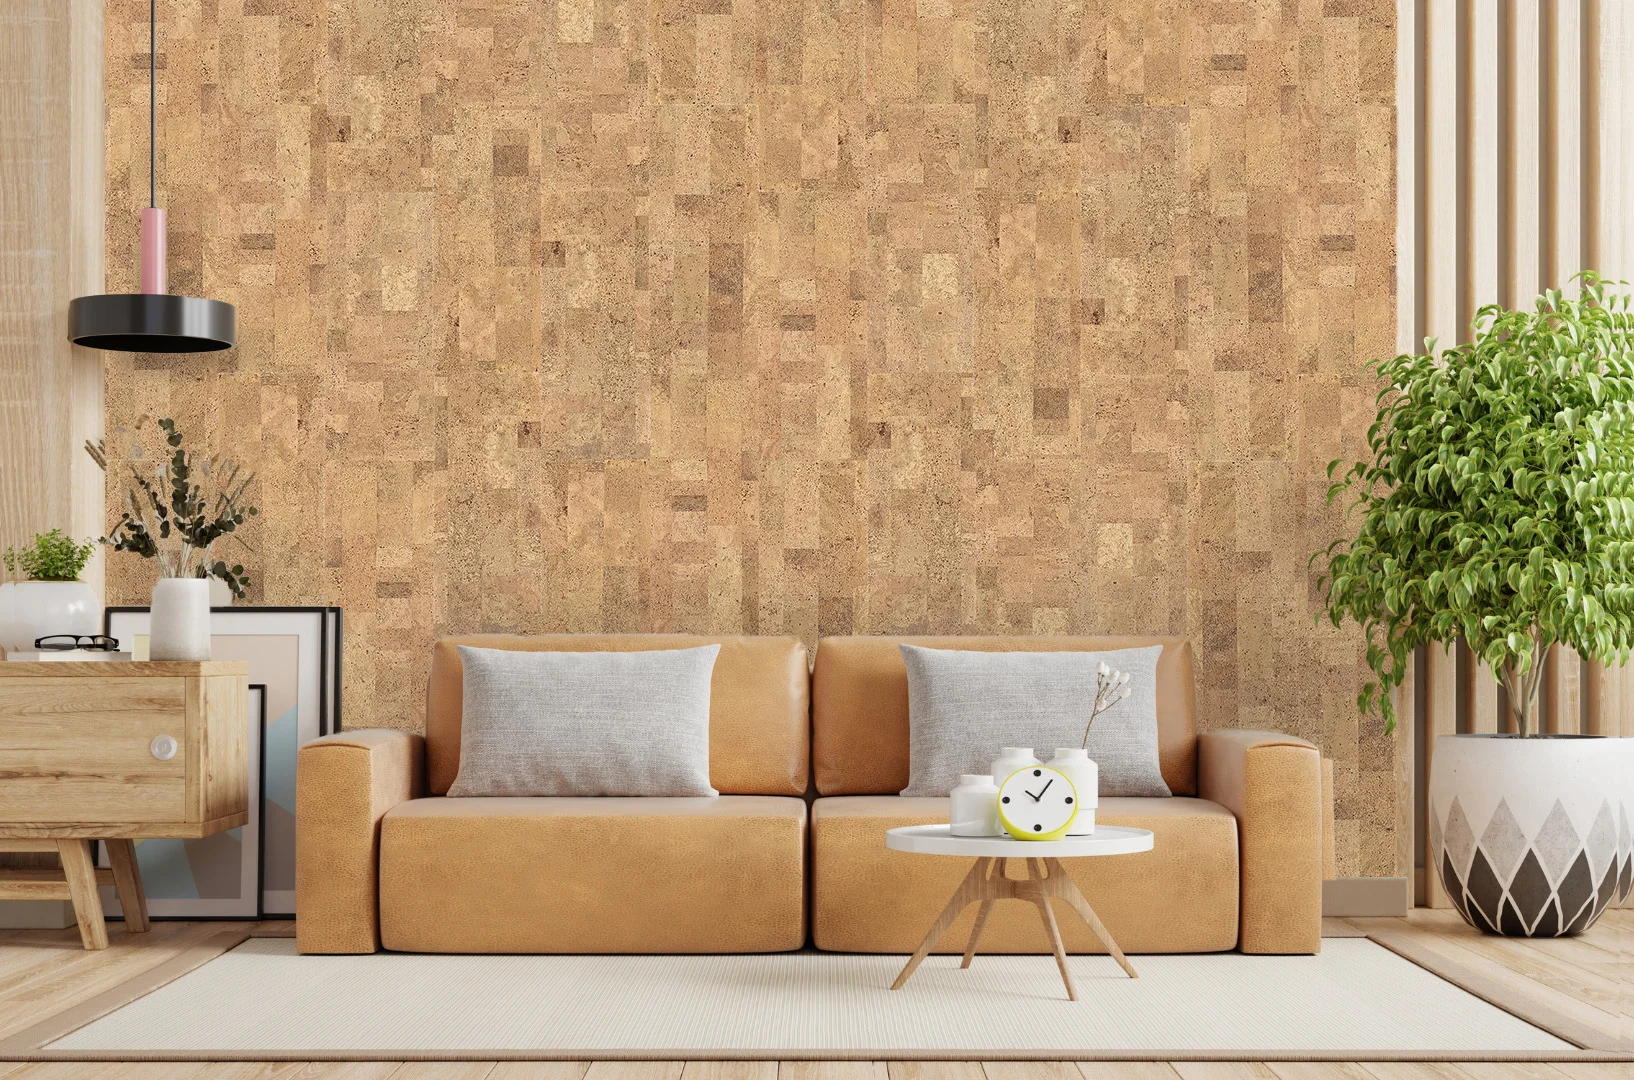
Forna Swiss Leather Floating Floors feature the UNICLIC® locking system, making installation fast and adhesive-free.
These planks are designed for strength, slip resistance, antistatic performance, and easy maintenance.
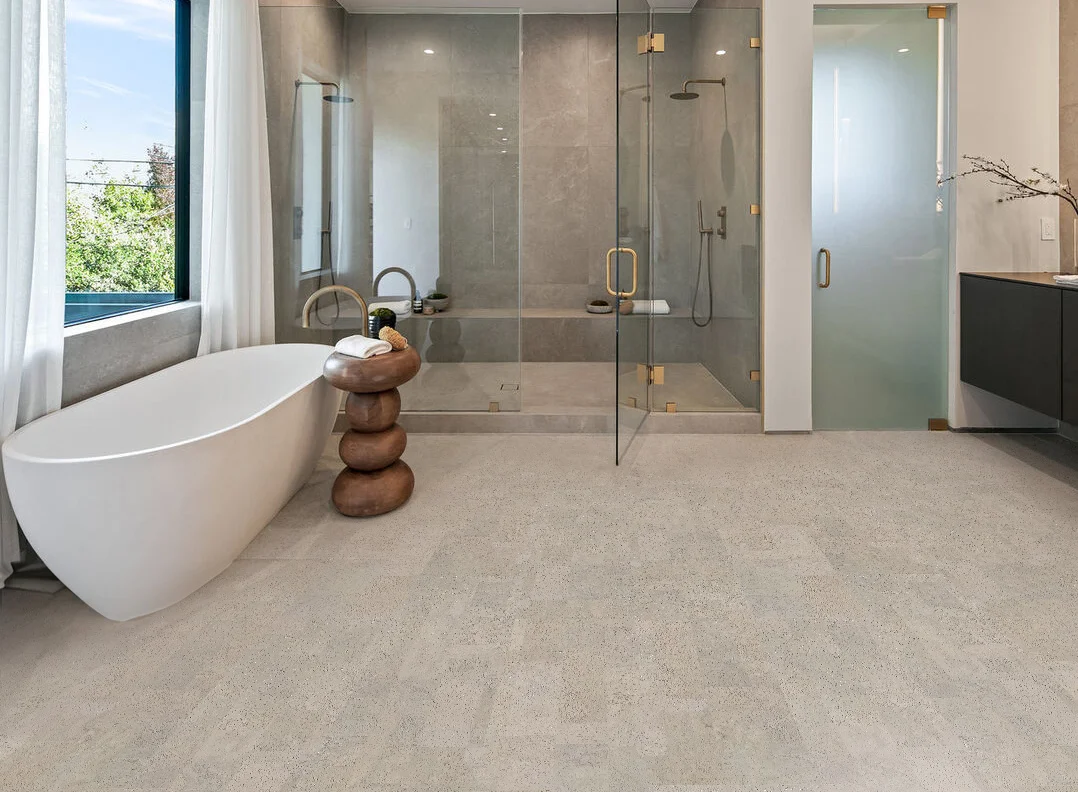
Please note: this flooring is not intended for wet or damp environments.
Install only as a floating floor; do not glue directly to the subfloor.
The subfloor must be:
Clean, dry, level, and structurally sound (per DIN 18365).
Flat within 3 mm per meter (DIN 18202).
Eliminate paint spots, plaster residue, or any raised imperfections.
Carpeted surfaces are not acceptable.
Record moisture content before installation:
Cement screeds: max 2.0 % CM, or 1.8 % CM with underfloor heating.
Calcium sulfate screeds: max 0.5 % CM, or 0.3 % CM with underfloor heating.
Minimum subfloor temperature must be 15 °C (59 °F).
Leave sealed packages lying flat in the installation room for at least 24 hours before laying.
Room conditions should remain between 15–25 °C (59–77 °F) with 40–60 % relative humidity.
Inspect all planks in natural light for any defects or shipping damage.
Mix boards from multiple cartons to achieve a consistent appearance.
Always leave a 10 mm expansion gap at walls and around fixed structures. In larger spaces, allow at least 1 mm per meter of width.
On mineral-based subfloors, install a 0.2 mm PE film as a vapor barrier.
Overlap sheets by 20 cm, tape seams, and extend edges up the wall 2–3 cm.
Using PE film is recommended on all subfloors to ensure proper floating movement.
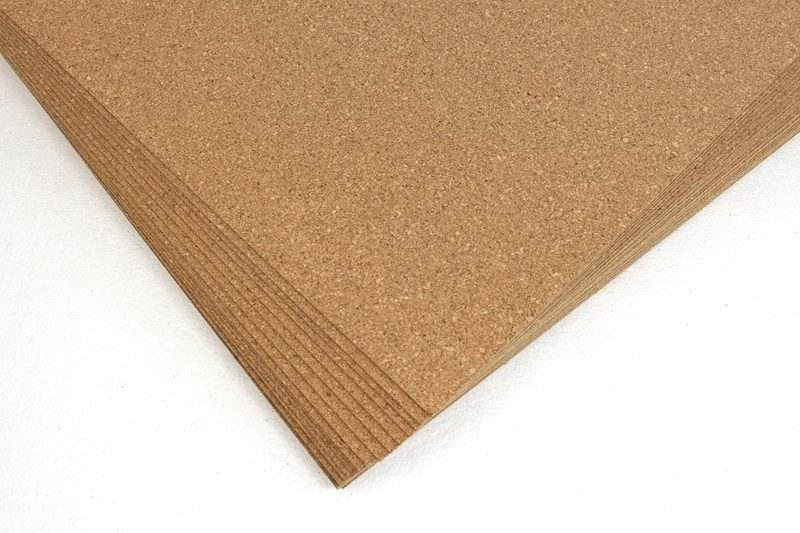
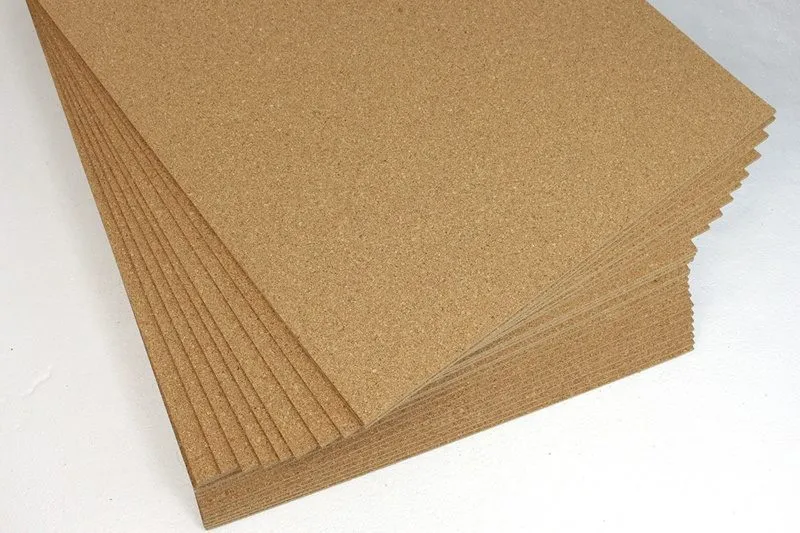
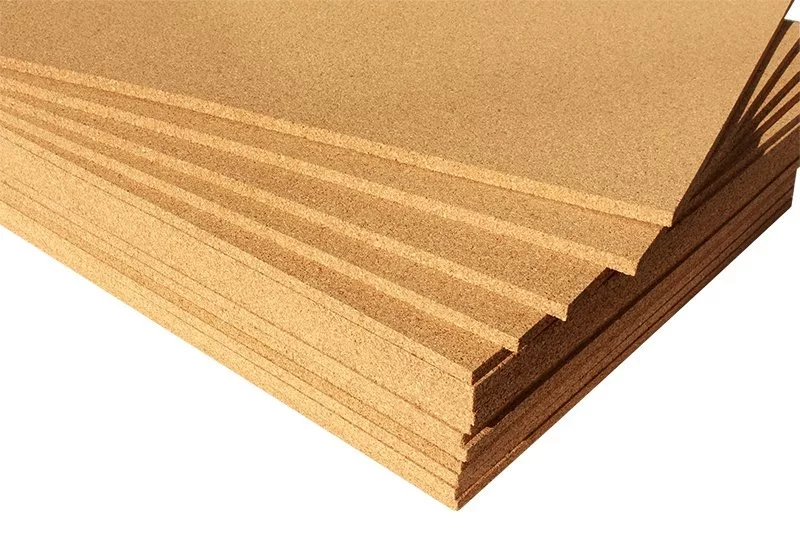
A cork underlayment is already attached to Forna Leather Flooring.
No additional foam underlay is recommended. If an extra layer is desired, it must meet ≥200 kPa compression strength.
Without expansion profiles, the maximum installation area is 15 m x 12 m (49 ft x 39 ft).
Any expansion joints present in the subfloor must also be carried through the flooring.
Measure the room before beginning.
Adjust the first row so the last row is no narrower than 5 cm (2″).
Install planks parallel to the main light source for best visual results.
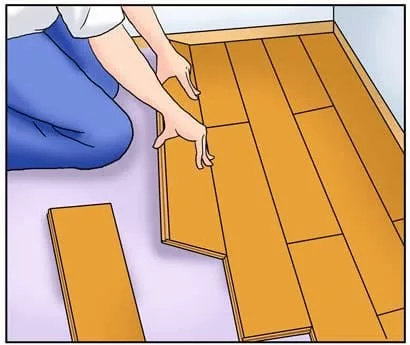
Begin in the right-hand corner, with the tongue facing the wall.
Use spacers to maintain expansion gaps.
Connect planks end-to-end by inserting the tongue into the groove.
Angle-to-Angle: Tilt the plank at approx. 10°, lock it into place, and press down.
Angle-Snap: Align the plank and gently tap into position with a tapping block and hammer.
Offset plank ends by at least 20 cm (8″), ideally 40 cm (16″), to create a stable pattern.
Pipes & Door Stops: Maintain 10 mm (4″) clearance. Cut the plank and reinsert the cut piece securely. Do not fasten door stops through the floor.
Door Frames: Trim frames so planks can slide underneath while preserving free movement.
Do not anchor the flooring beneath heavy, immovable items such as kitchen islands, large stoves, or heaters.
Instead, install expansion breaks around these objects.
Compatible with underfloor heating where the surface temperature does not exceed 29 °C (84 °F).
Only suitable for systems embedded in screed (≥2 mm).
Electric foil heating must cover the entire installation area.
Always follow the heating and cooling cycle recommendations provided by the screed supplier.