Installation guide
Real Stone Floating Floor Installation and Maintenance
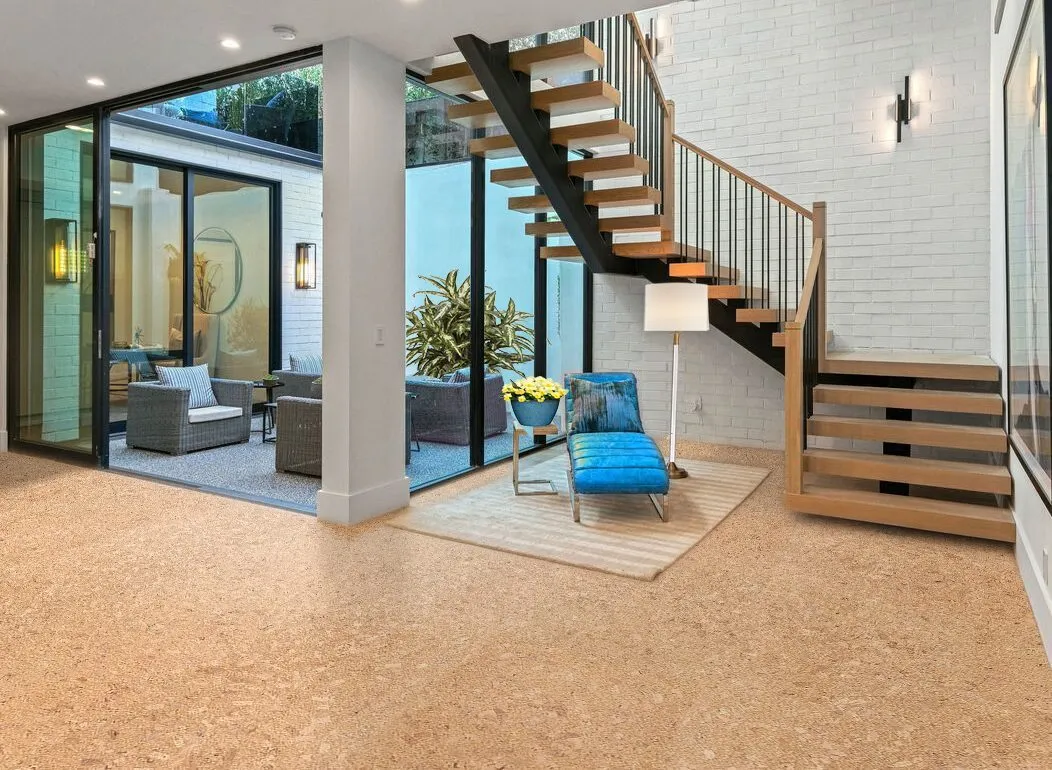
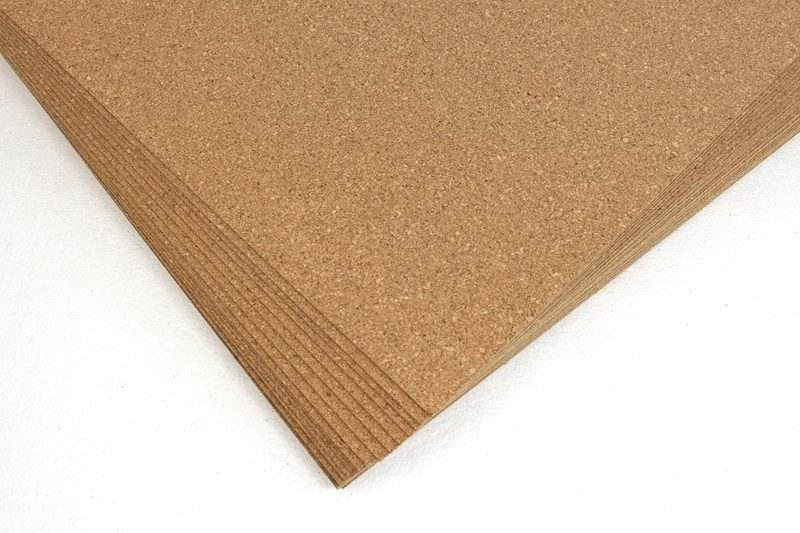
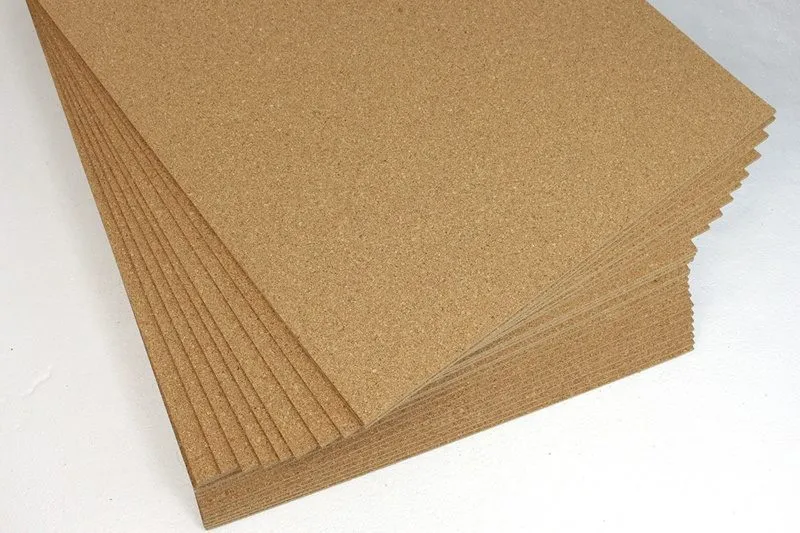
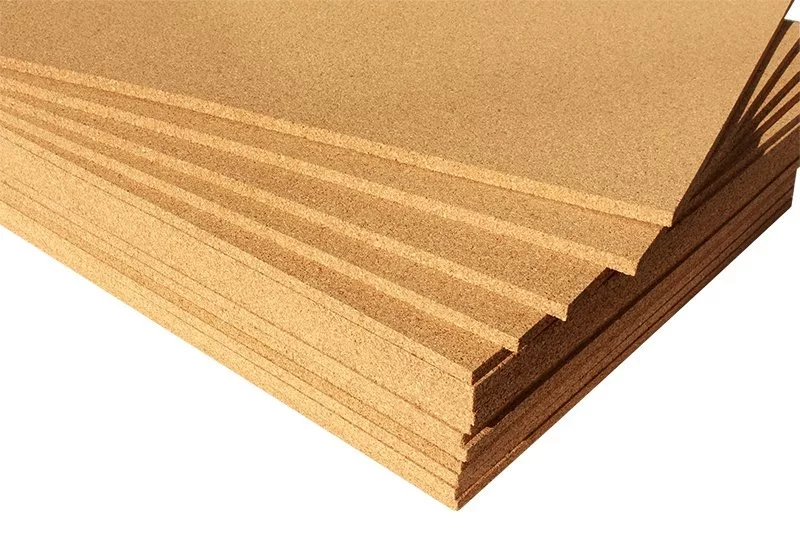
Real Stone floating flooring needs a clean, flat substrate, click-lock layout planning, and maintenance steps matched to the product surface.
Detailed instructions
Real Stone Flooring Installation and Maintenance Instructions
General Information:
Real Stone flooring is designed for quick and easy installation, thanks to its patented UNICLIC® system. This click-lock mechanism connects the planks securely without the need for glue, offering a seamless and durable floating floor solution. It is scratch-resistant, non-slip, dirt-repellent, and antistatic, making it an excellent flooring choice for renovations and new builds alike.
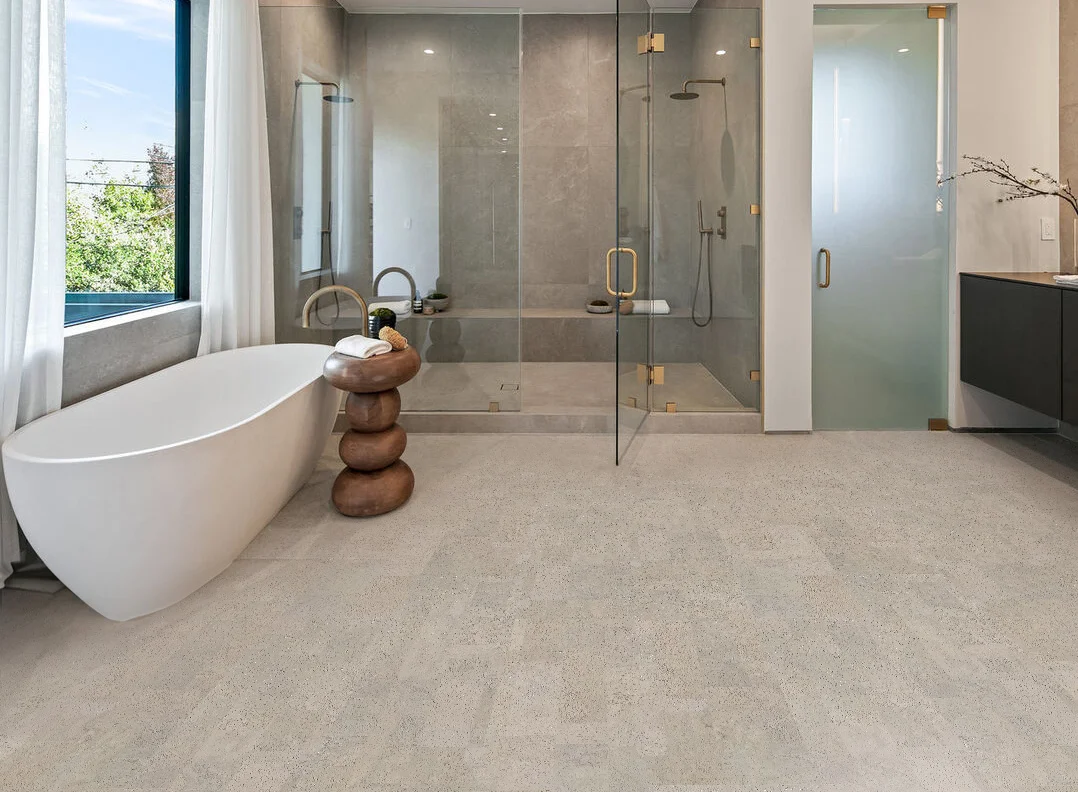
Important Note: Real Stone flooring is not suitable for wet rooms or areas with standing water.
Subfloor Preparation
- Requirements:
- Ensure the subfloor is clean, dry, level, and stable according to DIN 18365 standards for floor covering work.
- Unevenness should not exceed 3 mm over 1 meter. If it does, level the subfloor using appropriate filling compounds.
- Moisture Barrier:
- For mineral subfloors, lay a moisture barrier with an Sd value ≥ 100 m (e.g., 0.2 mm PE foil). Overlap the film by 20 cm, tape the seams, and extend it 2-3 cm up the walls.
- Moisture Testing:
- Check moisture levels in the subfloor using the CM method. Acceptable limits are:
- Cement screeds: < 2.0% CM (1.8% for heated screeds).
- Calcium sulfate screeds: < 0.5% CM (0.3% for heated screeds).
- Storage and Acclimatization:
- Let the planks acclimate for 24 hours in their original packaging at 15-25°C and 40-60% relative humidity before installation.
Installation Process
Real Stone flooring offers two methods for installation: Angle-to-Angle and Angle Snap.
Angle-to-Angle Method:
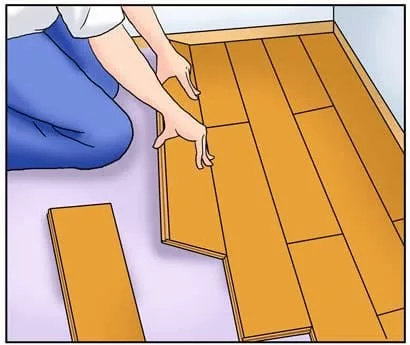
- Start the First Row:
- Begin in the corner of the room with the tongue side facing the wall. Maintain a 10 mm expansion gap between the planks and the wall using spacers.
- Click the planks together by aligning the tongue and groove at a 10° angle and pressing down gently.
- Second Row and Beyond:
- Start the second row using the leftover piece from the first row, ensuring it is at least 30-40 cm long.
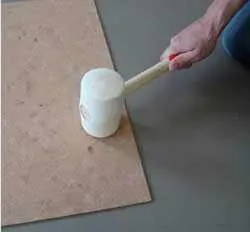
- Align the long side of the plank at a 10° angle and click into place. Secure the connection using a tapping block and hammer.
Angle Snap Method:
- First Row:
- Place the first plank in the corner with the tongue facing the wall. Align with spacers.
- Position the second plank and click it into place by gently tapping the joint with a tapping block and hammer.
- Second Row:
- Insert the long side of the plank at a slight angle (10°), then click it into the first row.
- On the short side, use a tapping block to ensure a tight fit.
Tips:
- Remove spacers after completing installation.
- Use a hand circular saw or utility knife to cut panels to fit around obstacles like pipes or doorframes.
Special Considerations
- Heavy Objects:
- For items like kitchen islands or large appliances, install them before laying the floor or add expansion joints around them to ensure proper floating floor performance.
- Wet Areas:
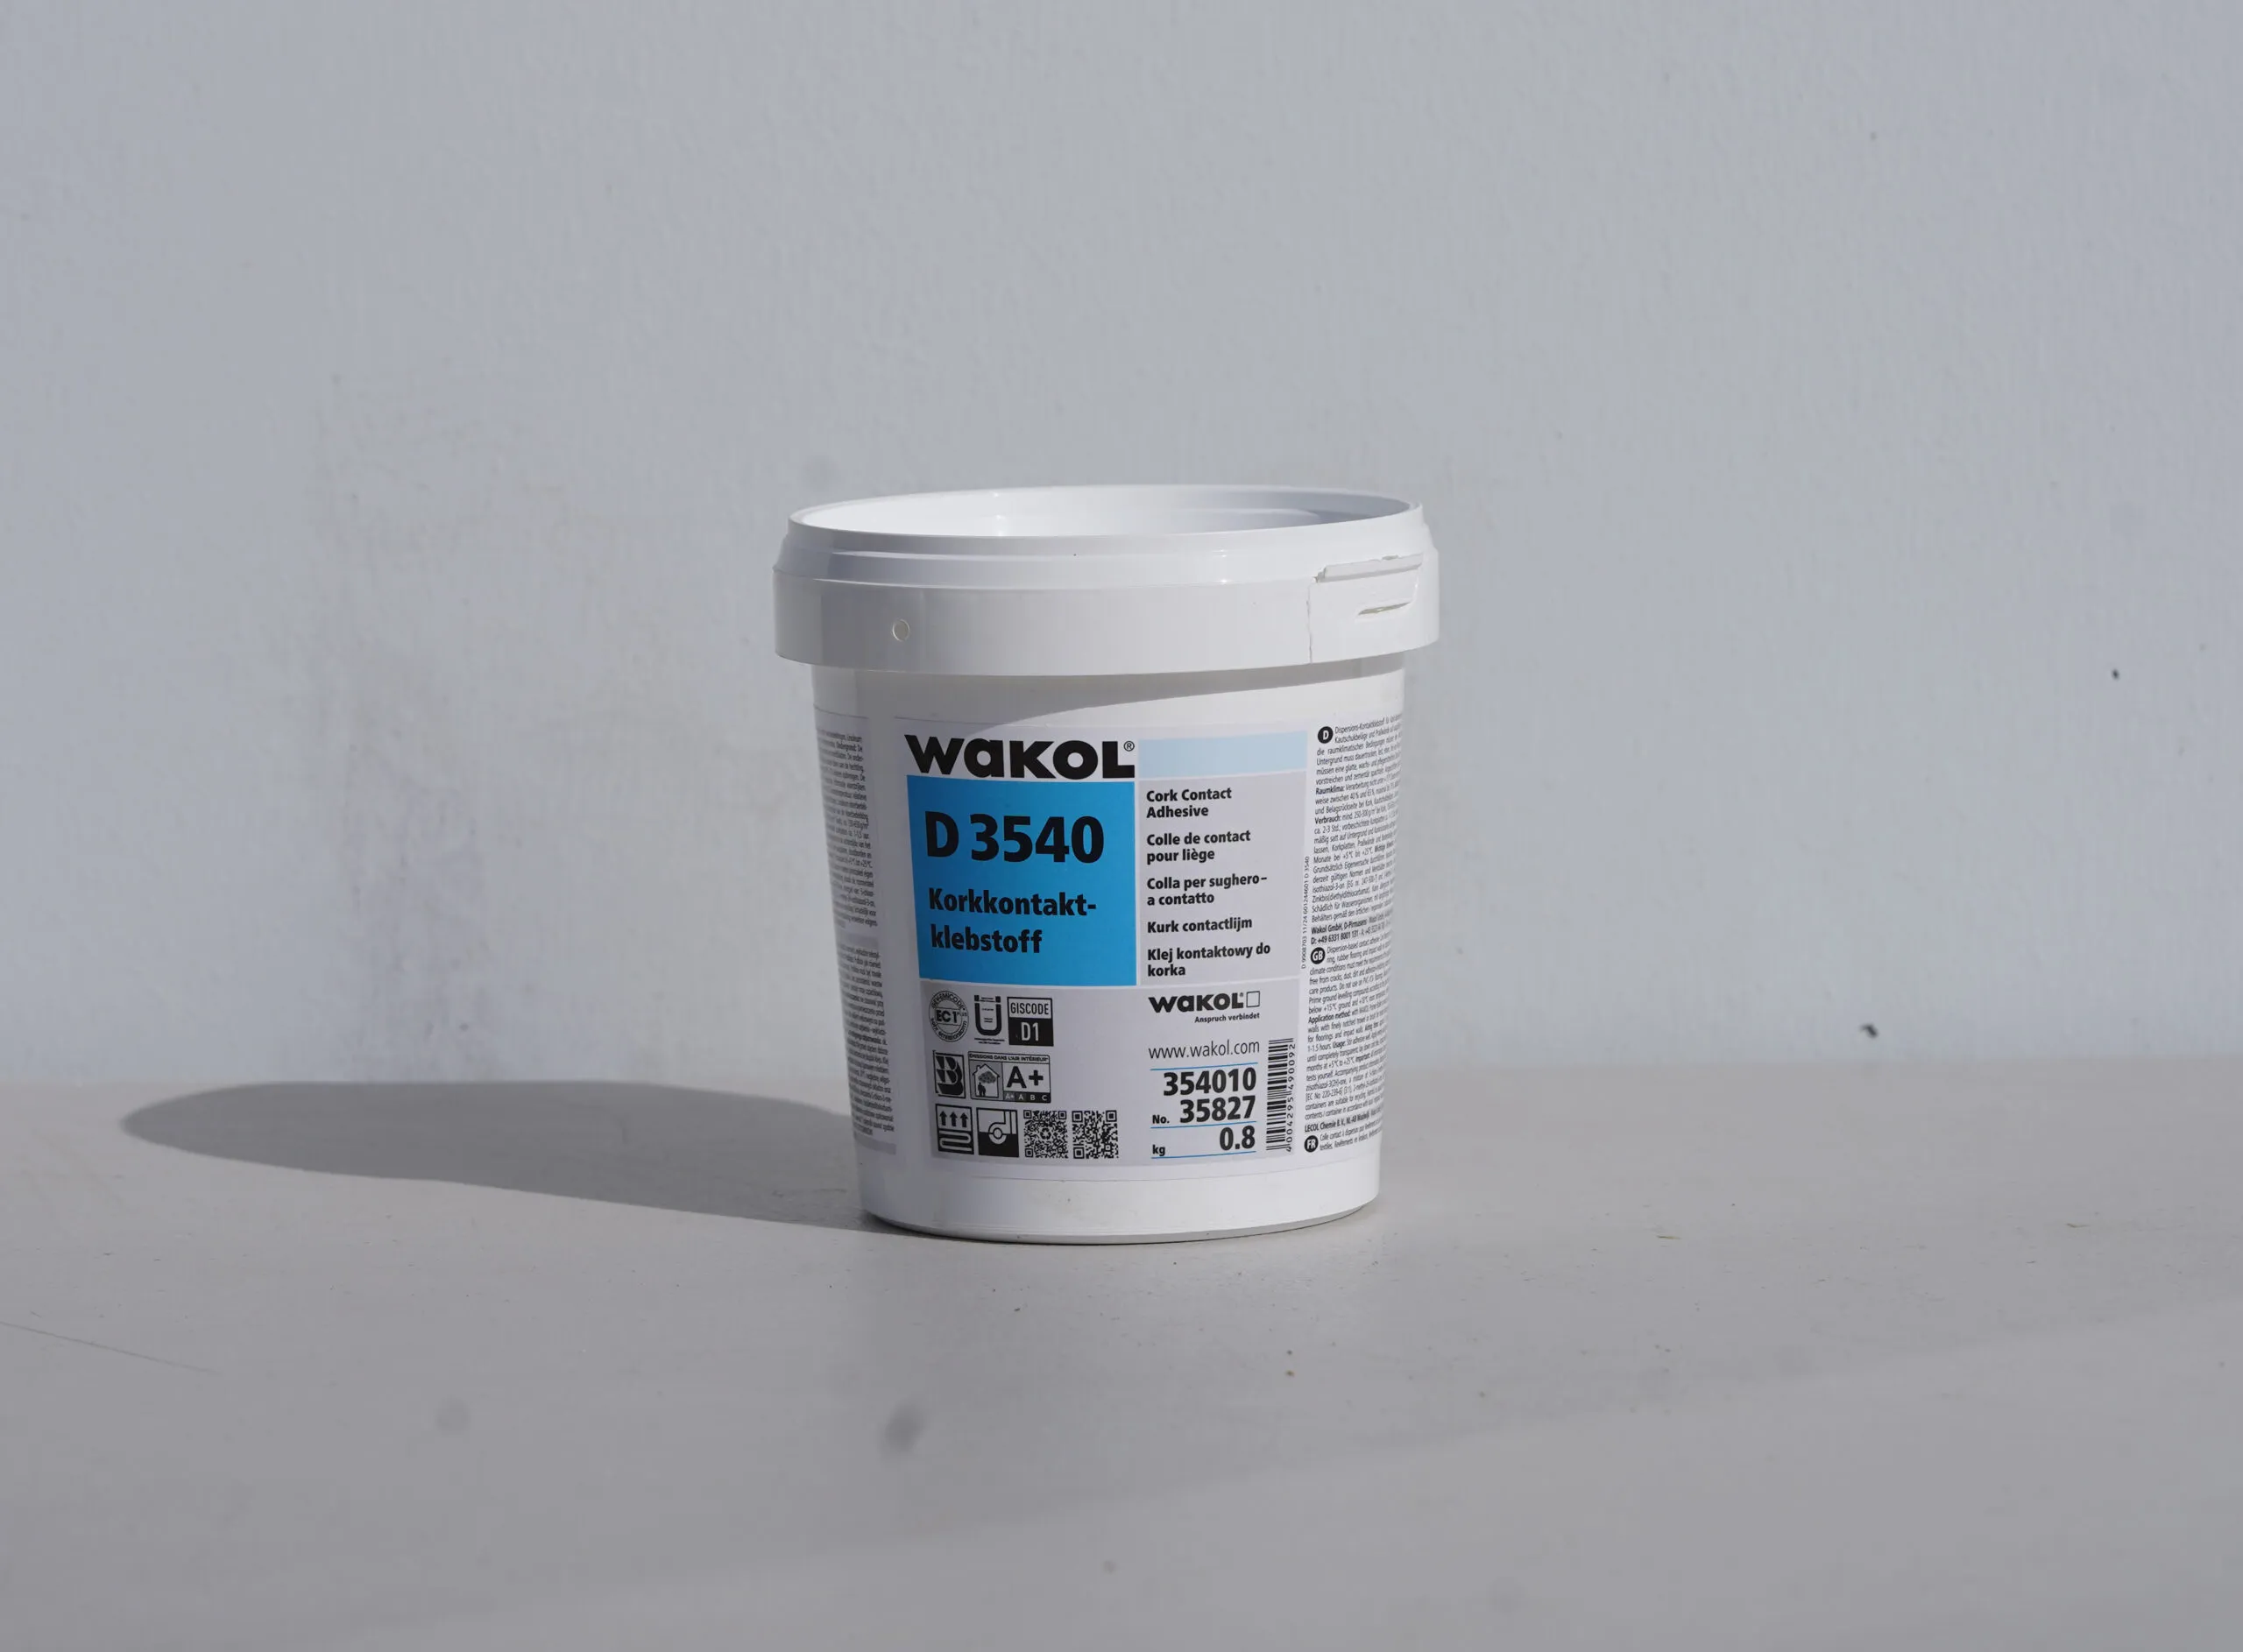
- For areas prone to moisture, seal the tongue and groove joints with a joint sealant like “Clic Seal” or “Seal & Click.”
- Underfloor Heating:
- Real Stone flooring is compatible with hot water and electric underfloor heating systems. Ensure the subfloor surface does not exceed 28°C.
Post-Installation Cleaning and Maintenance
- Initial Cleaning:
- After installation, sweep, vacuum, or damp mop the floor. Avoid using excessive water.
- Routine Maintenance:
- Use a PU cleaner for deep cleaning. Avoid aggressive cleaning agents or those containing glycerine or solvents.
- Place dirt-trapping mats at entry points and use felt pads on furniture legs to protect the surface.
- Refinishing:
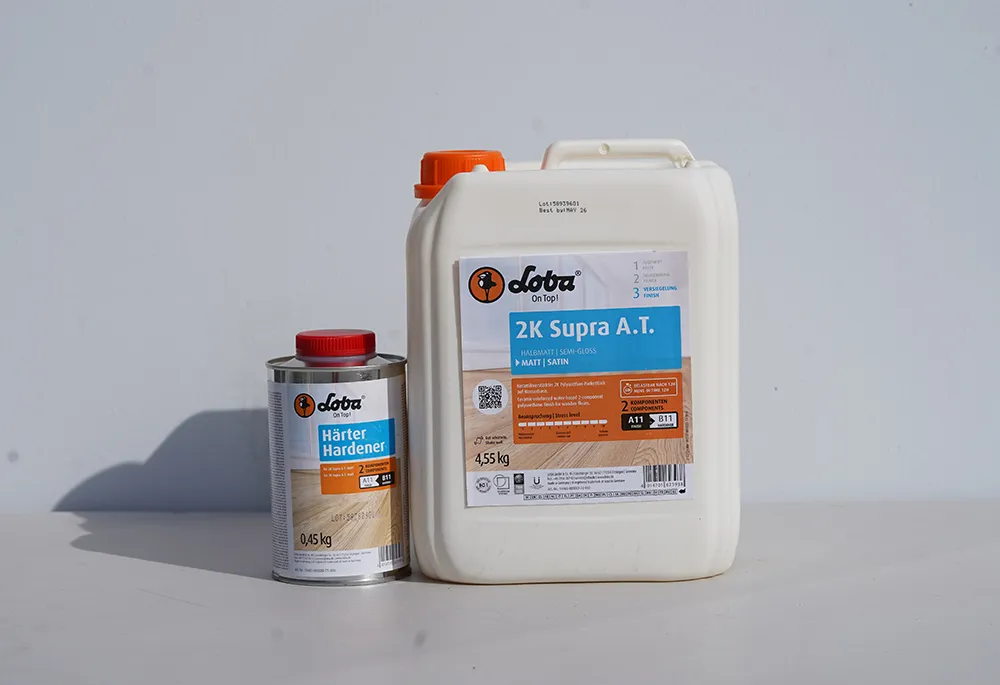
- For added durability, apply a surface refinish immediately after installation or after a few years to maintain the floor’s appearance.
Room Climate Recommendations
- Maintain a stable indoor climate:
- Temperature: 20-22°C.
- Humidity: 50-60%.
- Protect the floor from prolonged exposure to direct sunlight and extreme temperature fluctuations to prevent warping or discoloration.
Summary of Key Installation Tips
- Expansion Gaps: Maintain a 10 mm gap between the floor and all walls or fixed objects.
- Maximum Room Size: Up to 15m x 12m without additional expansion joints.
- Laying Direction: Install planks lengthwise to the main light source for the best appearance.
- Door Frames: Trim frames to allow the floor to fit underneath with enough space for movement.
By following these instructions, you can ensure a successful Real Stone flooring installation that’s durable, visually stunning, and long-lasting. For more detailed information or support, visit our website or contact our customer service team.