Installation guide
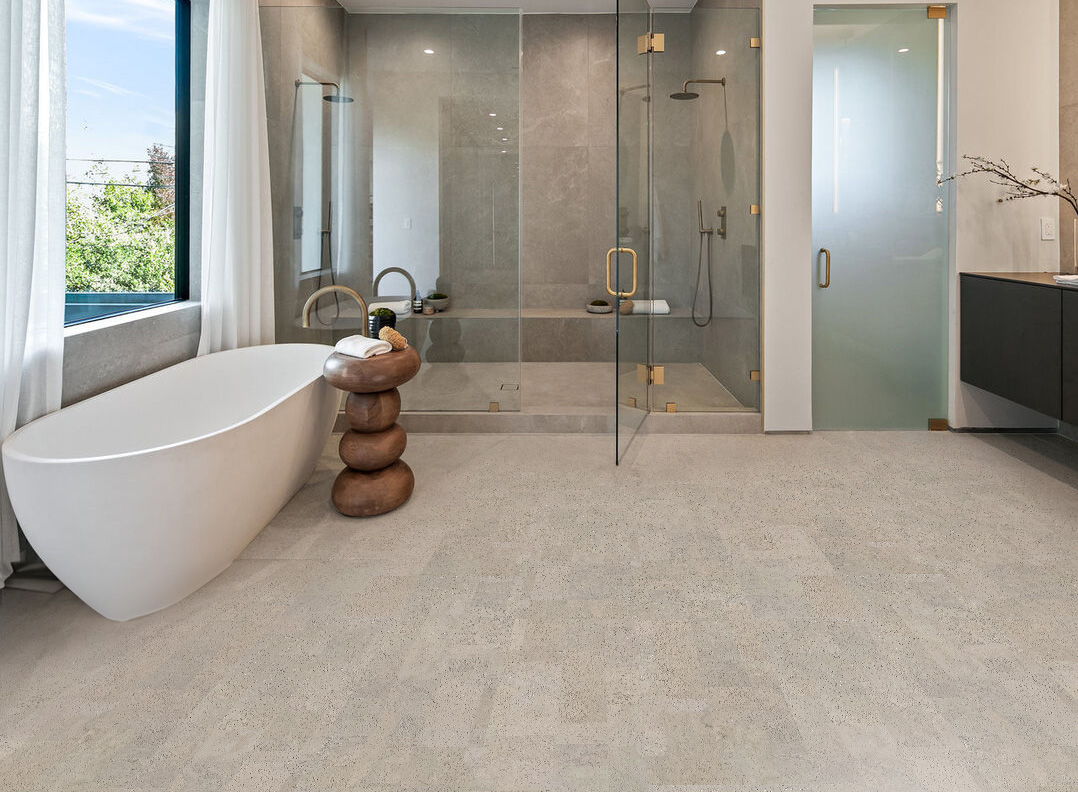
Kitchen Cork Flooring Installation
Kitchen cork flooring needs extra planning around cabinets, appliances, spills, finish protection, and whether floating or glue-down is the better method.
Use this page when
- The project is a kitchen, kitchenette, pantry, or appliance area.
- You need to know when a floating floor should be installed last.
- You need protection and maintenance expectations before appliances return.
Before you start
- Confirm if the selected product is floating or glue-down.
- Plan cabinets, islands, appliance movement, toe kicks, transitions, expansion, and spill exposure.
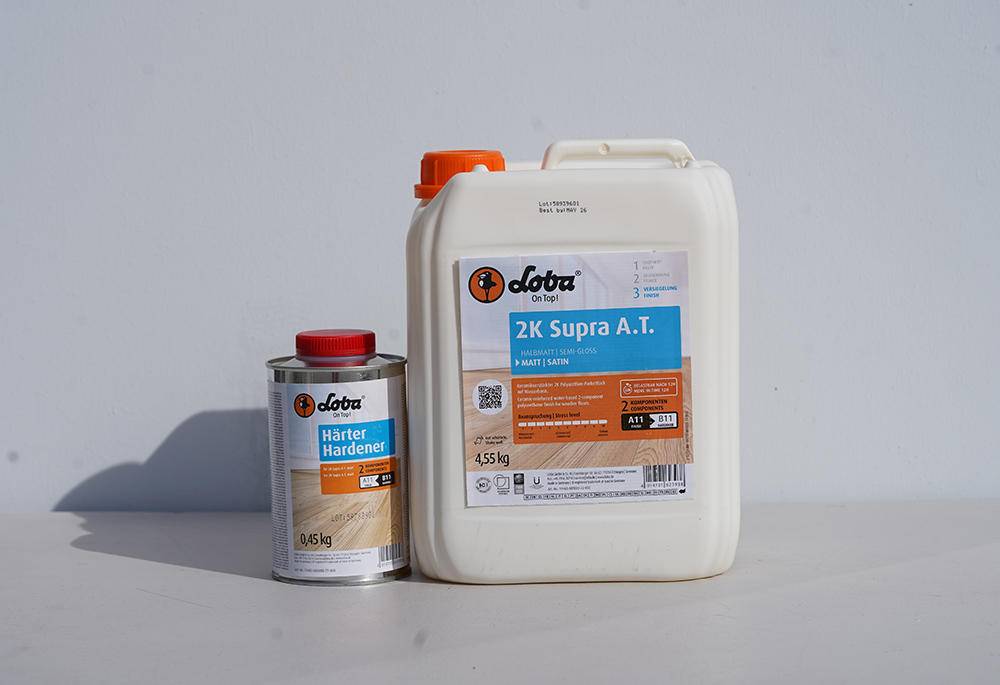
- Confirm whether polyurethane or another protective finish is required.
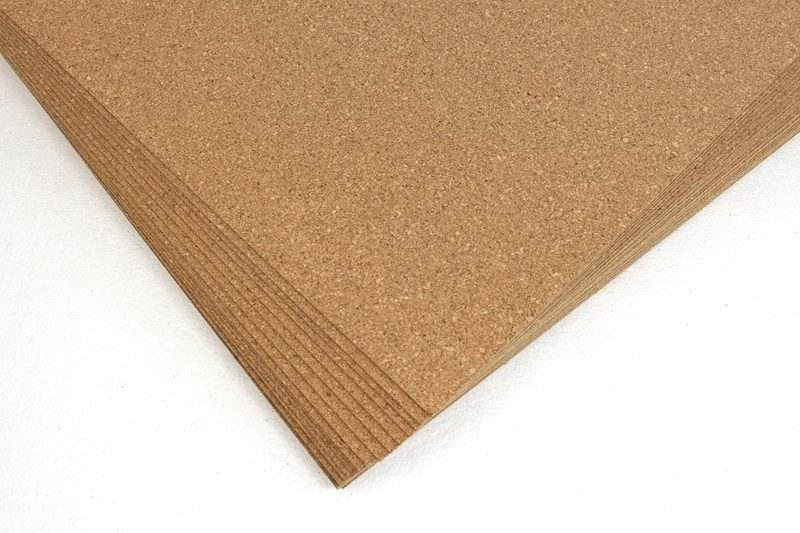
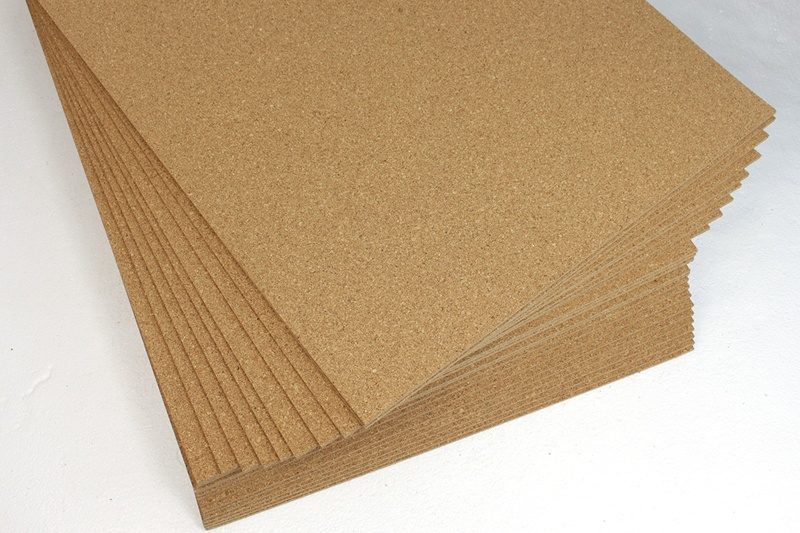
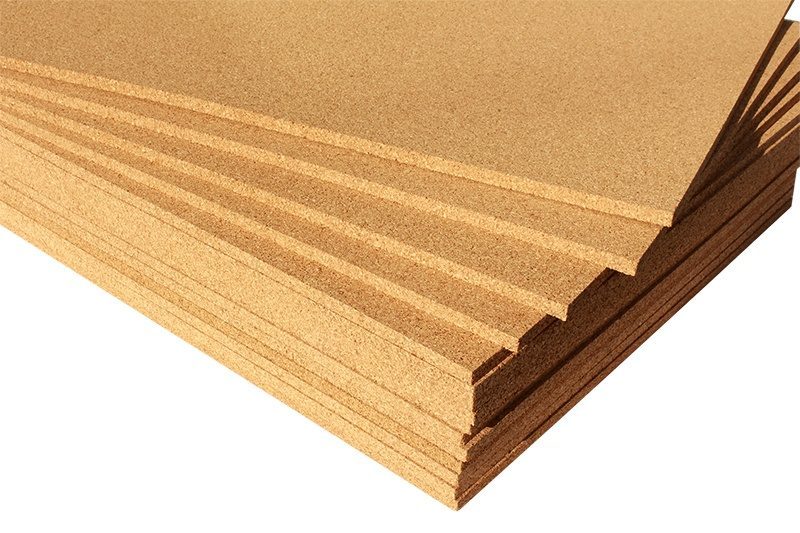
Tools and materials to confirm
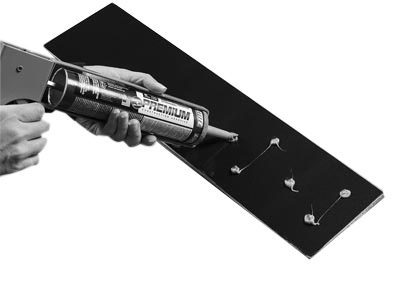
- The tools required by the floating or glue-down guide.
- Appliance moving protection, felt pads, and trim/transition supplies.
- Approved finish products if the selected floor requires site coating.
Installation workflow
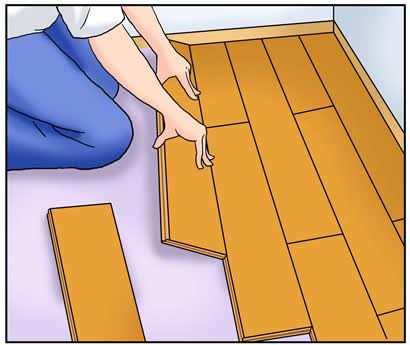
- Choose the installation method based on room conditions and product instructions.
- Complete fixed cabinets and islands before floating flooring is installed.
- Install the floor using the matching floating or glue-down guide.
- Protect appliance paths and avoid dragging appliances across the finish.
- Apply required finish or maintenance protection before regular kitchen use.
Important mistakes to avoid
- Do not trap a floating floor under fixed cabinets or islands.
- Do not expose the floor to standing water or appliance leaks.
- Do not skip finish protection when product instructions require it.
After installation
- Use mats where spills or sink traffic are common.
- Wipe spills quickly and maintain the finish as instructed.
- Review the tape warning before painting cabinets or trim.
Related resources
Compare click-lock cork for dry kitchen projects.
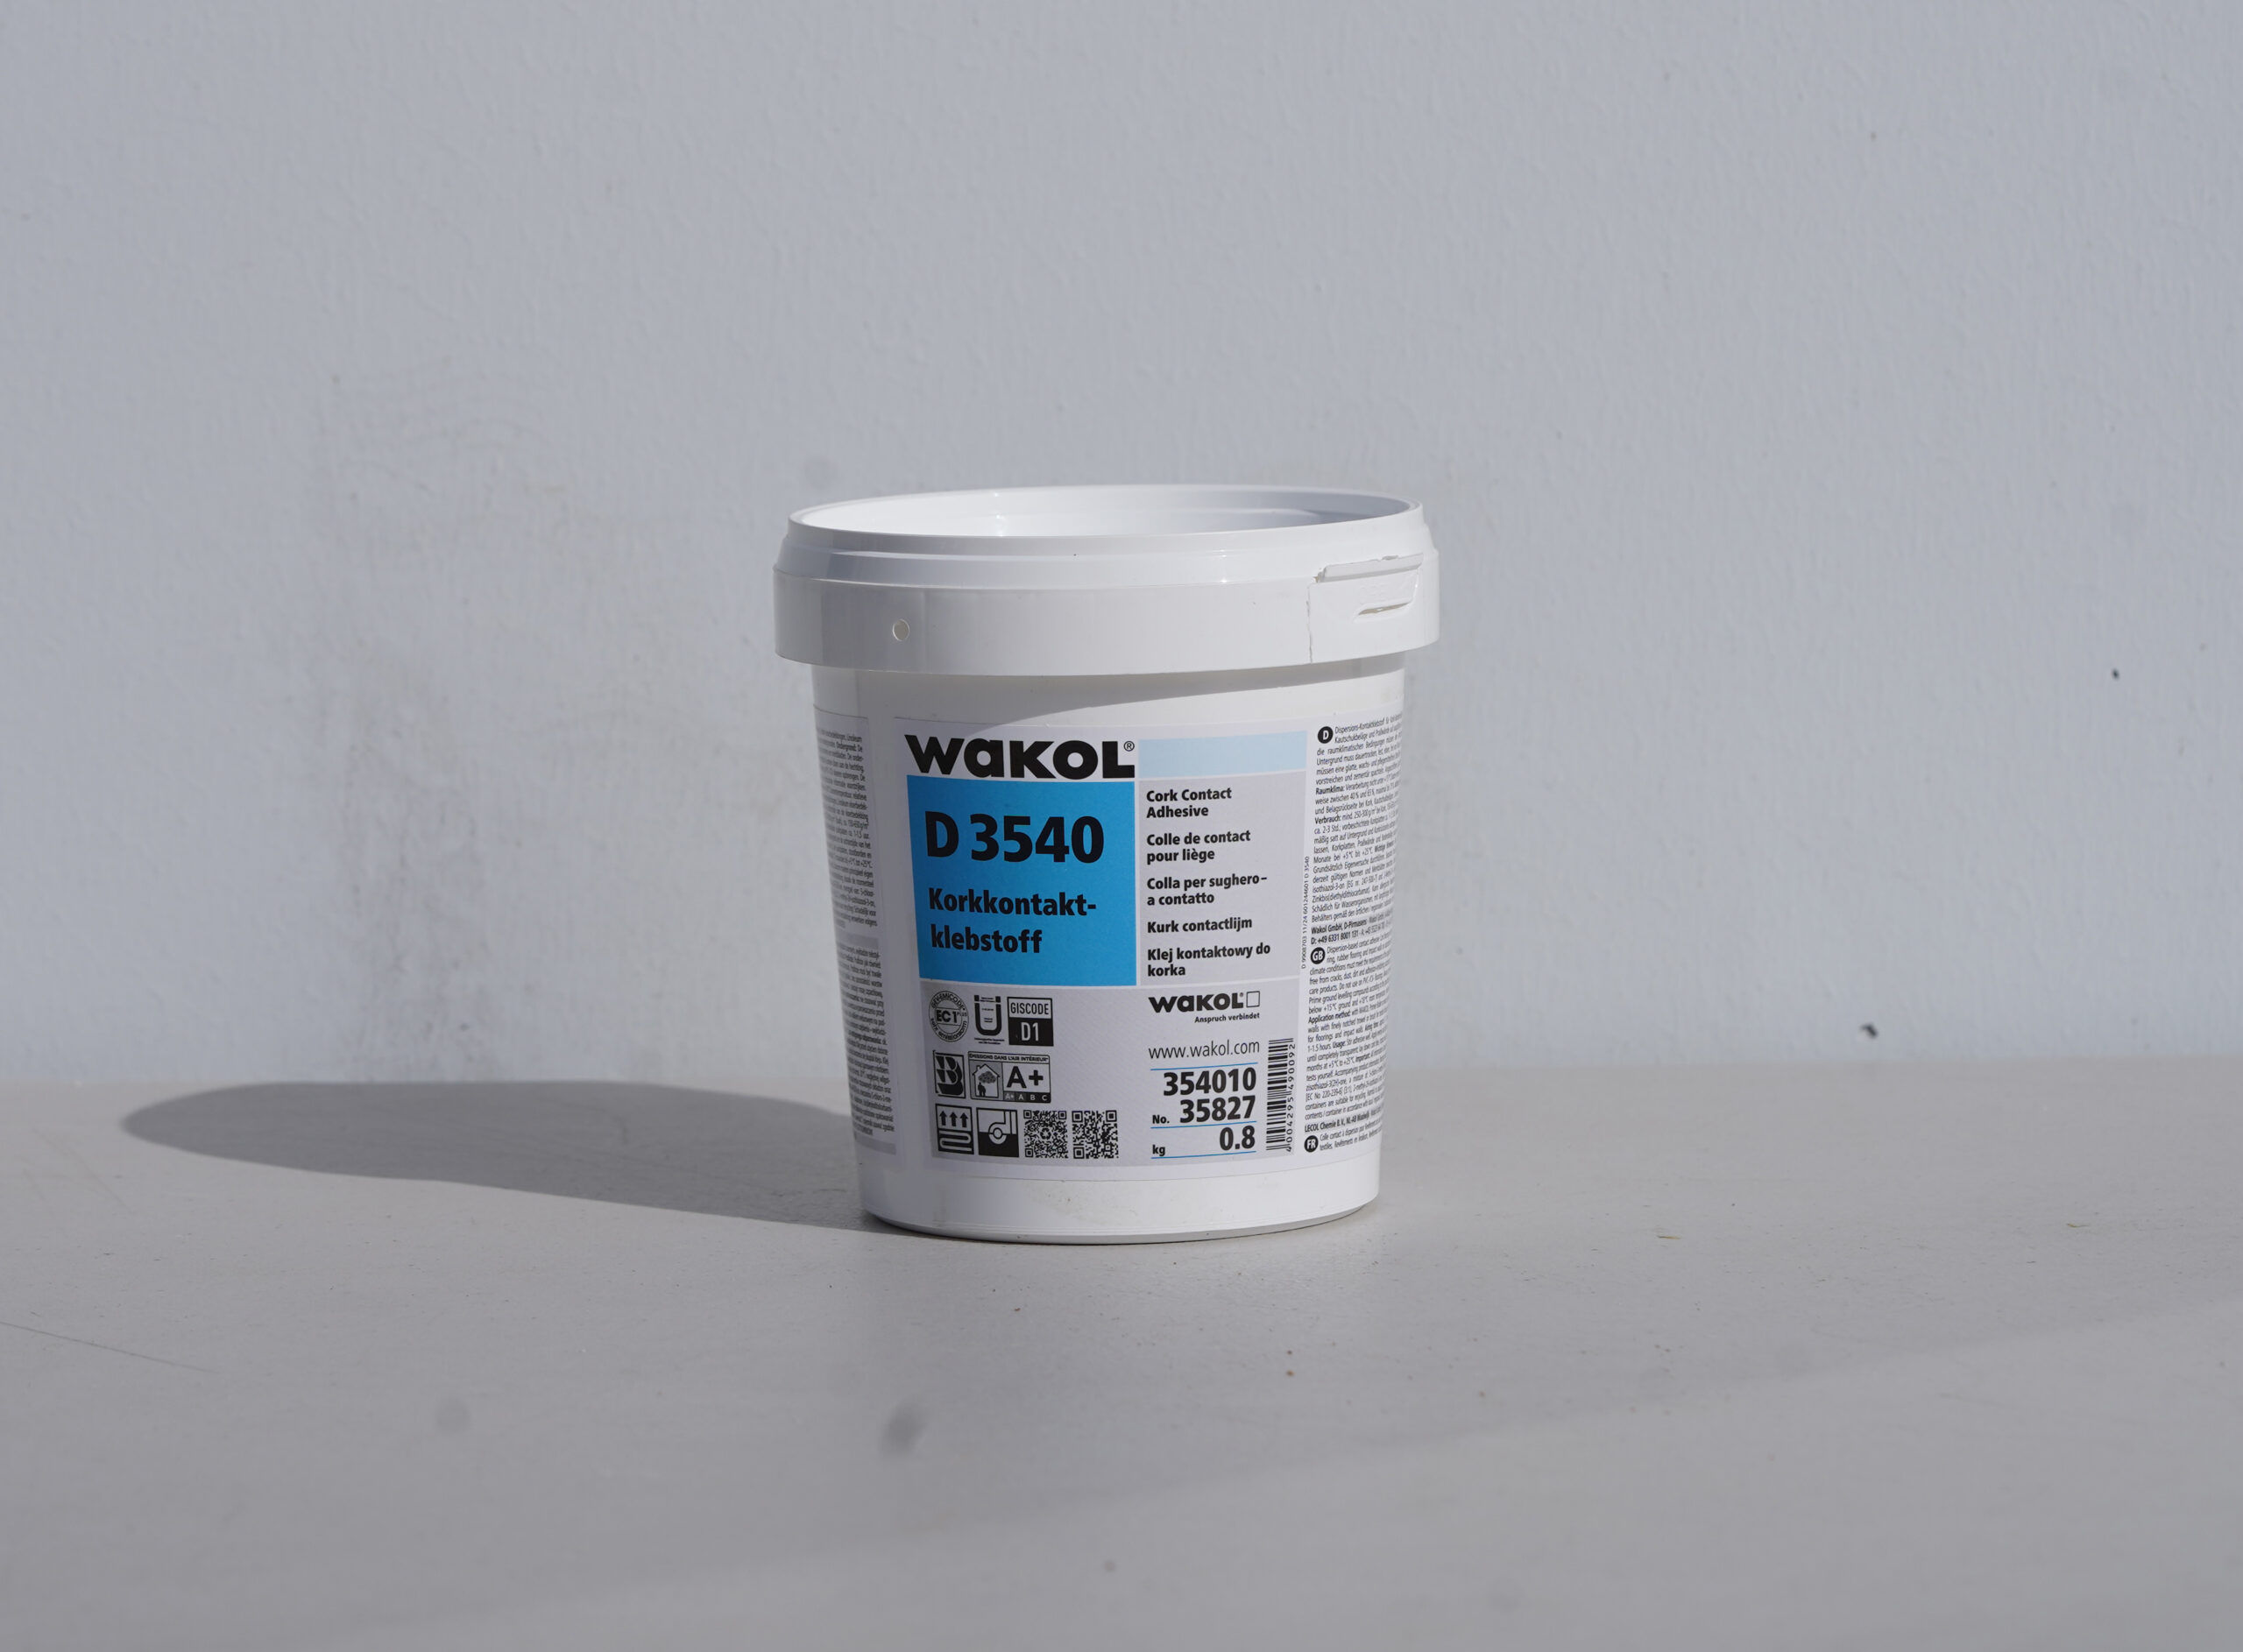
Compare bonded cork tile when kitchen conditions call for glue-down installation.
Confirm top-coat requirements before the kitchen goes back into service.