


Installation guide
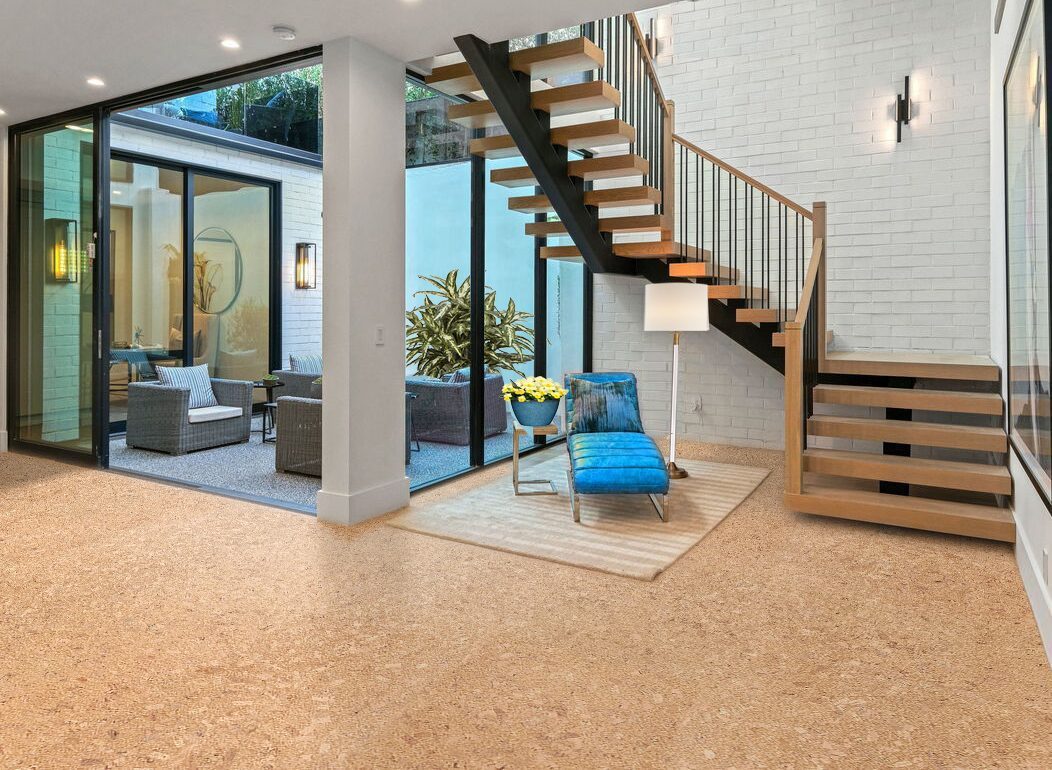
Floating Cork Floor Installation
Use this guide for click-lock floating cork planks installed over a clean, flat, dry substrate with the correct underlayment and expansion space.
Start here
Use this page when
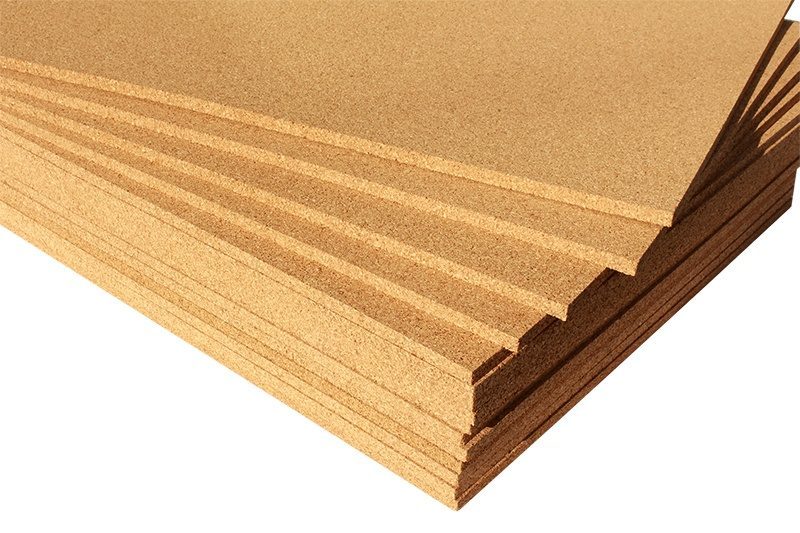
- The product is a floating or click-lock cork floor.
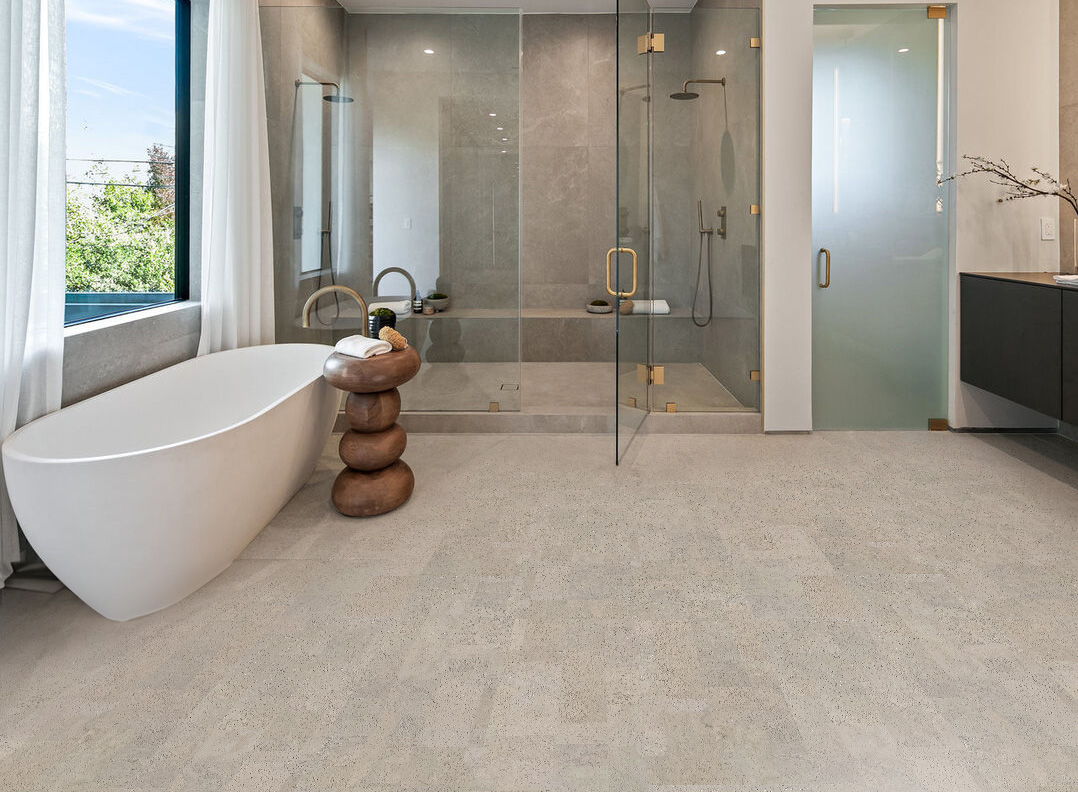
- The room is a dry interior space where a floating floor is appropriate.
- You need layout, tapping, expansion, underlayment, and maintenance guidance.
Before you start
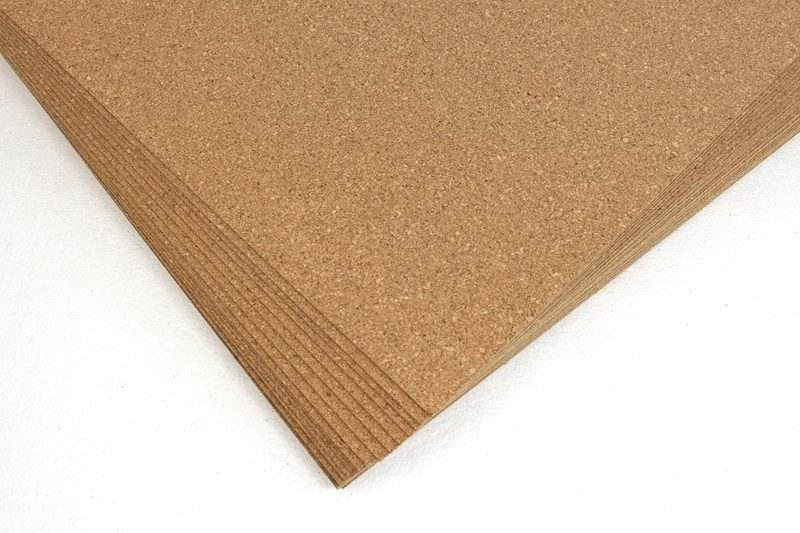
- Confirm the product is floating, not glue-down cork tile.
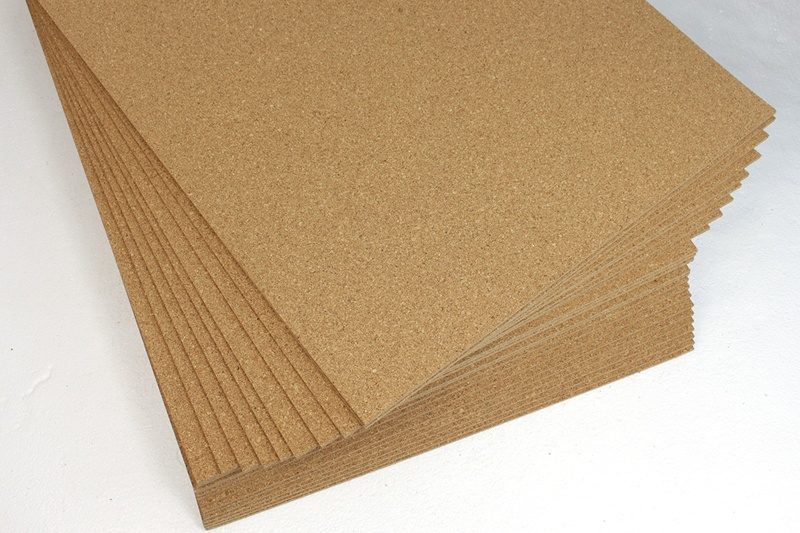
- Inspect all boxes and acclimate/store the flooring as instructed.
- Check substrate flatness, dryness, cleanliness, underlayment, doors, transitions, and expansion gaps.
Tools and materials to confirm
- Tape measure and pencil.
- Rubber mallet, tapping block, pull bar, spacers, and saw.
- Approved cork underlayment or moisture barrier when required by the product and substrate.
Installation workflow
- Prepare the room, remove debris, and confirm the subfloor is flat and dry.
- Install the approved underlayment or moisture barrier if required.
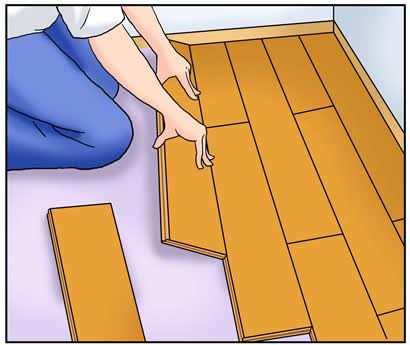
- Plan plank direction, first-row width, doorway cuts, and expansion space before locking planks.
- Install rows with proper tapping support, staggered joints, and no forced locking.
- Install trim, transitions, and maintenance protection only after the floor can move freely.
Important mistakes to avoid
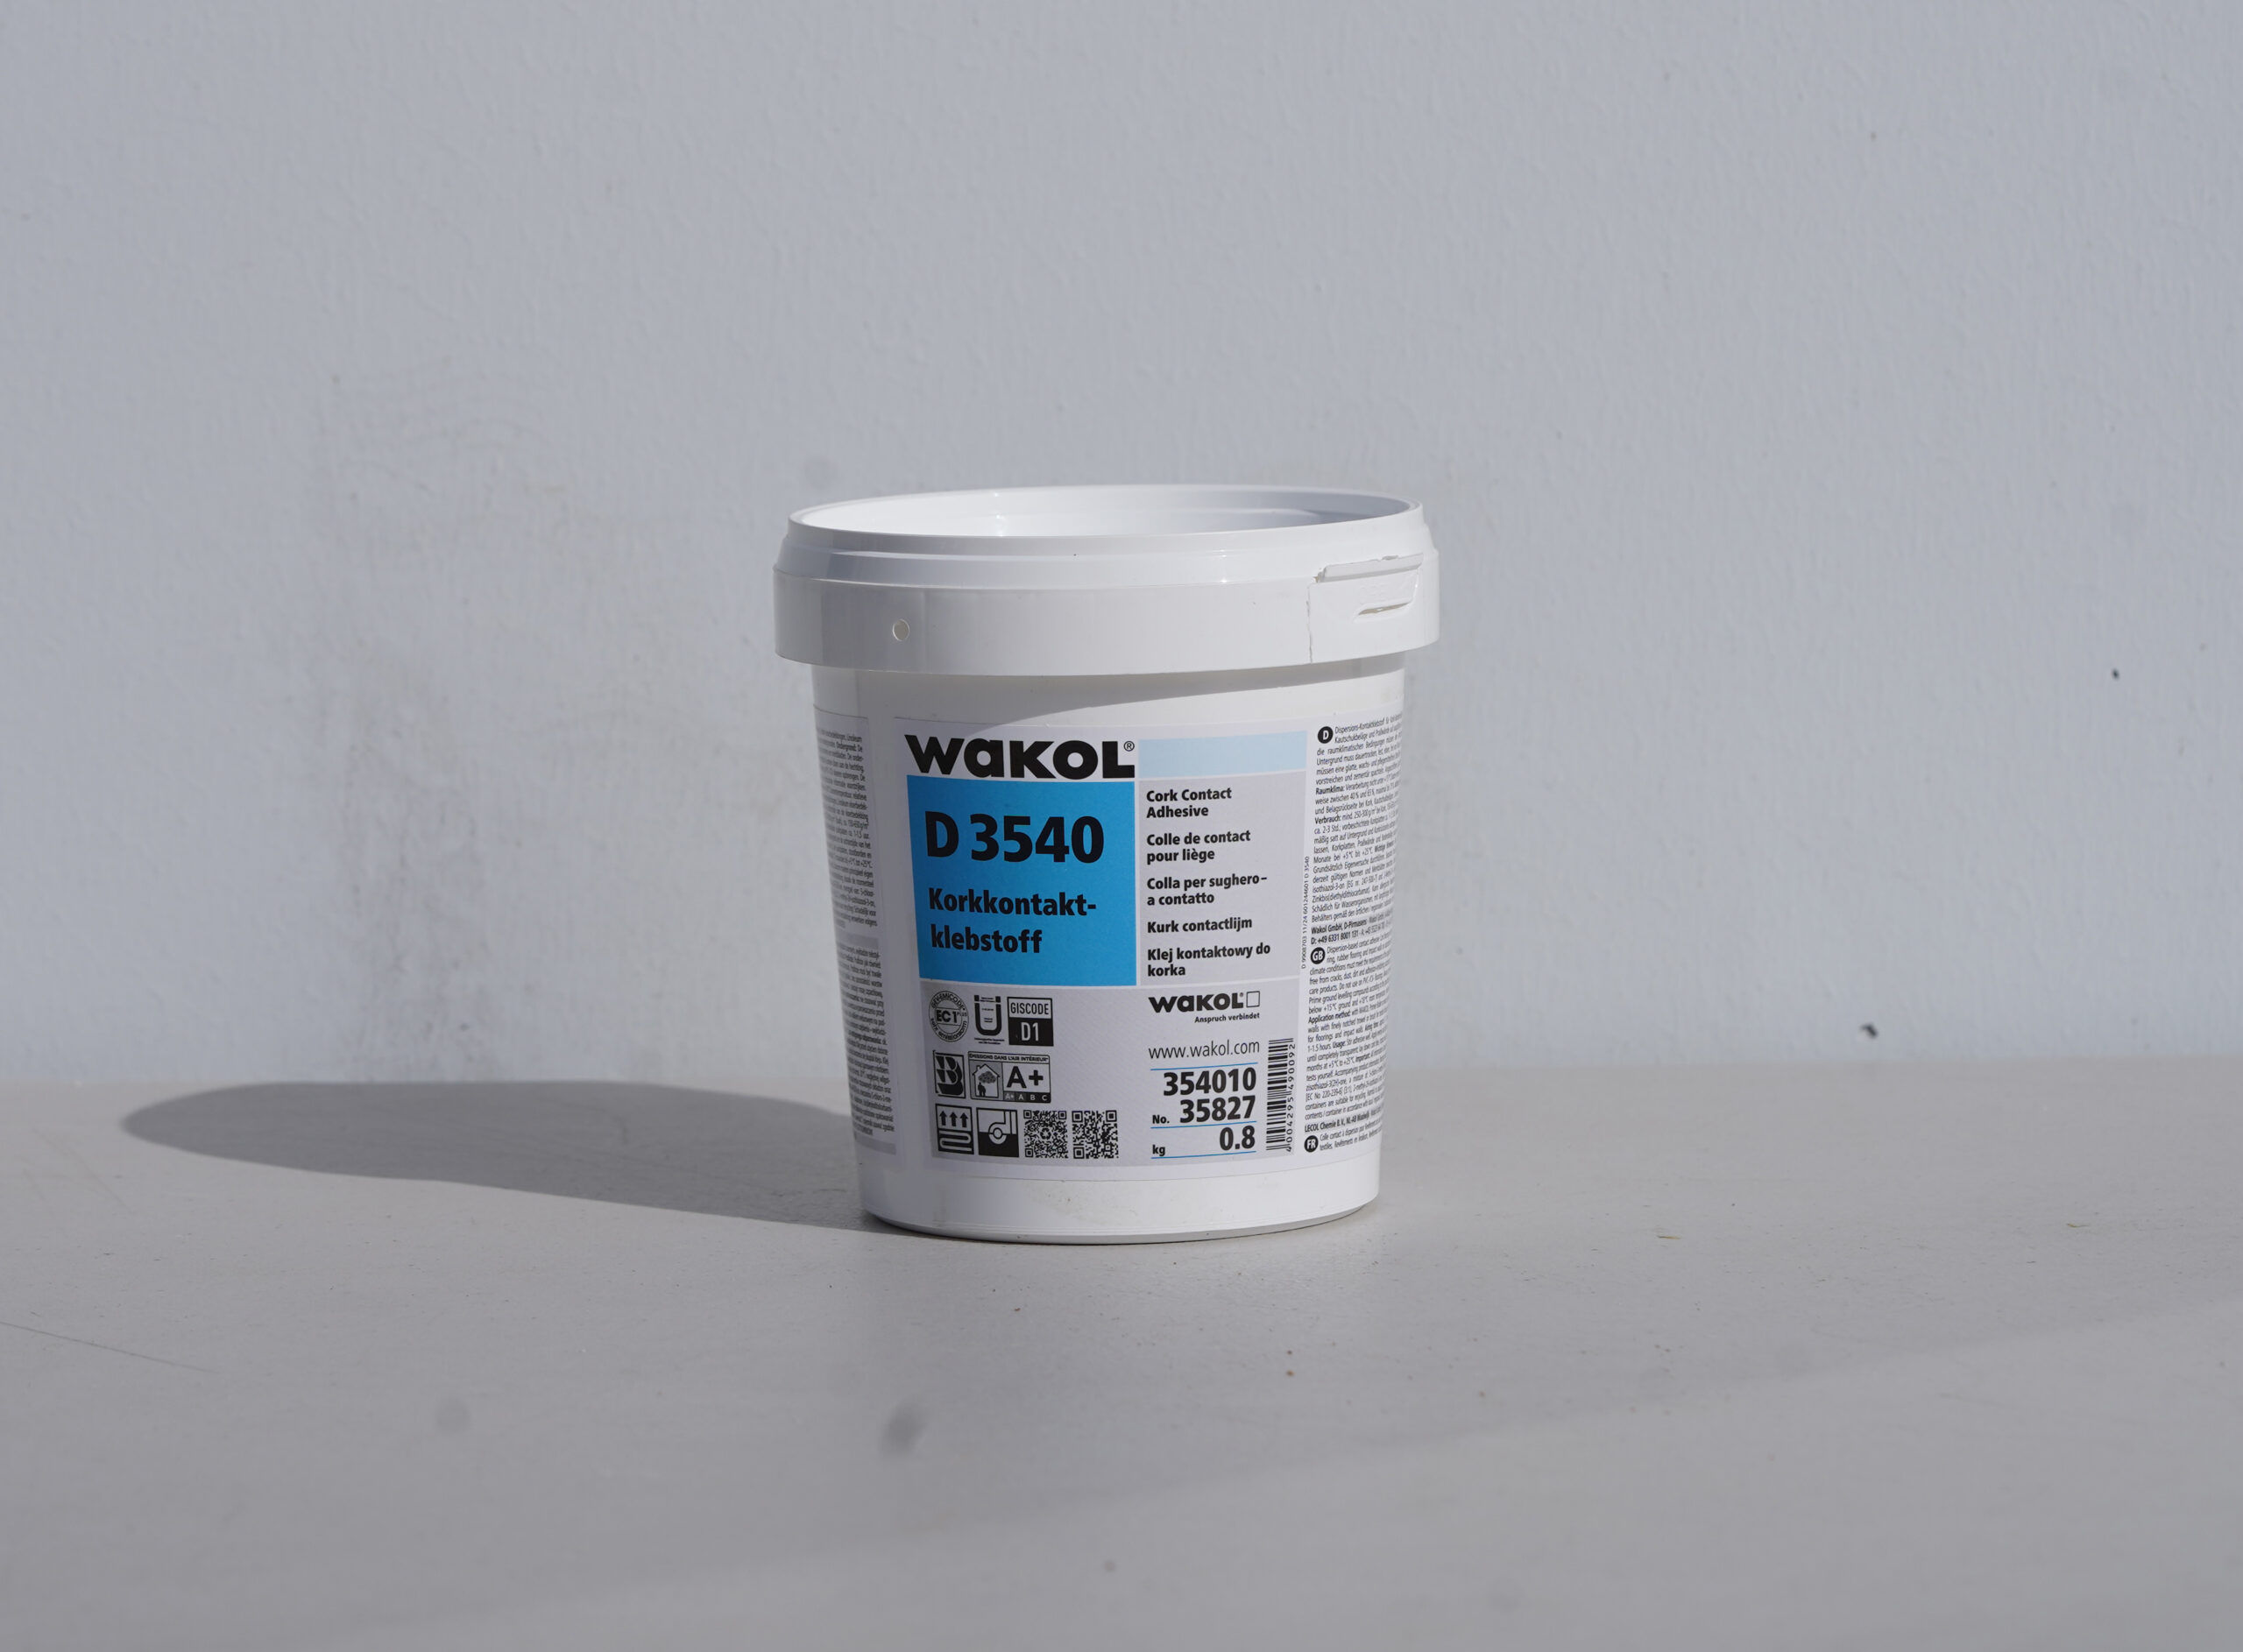
- Do not glue a standard floating floor unless the product guide specifically allows it.
- Do not install over an uneven or damp substrate.
- Do not pin cabinets, islands, or other fixed heavy objects through a floating floor.
After installation
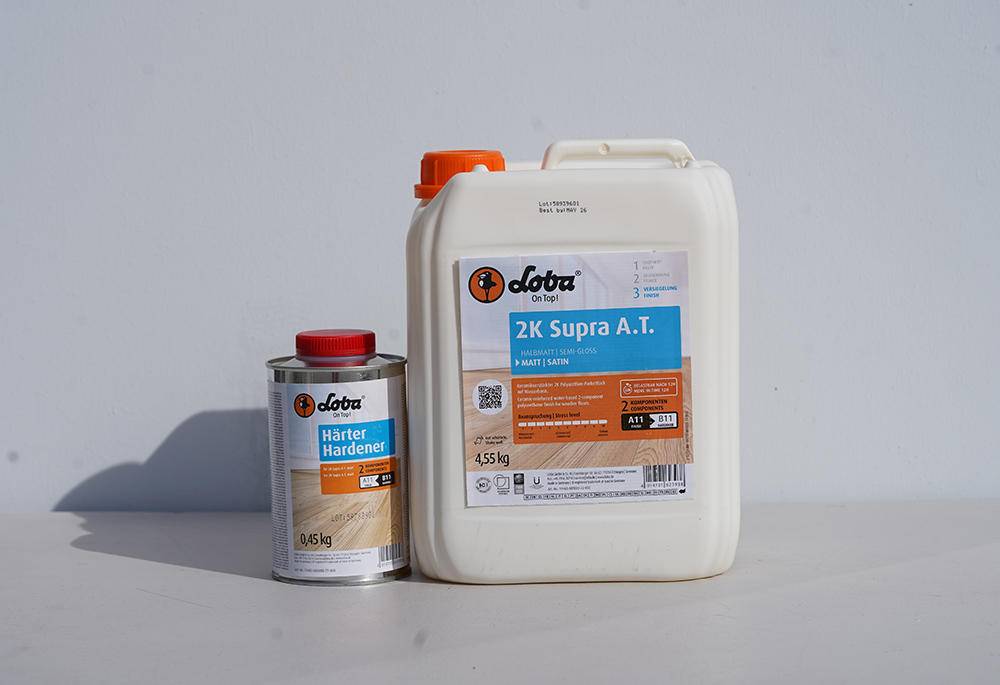
- Clean only with approved methods.
- Protect with felt pads and walk-off mats.
- Review the tape warning before painting or renovation work.