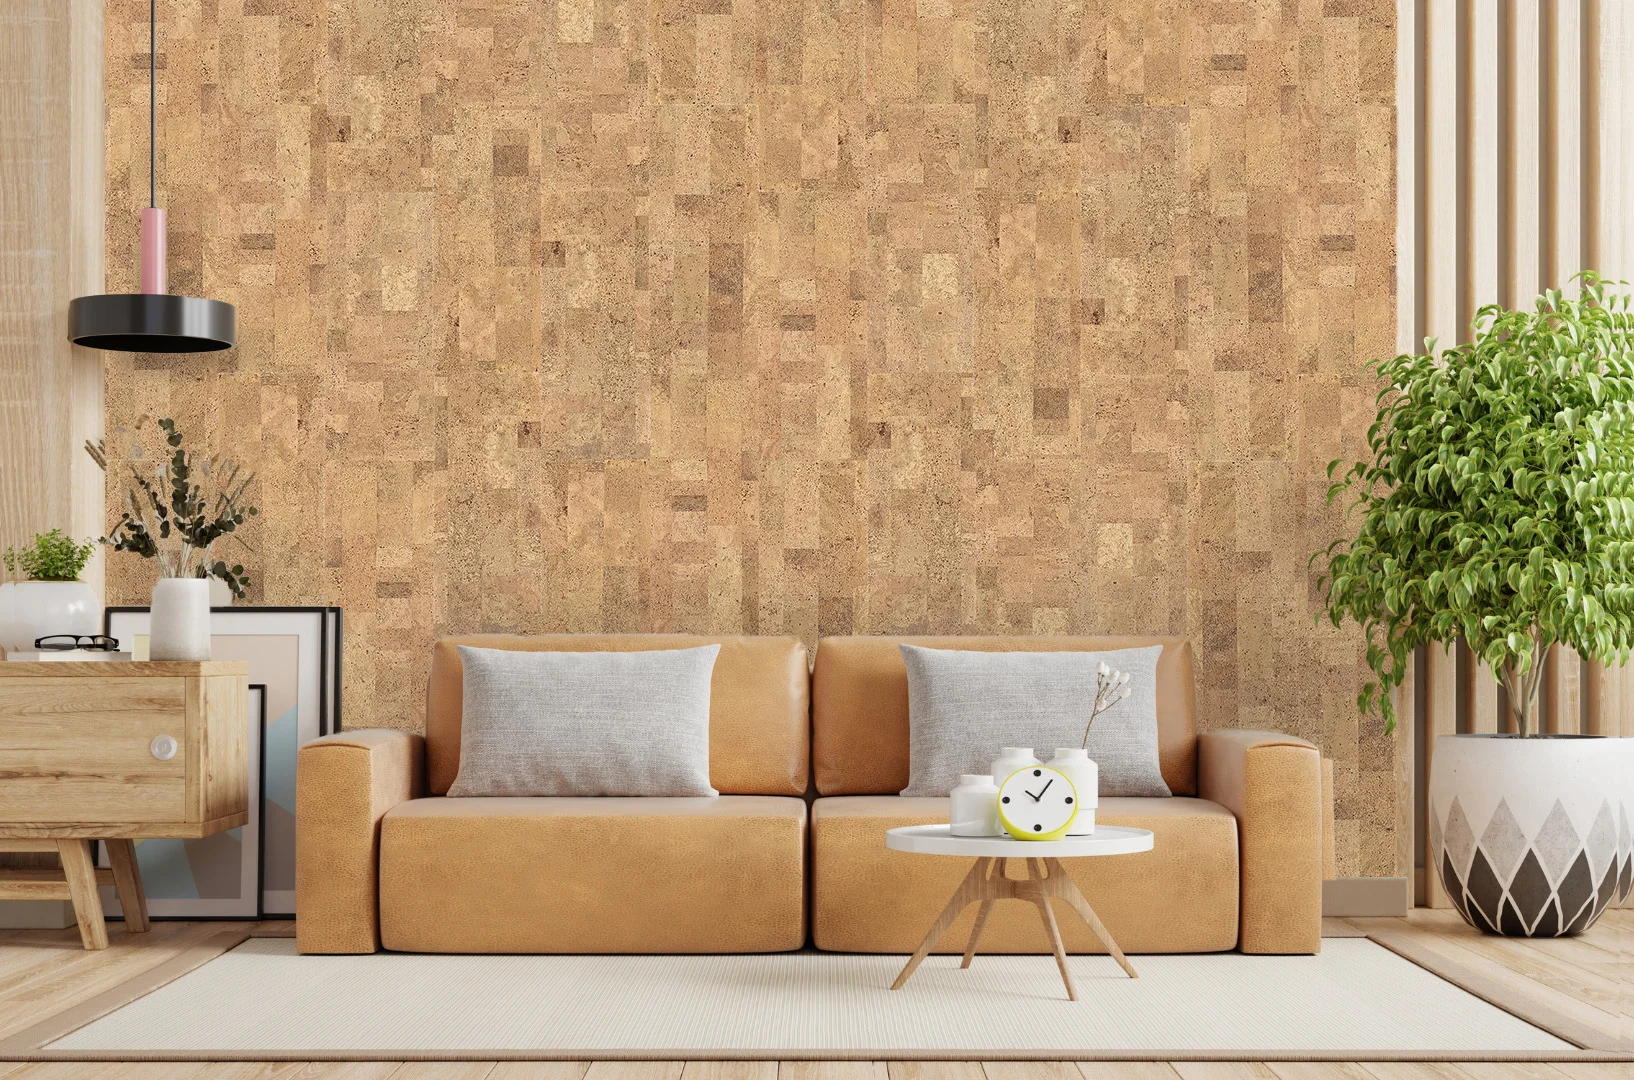
View wall and ceiling products
Compare 3D, MDF, textured, and tile wall products.
Installation guide
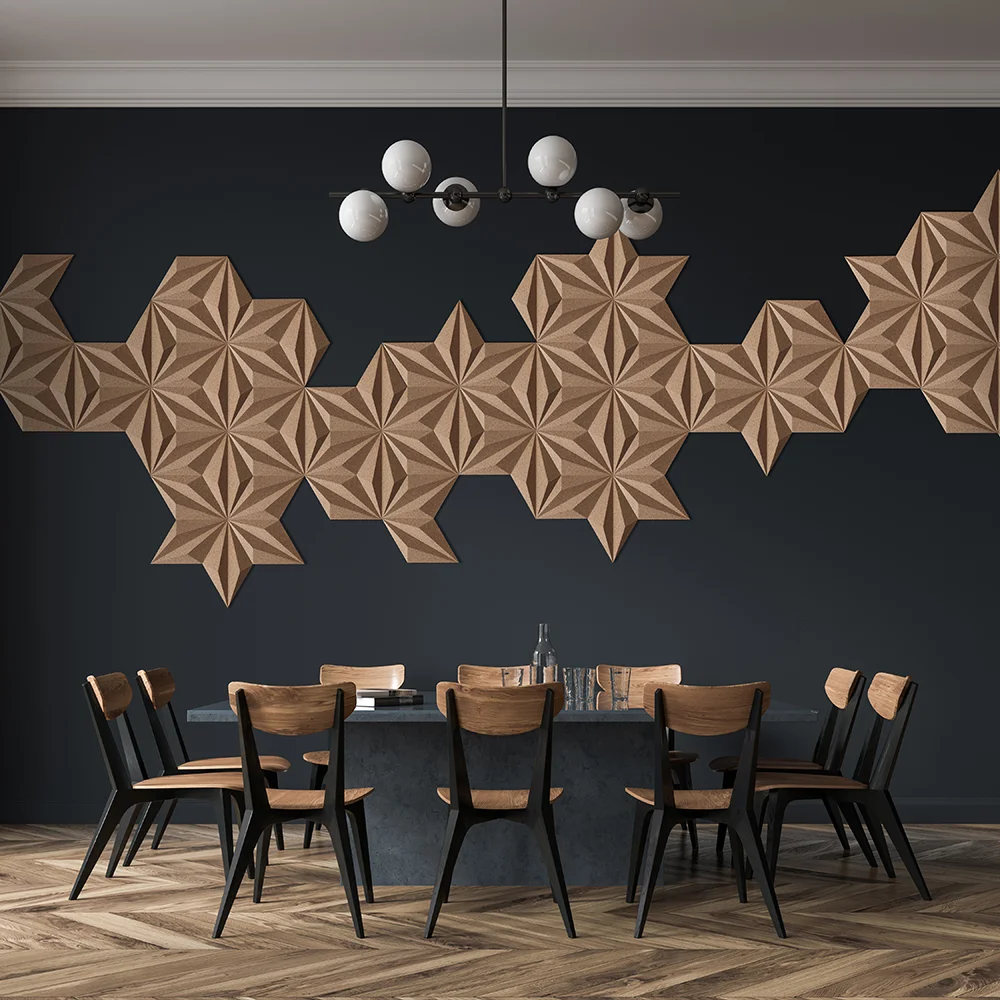
Use this guide for 3D Compmold cork acoustic panels where layout, adhesive, alignment, and final visual quality matter.
Compare 3D, MDF, textured, and tile wall products.
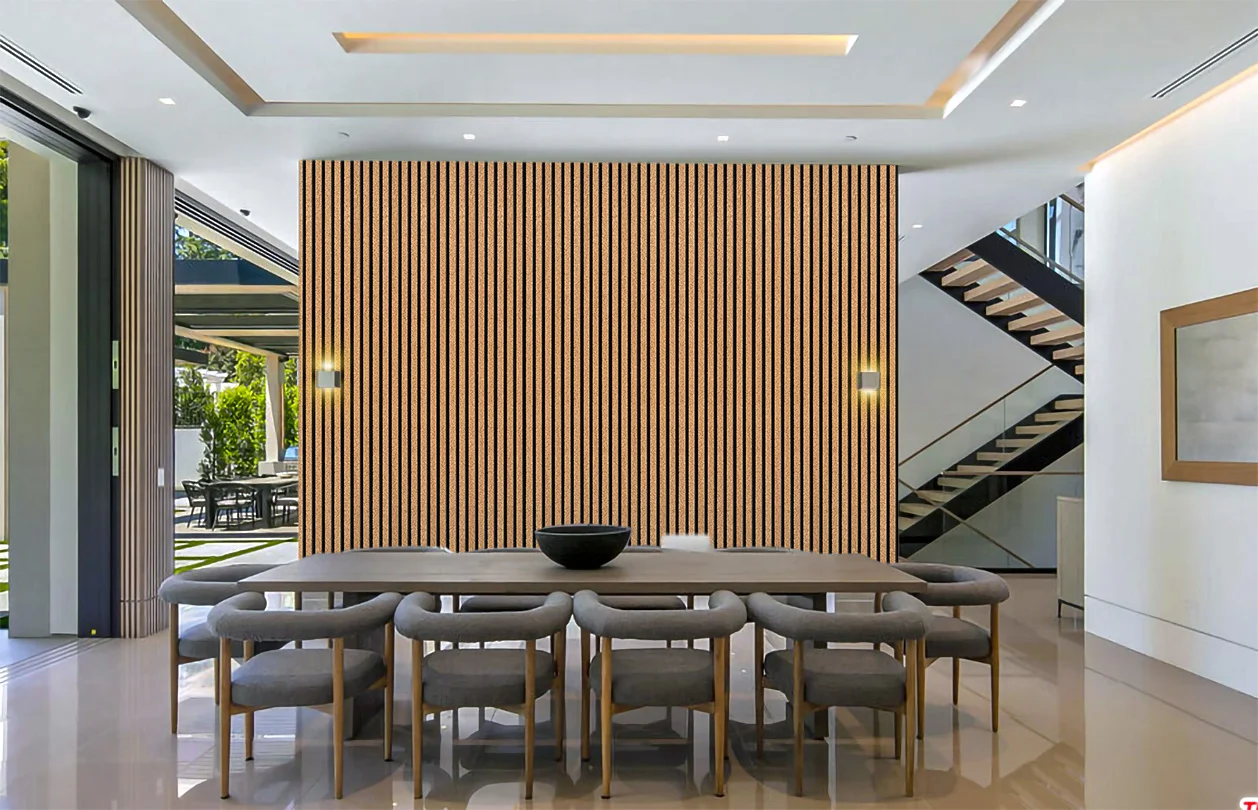
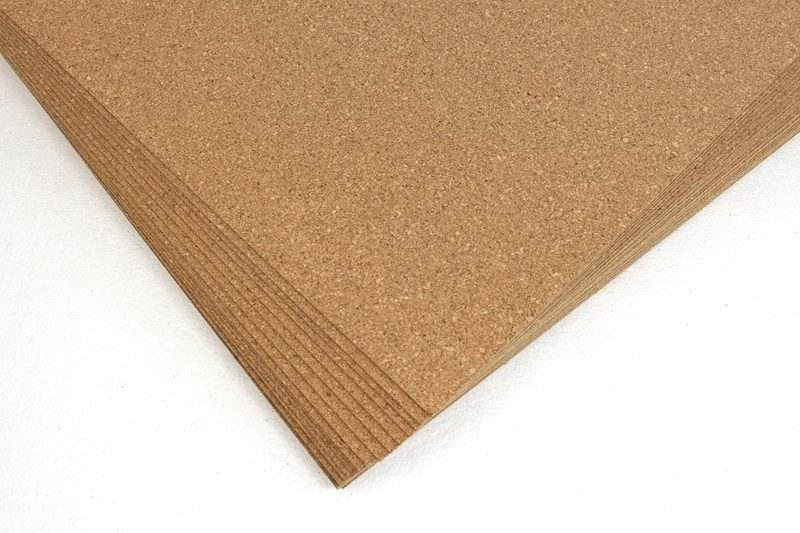
Use the wall tile guide for flat cork wall tile products.
Ask before installing on unusual substrates or large feature walls.
Level (spirit level)
Pencil or chalk
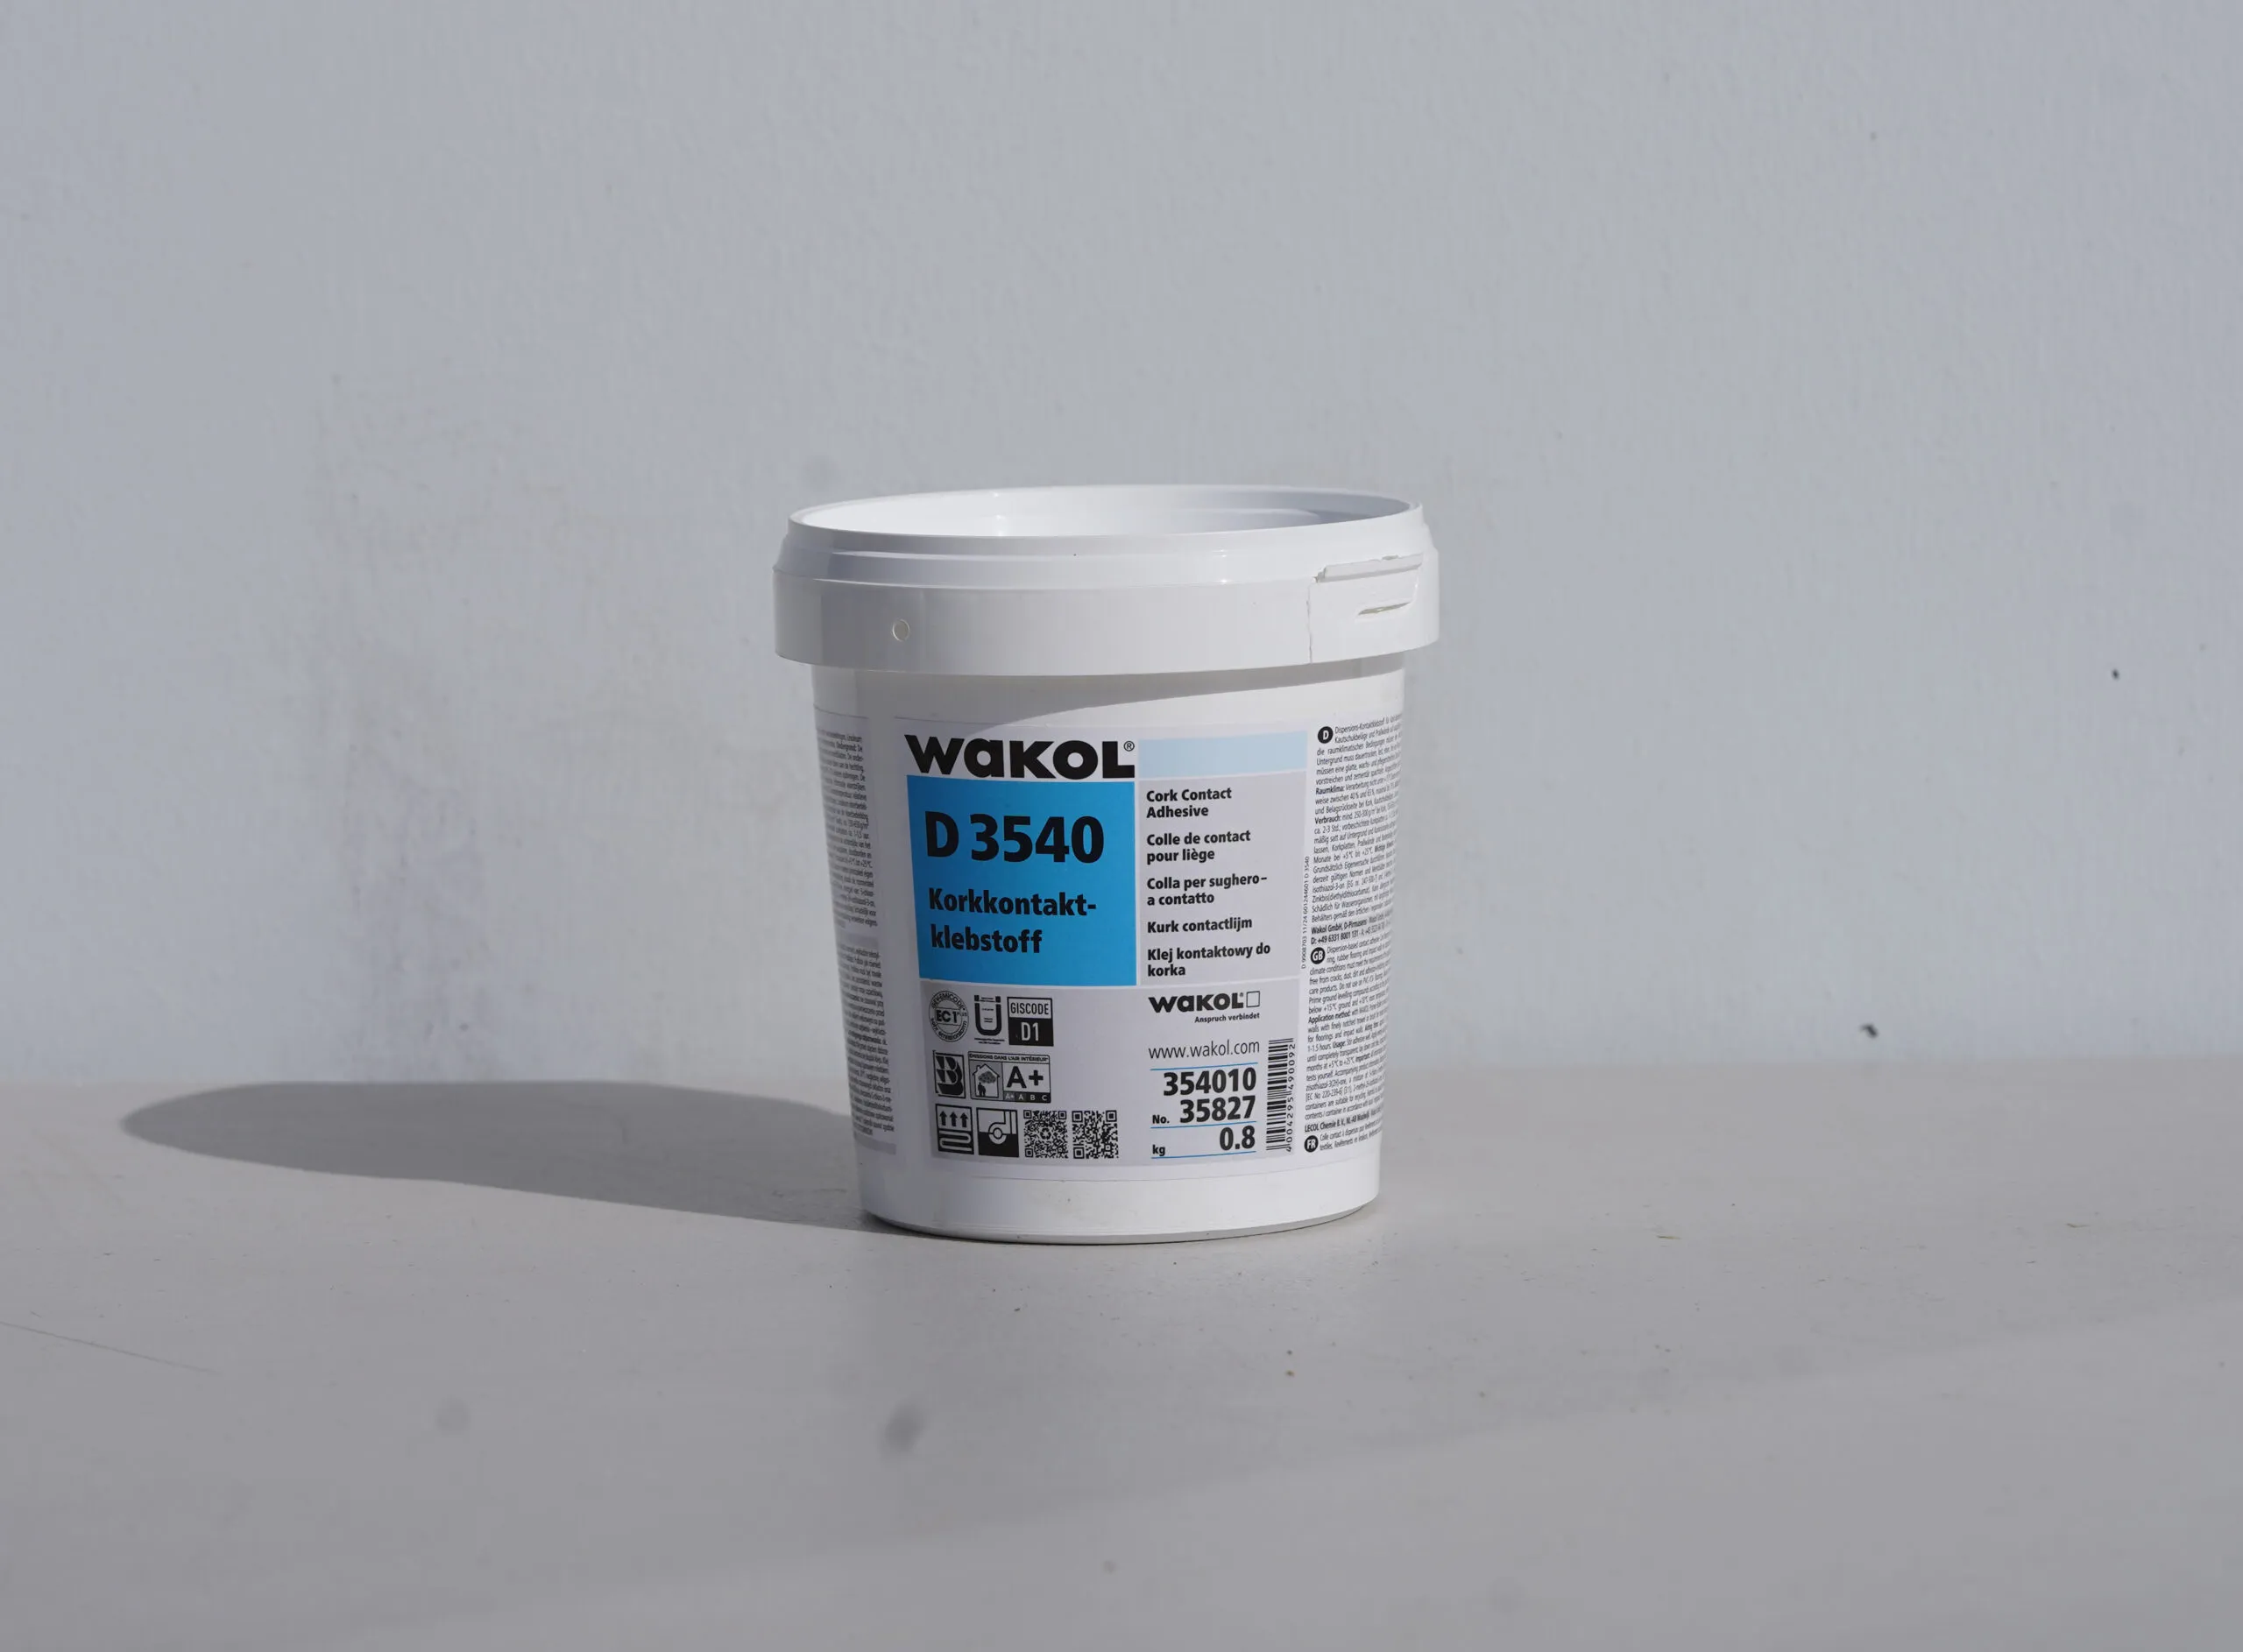
Strong, fast-bonding construction adhesive such as:
Loctite PL Premium Fast Grab
Gorilla Heavy Duty Construction Adhesive (8010001)
Bostik Mounting Glue
Utility knife with snap-off blades
Optional: Small nails or pins for temporary panel support
Make sure your wall is dust-free, dry, and properly primed. A clean, well-prepared surface helps ensure secure adhesion.
Determine the size of the wall area you’ll be covering. Create a layout plan to decide how the panels will be arranged for a symmetrical and clean look.
Using your level, draw a vertical guideline down the center of the wall. This line will act as a guide for placing your first panel and help keep the rest aligned.
Tip: If beginning from a corner rather than the center, keep in mind that walls are not always perfectly square. This may cause alignment issues or visible gaps as you move across the wall.
Apply your selected construction adhesive in spaced-out dabs or lines on the back of each panel. Ensure it is a high-strength, quick-set adhesive suitable for cork and vertical applications.
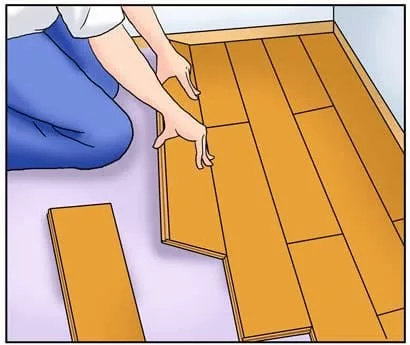
Place the panel against the wall, aligning it with your marked line. Press firmly to secure. Use the level to check both vertical and horizontal orientation.
If needed, use finishing nails or pins to hold the panel in place until the adhesive fully sets. This prevents slippage.
Use a utility knife to cut and fit panels at edges or around obstacles like outlets and corners. Always cut from the back side for cleaner results.
Natural Material Flexibility:
Cork is a natural material and may slightly expand or contract with humidity and temperature changes. Allow a margin of ±1 mm during alignment.
Check Each Panel Before Installing:
Test-fit each panel before adhering it. Some minor adjustments may be needed to maintain seamless alignment.
Use Your Level Often:
Frequently check alignment to avoid cumulative drift across the wall.
Room Temperature:
Only install when room temperature is stable and above 15°C (59°F). Drastic temperature changes can affect the panels during and after installation.
Acclimatization:
Let the cork panels sit in the installation area for at least 48 hours. This allows them to adjust to the ambient temperature and humidity.
Once all panels are in place, double-check the alignment and adhesion across the entire wall. Make any last-minute adjustments before the adhesive fully sets.
By carefully following these guidelines, you’ll achieve a visually stunning and acoustically enhanced wall that showcases the natural elegance of cork.
