
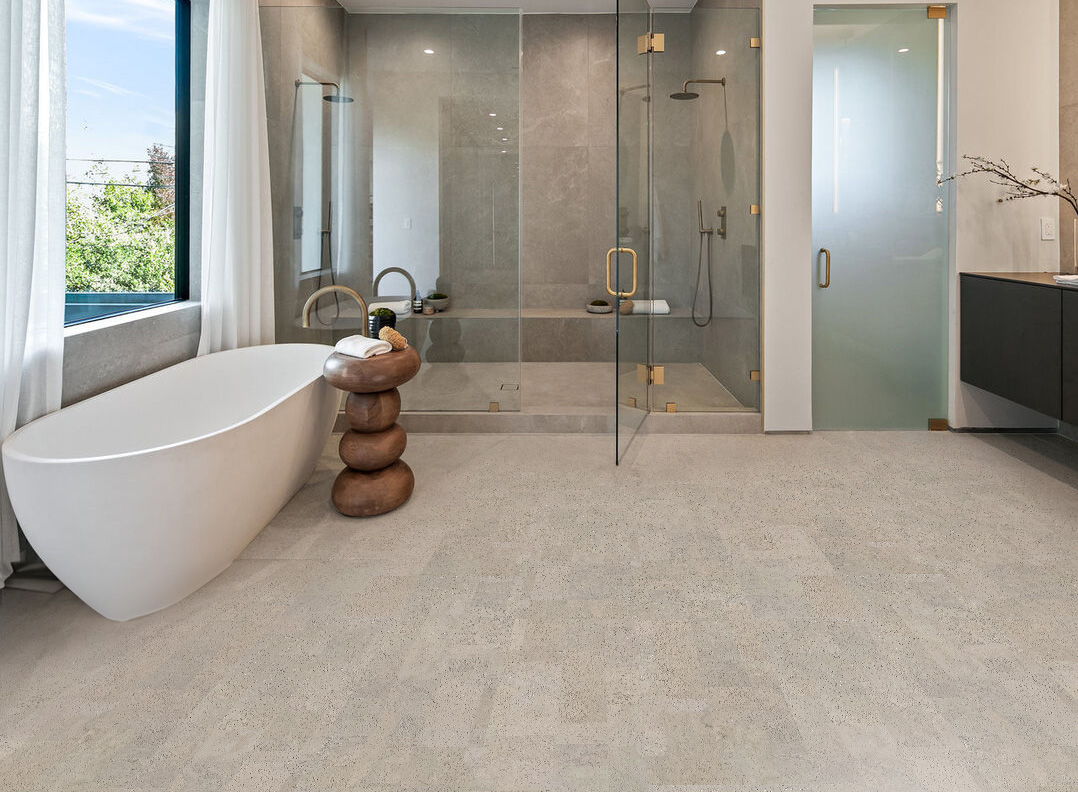


Shop cork underlayment
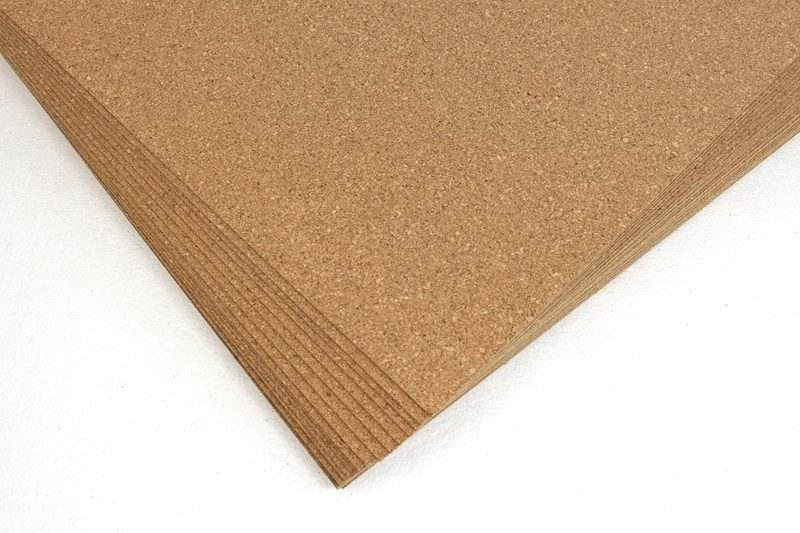
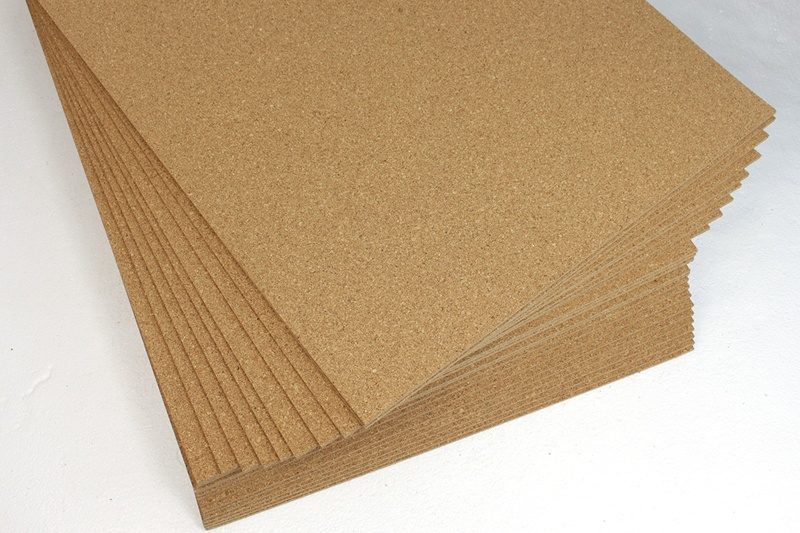
Compare thicknesses and project fit.
Installation guide
Use this guide to match cork underlayment thickness, finished floor type, acoustic goals, substrate conditions, and installation method.
Compare thicknesses and project fit.
Ask for help matching underlayment to a finished floor.
Review the finished floor installation guide too.
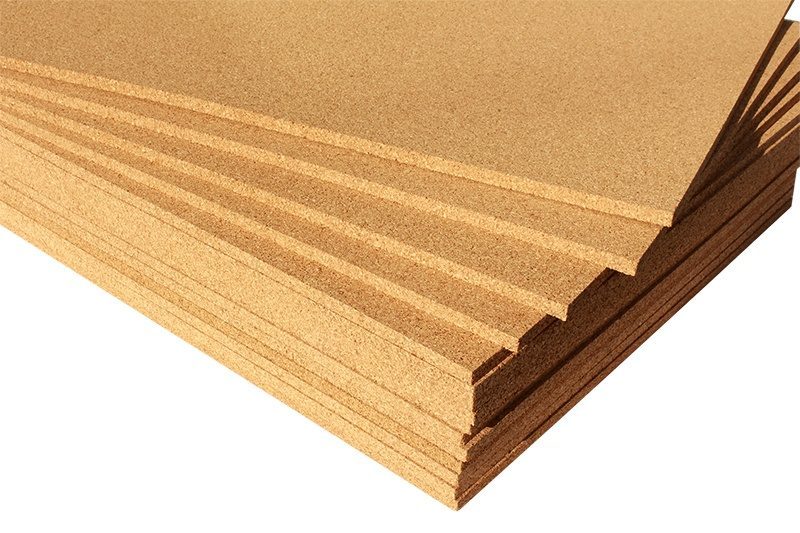
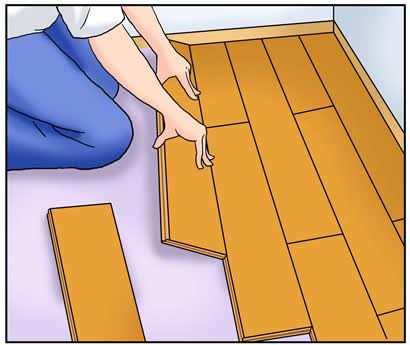
Forna cork underlay is easy to install. You will treat your underlay like you would treat the floor above it. If you are floating the floor, then you float the underlay. It is important to know which direction you intend to lay your floor. Forna cork underlay sheets should be laid perpendicular to the flooring above it. The cork sheets should be staggered as in a bricked pattern. This is known as a running bond pattern.
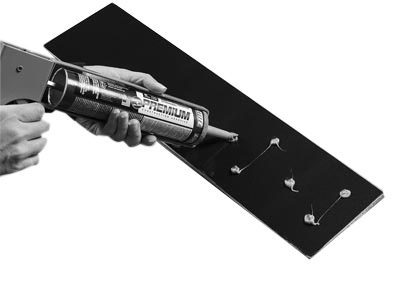
It is important to know that cork underlay should never be pierced by nails, screws or staples. Cork underlay is either loose laid or glued in place.
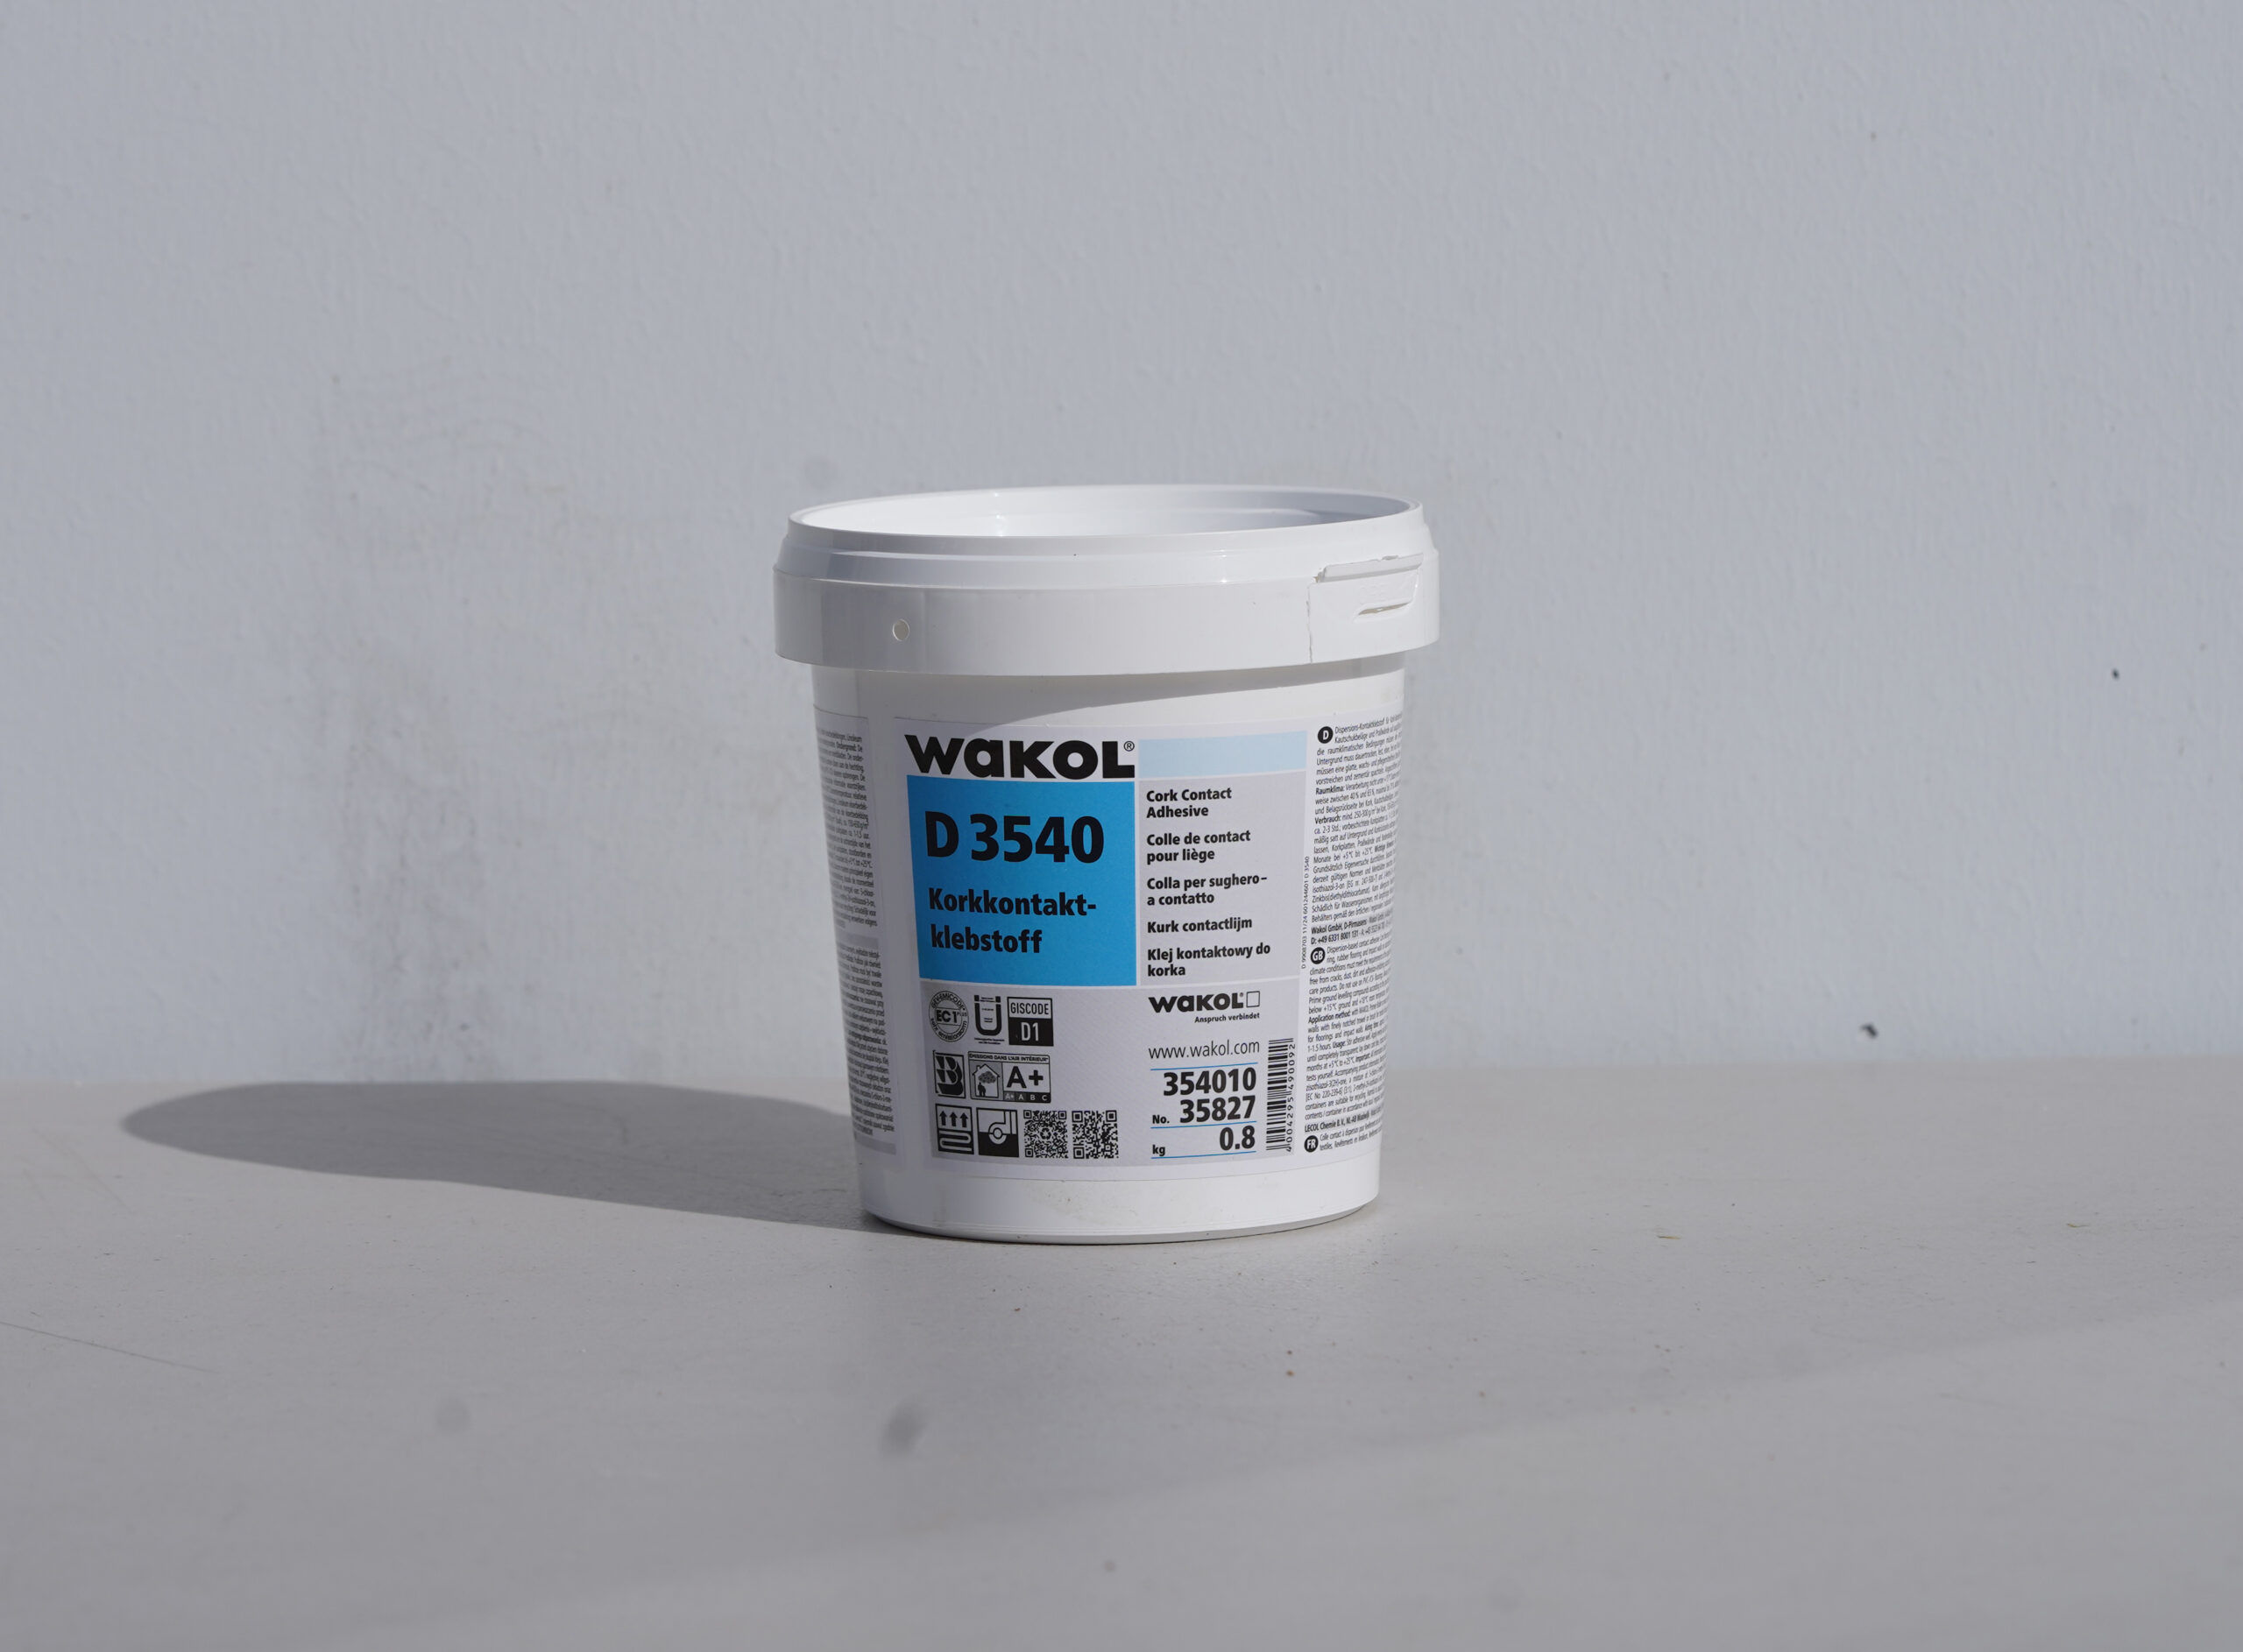
Forna cork underlay accepts any water based construction or wood underlay adhesive. It works well if you allow the troweled adhesive to set-up a little before laying the cork underlayment. This allows the liquid in the adhesive time to evaporate without allowing the cork to get too wet.
Cork underlay is not water proof nor is it water resistant. Moisture mitigation must be in place when laying cork over cement.