 Ships Canada-wide

Natural Composite FLOATING FLOORING
INSTALLATION & CARE INSTRUCTIONS
ENGINEERED SWISS PERFORMANCE
OVERVIEW
Natural Composite Flooring uses a click-lock interlocking system. Panels connect without adhesive. Prepare chipboard or timber subfloors so they are level and vibration-free before installation. Follow the product-specific installation guide.
Note: Only floors with a Hydrowood core are approved for use in moisture-prone areas like bathrooms and may be glued directly to the subfloor. HDF-core floors should not be glued. For wet-area installations, a post-installation sealing with Loba 2K Supra AT is recommended.
SUBFLOOR REQUIREMENTS
The base surface must be clean, level, dry, and stable per DIN 18365 standards.
-
Floor irregularities must not exceed 3mm over 1 meter.
-
Do not install over carpet or soft floor coverings.
Permissible Moisture (CM Method):
-
Cement screeds: < 2.0% (or < 1.8% for heated screeds)
-
Anhydrite screeds: < 0.5% (or < 0.3% if heated)
CONDITIONING THE FLOORING
-
Keep unopened boxes flat in the room for at least 24 hours before installation.
-
Room conditions: 15–25°C (59°–77°F) and 40–60% relative humidity.
PRE-INSTALLATION INSPECTION
-
Check each plank in daylight for visible damage or flaws.
-
Minor imperfections can be used where cuts are needed.
-
Do not proceed if materials or site conditions are unsuitable.
VAPOR BARRIER (PE FILM)
-
Lay 0.2mm PE sheet over all mineral-based subfloors.
-
Overlap seams by 20cm and seal with tape.
-
Extend barrier 2–3cm up walls to ensure moisture control.
Tip: PE foil helps your floating floor “float” properly across most subfloors.
BUILT-IN SOUND CONTROL
All Natural Composite floating floors are equipped with a pre-attached cork or Green Sound underlay. No extra sound insulation is necessary.
Optional: If adding underlayment, ensure it has a compression strength of ≥200 kPa.
EXPANSION ALLOWANCE
-
Maximum continuous installation area: 30m x 24m (approx. 100ft x 80ft).
-
Maintain a 10mm expansion gap around all walls, fixed objects, and structural features.
-
Do not fill perimeter joints with sealant—use appropriate edging profiles.
FITTING INSTRUCTIONS
-
Mix planks from several boxes to blend natural variations.
-
Lay planks parallel to the primary light source in the room.
Two click-lock methods:
Method 1: Angle-to-Angle
-
Tilt the plank (~10°), fit the tongue into the groove, and press down to lock.
-
Use a 20cm tapping block and mallet for snug seams.
Method 2: Angle & Tap
-
Join short ends first by tapping.
-
Then tilt and click the lengthwise edge into place.
Offset joints by at least 20cm (ideal: 40cm) for strength and aesthetic flow.
ADDITIONAL GUIDANCE
-
Never glue, screw, or nail floating planks.
-
For heavy furniture (e.g., stone-top islands, wood stoves), either install before the flooring or create expansion breaks around them.
-
For bathroom use, glue down Hydrowood core planks and seal all joints with silicone and PE backing rods.
INSTALLING AROUND FIXTURES
-
Maintain 10mm clearance around pipe penetrations, columns, and frames.
-
Cut planks precisely and reattach sections with adhesive tape.
-
Never drill or screw door stops directly through the floor.
UNDERFLOOR HEATING COMPATIBILITY
-
Maximum floor surface temperature: 28°C (82°F).
-
Heating systems must be fully embedded in leveling compound (minimum 2mm).
-
Apply glue at click connections for added joint stability.
Tip: Follow heating system manufacturer’s heat-up and cooldown protocols.
CLEANING & MAINTENANCE
-
Sweep, vacuum, or lightly damp mop after installation.
-
Use a PU cleaner for heavy dirt or grease.
-
Avoid harsh chemicals and abrasive pads.
Initial Protection: Apply a thin protective finish post-installation to extend floor life.
Floor Care Tips:
-
Use non-staining entrance mats (e.g., nitrite rubber).
-
Avoid rubber-based mats or furniture pads.
-
Choose soft caster wheels (EN 12529 Type W) for furniture.
For more installation videos, product specifications, or expert advice, please contact your authorized Natural Composite dealer or visit our website.
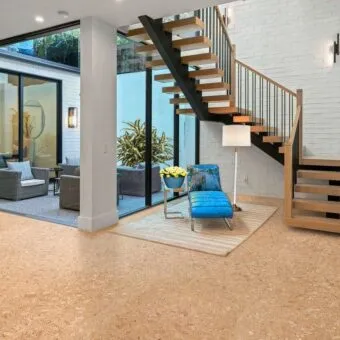 Flooring
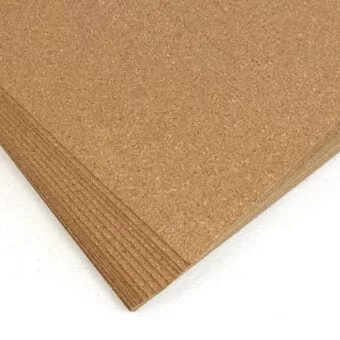 Cork Underlayment
 Supplies & Guides